Front doors
Removal
1. On pre-1995 models, pry the cover off the window handle, unscrew the retaining screw, and, noting the position of the handle, (with the glass up), remove the handle and cover (see Figure 9.1, a-c).
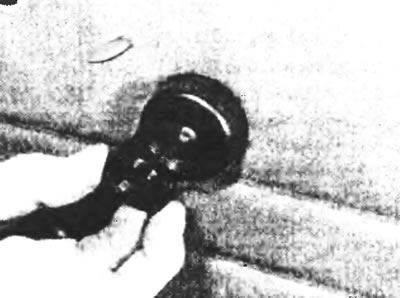
Figure 9.1,a. Remove the cover from the window lift handle, unscrew the fixing screw...
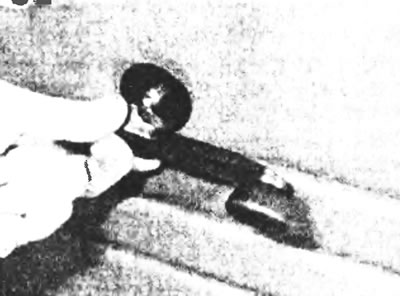
Figure 9.1, b....and remove the window lift handle...
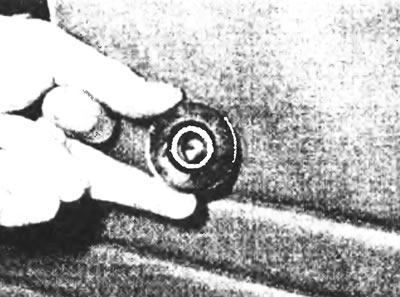
Figure 9.1, c....and overlay.
2. On 1995 and later models with manual windows, fully close the window, paying attention to the position of the window handle, then release the spring clip and remove the handle. To do this, insert a clean cloth between the handle and the door trim and, pulling the cloth towards you against the open ends of the retainer, release the retainer and at the same time remove the handle from the grooves of the window regulator shaft.
3. On models with power windows, remove the switches as described in Chapter 12, Section 4.
4. Loosen the mounting screw and remove the inner door lock handle trim (see figure 9.4).
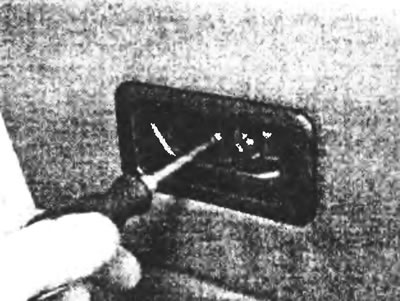
Figure 9.4. Loosen the fastening screw and remove the lock opening handle cover.
5. Remove the trash drawer on the door by prying up and removing the two decorative trims (one in each top corner) and unscrew the screws.
6. Pry and remove the two covers from the door handle using a suitable screwdriver or similar tool. Unscrew the two fixing screws and remove the handle (see figure 9.6,a,b).
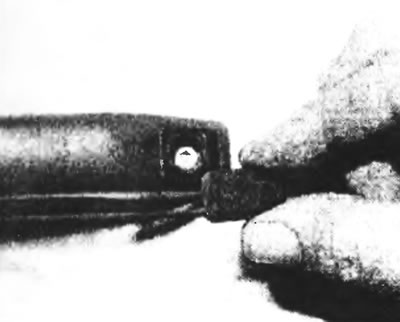
Figure 9.6,a. Remove the covers from the door closing handle...
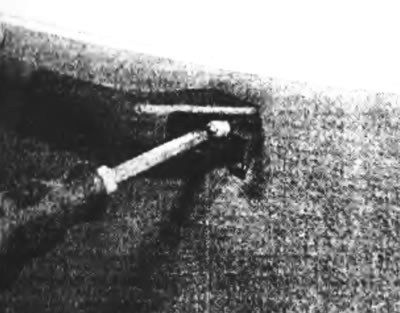
Figure 9.6,b....and then unscrew the bolts.
7. On early models, insert a suitable tool under the door trim and carefully release it from the clips. On later models, remove the trim panel caps by prying them with a screwdriver and unscrewing the screws along the edge of the trim (see figure 9.7,a,b). Remove the trim.
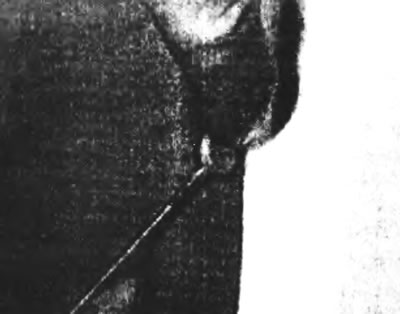
Figure 9.7,a. On recent models, remove the caps...
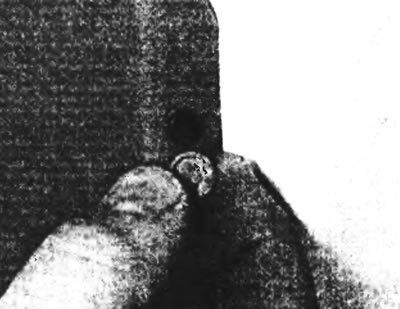
Figure 9.7, b....and unscrew the screws along the edge of the door trim.
8. If the panel is removed to gain access to the internal components of the door, it is necessary to remove part of the insulating film. The film has an adhesive base, which attaches it to the door. To remove the film, cut out the part that needs to be removed along the outline and carefully peel the film away from the door. Do not attempt to remove the film without first cutting it and remove it carefully, without touching the adhesive. If the film is removed with due care, the existing adhesive layer will allow the film to be returned to its original position.
Installation
9. Installation is carried out in the reverse order of removal.
Rear doors and tailgate
Removal
10. Remove the panel from the handle (if any), moving it to the side.
11. The rear door trim is attached with plastic clips, which require a tool with a fork on the end to release (see Figure 9.11). Be careful, as the clips are fragile. Disconnect them and remove the trim.
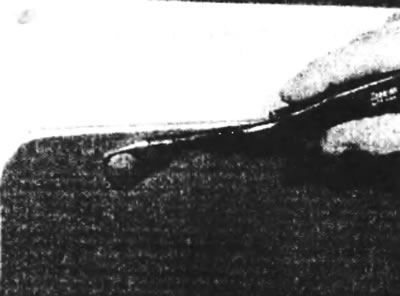
Figure 9.11. Removing the plastic retainer using a tool with a fork on the end.
Installation
12. Installation is carried out in the reverse order of removal. Align the panel and press the tabs into place.
Sliding side door
Removal
13. Unscrew the fixing screws and remove the sliding door stop (see Figure 9.13).
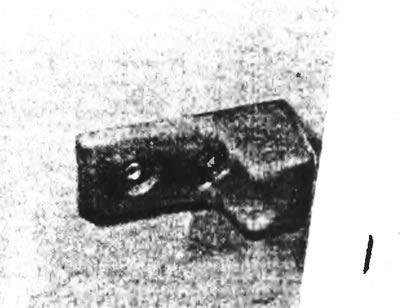
Figure 9.13. Unscrew the fixing bolts and remove the sliding door stop.
14. After unscrewing the fixing screw, remove the inner handle cover of the sliding door (see Figure 9.14).
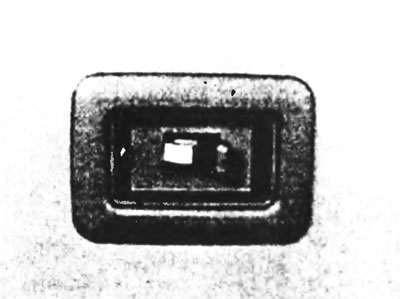
Figure 9.14. Inside handle of the side sliding door.
15. Carefully pry up and release the plastic clips using a suitable tool with a fork on the end (see Figure 9.11), then remove the door trim.
Installation
16. Installation is carried out in the reverse order of removal.