Removal
1. Loosen the mounting screw and remove the center guide end stop (see Figure 13.1).
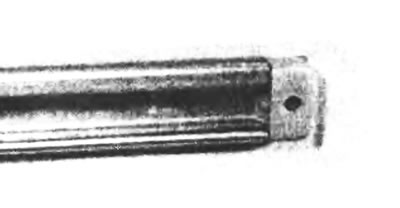
Figure 13.1. Loosen the mounting screw and remove the end stop of the sliding door center guide.
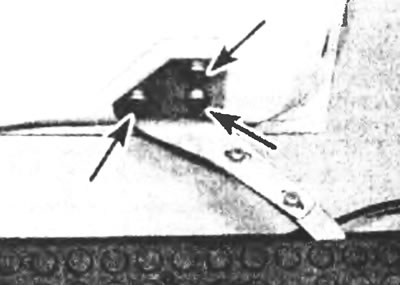
Figure 13.2. Unscrew the Torx screws (indicated by arrows), securing the lower guide bracket.
3. Have an assistant support the weight of the door on the center track, then remove the screws securing the top track bracket (see Figure 13.3).
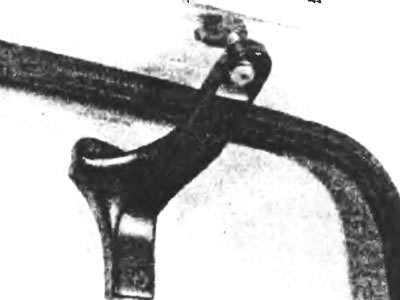
Figure 13.3. Remove the Torx screws securing the sliding door top track bracket.
4. Supporting the door on both sides, move it back and remove it.
Installation
5. Installation is carried out in the reverse order of removal. Once the door is aligned, insert it into the center guide, then attach the hanging elements.
Regulation
6. Check if the door closes tightly. If necessary, adjust the door position by loosening the bottom track bracket adjustment screws, then place the door in the desired position, tighten the bolts and recheck that the door closes tightly (see Figure 13.6).
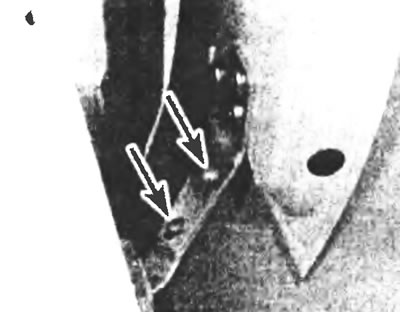
Figure 13.6. Adjusting screws on the lower guide bracket.
7. To adjust the door height, loosen the top guide lock nut, turn the adjusting bolt and retighten the lock nut (see Figure 13.7).
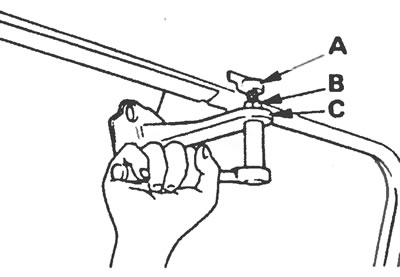
Figure 13.7. Adjusting the height of the side door: A - Roller, B - Lock nut, C - Upper bracket.
8. A properly adjusted door should close well and be flush with the vehicle body when closed. If necessary, the position of the door locking plate can be adjusted (see Figure 13.8).
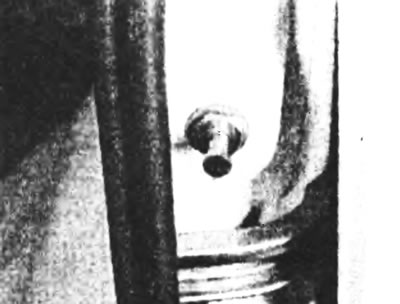
Figure 13.8. Sliding side door locking plate.