Contents: Models before 1995 ↳ Models since 1995 ↳
Models before 1995
Removal
1. Open the door and place a jack or wooden block under it, without lifting it, but just to neutralize the weight.
2. Remove the plastic clips from the top door hinge cover, then unscrew the screws and remove the cover (see figure 11.2,a,b).
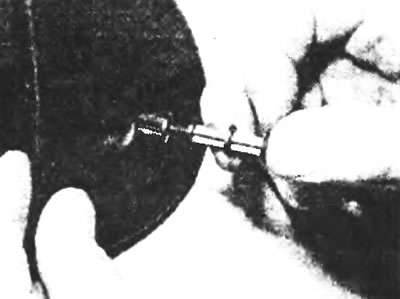
Figure 11.2,a. Remove the fasteners from the top hinge cover.
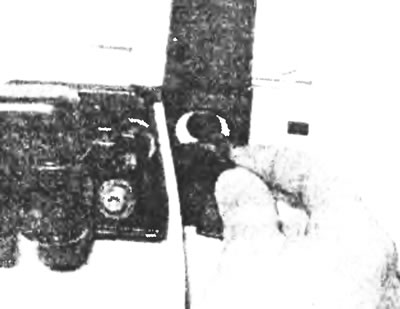
Figure 11.2,b. Removing the internal hinge cover retainer.
3. Remove the two Torx screws securing the door opening limiter (see Figure 11.3).
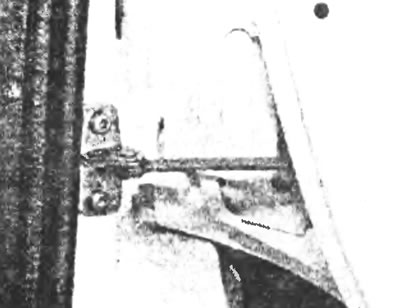
Figure 11.3. Remove the two Torx screws securing the door opening limiter.
4. Remove the four retaining screws and the front footwell trim panel to gain access to the lower door hinge bolts (see Figure 11.4,a). Have an assistant hold the door, then remove the two retaining bolts and one nut from the bottom hinge and the three retaining bolts from the top hinge (see Figure 11.4,b). Carefully remove the door.
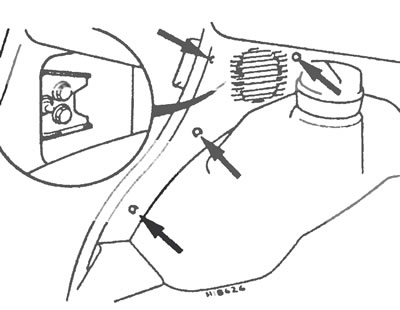
Figure 11.4,a. Remove the front footwell trim panel (the bolts are shown by arrows) in order to get to the bolts of the lower door hinge.
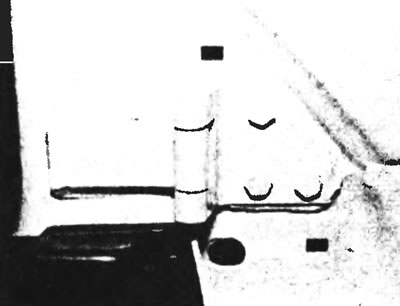
Figure 11.4,b. Upper hinge fixing bolts.
Installation and adjustment
5. To install the door, insert the lower hinge pin into the hole and simultaneously insert and hand tighten one of the upper hinge bolts to secure the door.
6. Install and tighten the remaining bolts of the lower and upper hinges by hand.
7. After installing the door opening limiter in place, close the door and align it in the doorway so that the gap around its perimeter is the same everywhere. Tighten the upper hinge bolts from the inside without opening the door.
8. Tighten the lower hinge bolts and nut, then open and close the door to ensure there is no contact with the body. Adjust the door stop if necessary, then install the footwell and door hinge trim.
Models since 1995
Removal
9. Disconnect the negative battery cable.
10. Remove four screws and the front footwell trim to access the lower door hinge.
11. Open the door and place a jack or wooden block under it, without lifting it, but only to neutralize its weight.
12. Loosen the two screws and release the multi-pin plug support bracket. Disconnect the plug
13. Compress the sealing ring on the front pillar and remove the sealing ring together with the wiring harness.
14. Unscrew the screws securing the door opening limiter.
15. Remove the plastic clips from the top door hinge cover, then unscrew the screws and remove the cover.
16. Have an assistant support the door, then remove the clips, push out the two hinge pins and remove the door (see Figure 11.16).
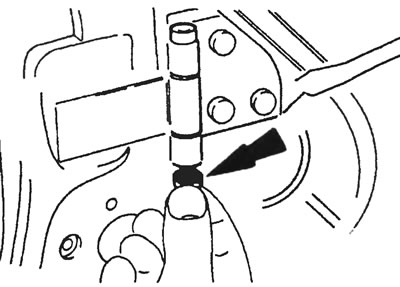
Figure 11.16. On later models, remove the clips (shown by arrows) and push out the hinge pins.
Installation and adjustment
17. Installation is carried out in the reverse order of removal. When opening and closing the door, make sure that it does not rub against the body anywhere. Adjust the door opening if necessary, then install the footwell and door hinge trim.
The text is available on the specified website info portal (FORDBOOK.ru)