Removal. Cars produced before 1996
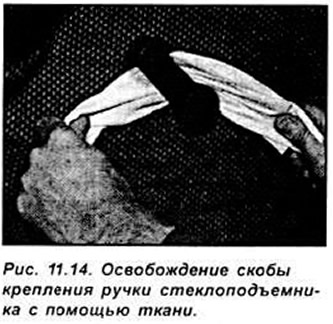
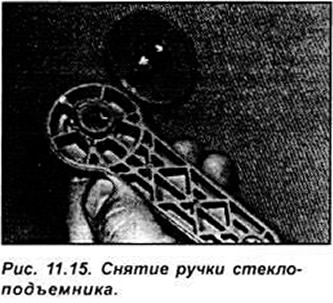
On models with manual windows, close the window completely and mark the position of the window handle. Release the retaining clip and remove the handle. The clip is released by inserting a clean cloth between the handle and the door trim and, pulling the cloth opposite the ends of the clip, hook the clip and release it. In this case, it is necessary to pull the handle towards you so that after releasing the clip, it comes off the splines of the window regulator (see Fig. 11.14, 11.15).
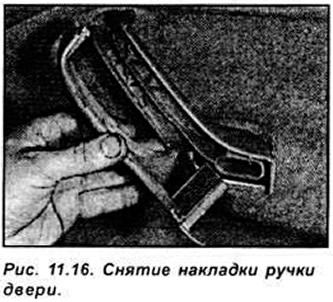
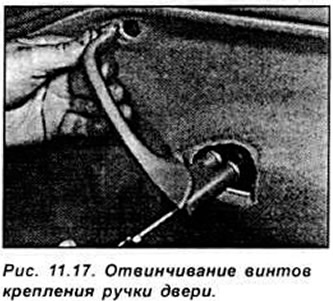
Using a lever, remove the trim from the door handle, unscrew the mounting screws and remove the handle (see Fig. 11.16, 11.17).
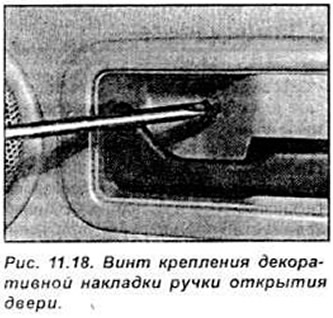
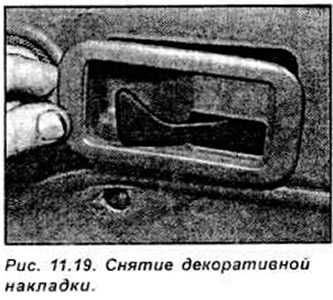
Unscrew the screw securing the decorative cover of the inner door opening handle. Slide it along the handle and remove it from the door (see Fig. 11.18, 11.19).
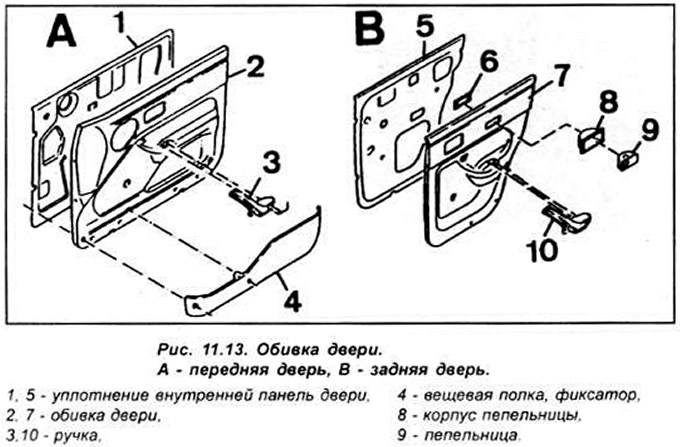
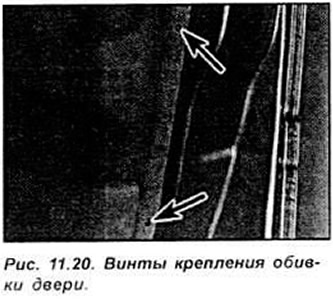
Unscrew the screws securing the door trim, lift it up to release the fastening brackets located along the edge of the window, then remove the trim completely (see Fig. 11.20).
If there is a storage shelf on the door, unscrew the 3 screws that secure it, one of which is located on the back side.
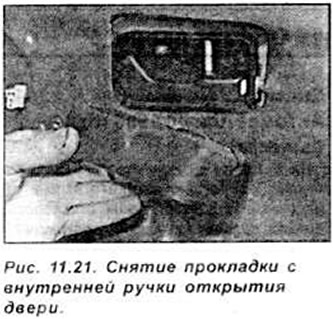
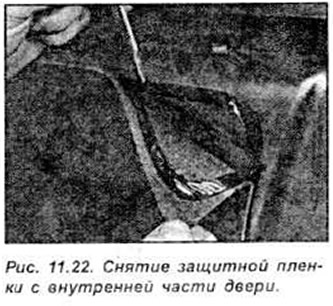
To access the inside of the door, remove the gasket near the door opening handle and, using a knife or screwdriver around the perimeter, separate the protective film from the door. Do not touch the sticky layer on the protective film with your hands (see Fig. 11.21, 11.22).
Cars produced since 1996
Using a lever, remove the door handle trim and unscrew 1 screw from the back of the handle.
On models with manual windows, close the window completely and mark the position of the handle. Release the fastening bracket and remove the handle. The bracket is released by inserting a clean cloth between the handle and the door trim and, pulling the cloth opposite the ends of the bracket, hook the bracket and release it. In this case, it is necessary to pull the handle towards you so that after releasing the bracket, it comes off the splines of the window lifter axis. Using a lever, remove the trim cap from the decorative cover of the inner door opening handle. Unscrew the fastening screw and, sliding, remove the decorative cover. Unscrew the 8 screws securing the door trim
Lift the trim up to release the hooks located along the glass. Remove the trim. To access the inside of the door, remove the gasket near the door opening handle and separate the protective film glued to the door along the perimeter from the door.
Installation
Installation is carried out in the reverse order of removal.