1. Disconnect the wire from the negative terminal of the battery.
2. Remove the decorative trim of the right wing (see "Removing and installing the front wing").
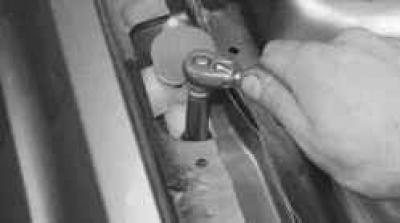
3. Unscrew the mounting bolt…
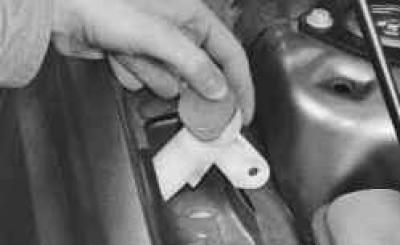
4. …and remove the washer reservoir neck.
5. Remove the right front wheel (see "Changing a Wheel").
6. Remove the right front fender liner (see "Removing and installing wheel mudguards and fender liners").
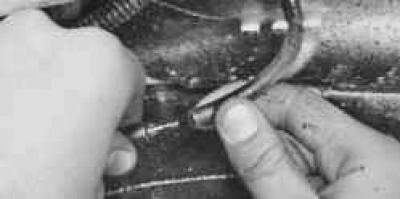
7. Disconnect the windshield washer hoses…
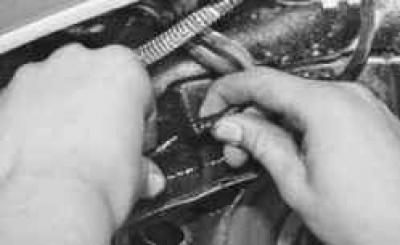
8. …and rear window glass (hatchback and station wagon vehicles).
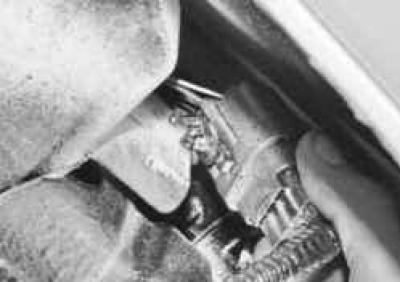
9. Disconnect the wiring harness connector from the washer reservoir bracket…
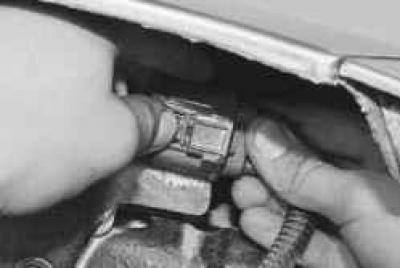
10. …squeeze the latch…
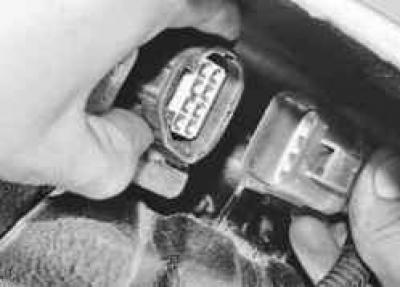
11. …disconnect the connector and install it back onto the washer reservoir bracket.
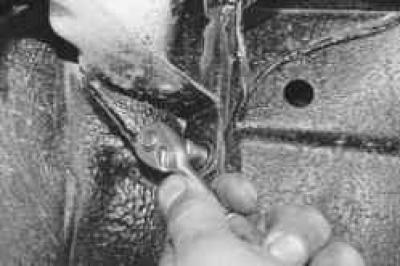
12. Turn the rear…
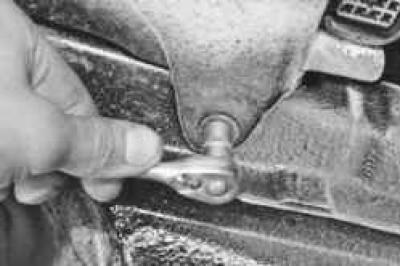
13. …and the front washer reservoir mounting bolts.
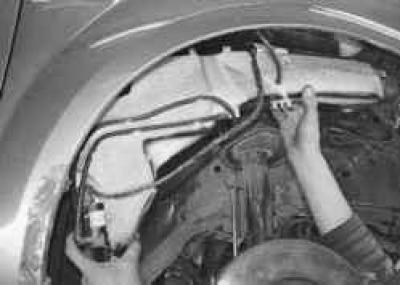
14. Slide the washer reservoir forward and remove it.
15. Drain the washer fluid from the reservoir.
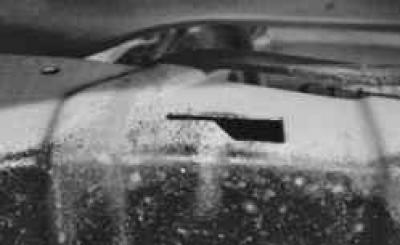
NOTE: This is what the opening in the car body looks like where the tank bracket fits. To remove the tank, slide it forward so that the bracket fits into the wide part of the opening, and to install it, slide it back so that the bracket fits into the narrow part of the opening.
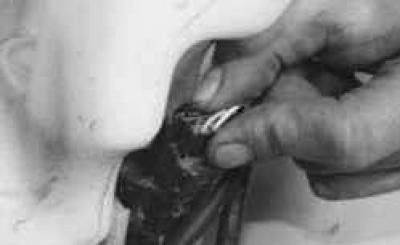
16. Squeeze the lock…
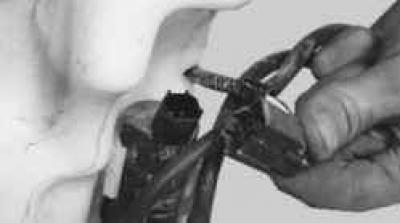
17. …and disconnect the wiring harness connector from the washer pump.
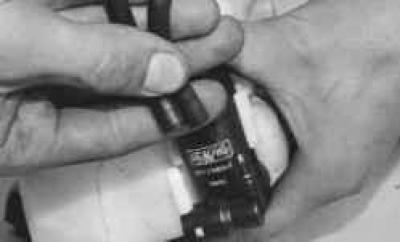
18. Disconnect the hoses from the pump fittings.
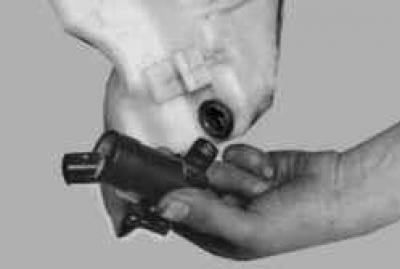
19. Remove the electric pump.
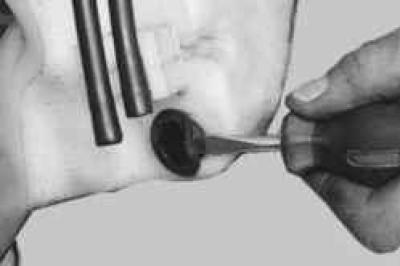
20. Pry it up with a screwdriver…
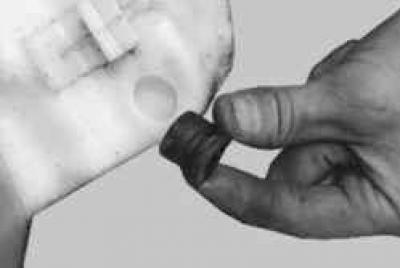
21. …and remove the pump sealing sleeve.
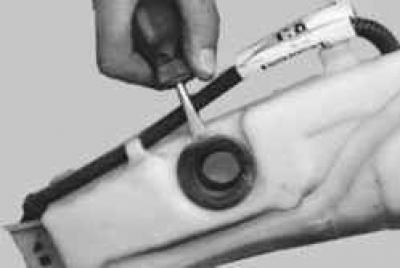
22. Pry it up with a screwdriver…
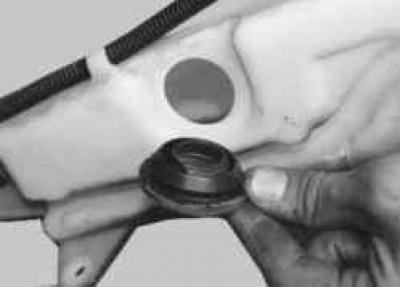
23. …and remove the sealing sleeve of the filler neck.
NOTE: Replace bushings that are severely hardened or torn.
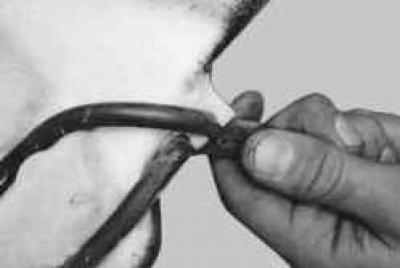
24. If it is necessary to replace the hoses, remove them from the bracket…
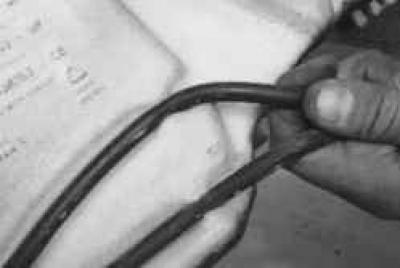
25. …from the holders on the tank…
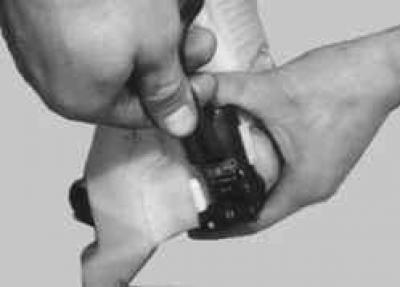
26. …and remove the hoses by disconnecting them from the pump.
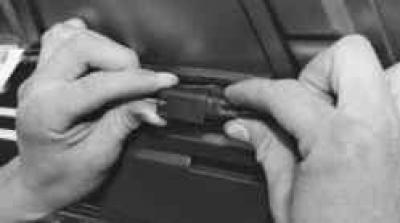
27. To replace the washer jet, open the hood, disconnect the jet wiring harness connector…
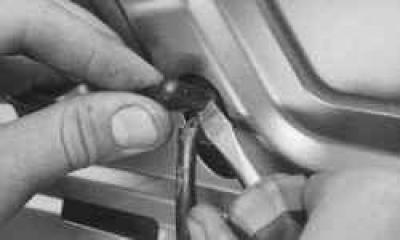
28. …pry it up with a screwdriver…
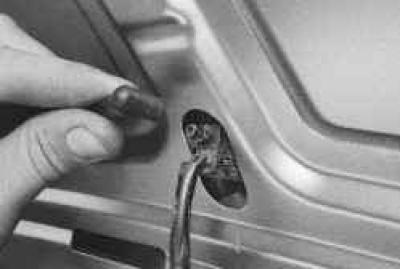
29. …and disconnect the liquid supply hose from the jet.
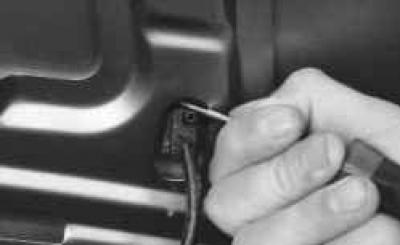
30. Press the lock with a screwdriver…
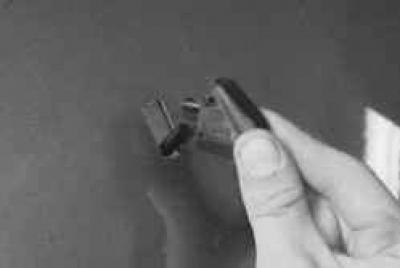
31. …and remove the washer nozzle by pulling its wiring harness out through the hole in the hood.
32. Install the parts in the reverse order of removal.