1. Disconnect the wire from the negative terminal of the battery.
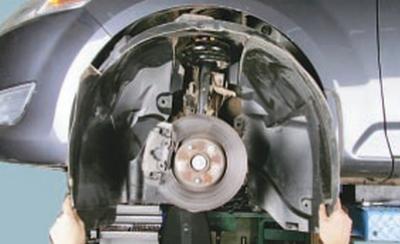
2. Remove the left front wheel arch liner (see Removing and installing wheel mudguards and fender liners).
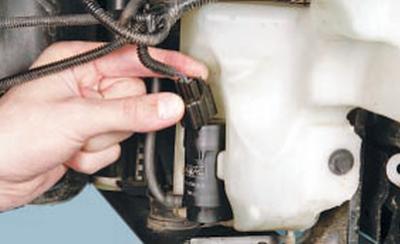
3. Squeeze the wiring harness connector retainer…
NOTE: Shown with front bumper removed for clarity.
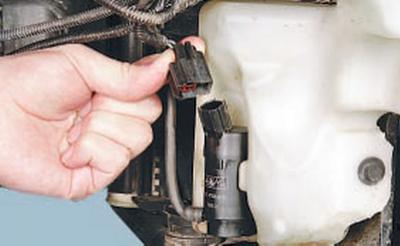
4….and disconnect the block from the washer pump.
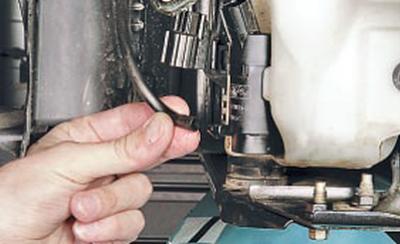
5. Remove the hose from the pump fitting.
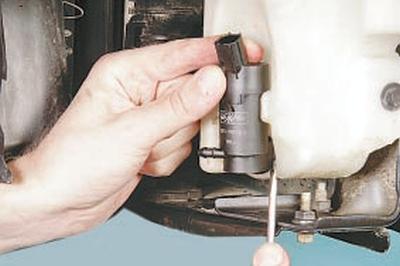
6. Carefully pry up the edge of the pump…
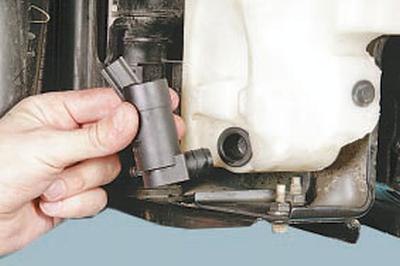
7….remove its fitting from the sealing sleeve.
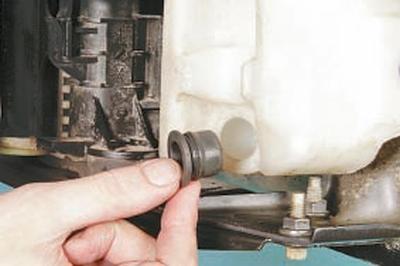
8. Remove the sealing sleeve from the washer reservoir hole.
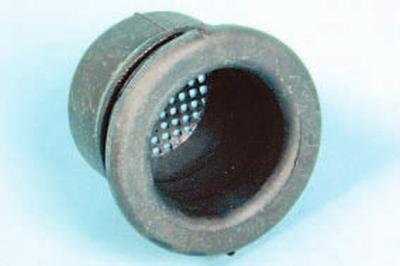
NOTE: There is a mesh filter in the sealing sleeve of the washer pump. If the filter is dirty, wash it. If the filter cannot be completely cleaned or if the sleeve is very hardened or torn, replace it with a new one.
9. Install the washer pump in the reverse order of removal.
For removal washer fluid level sensor perform the following operations.
1. Disconnect the wire from the negative terminal of the battery.
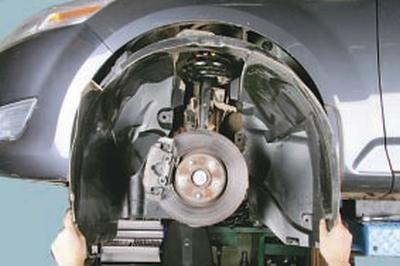
2. Remove the left front wheel arch liner (see Removing and installing wheel mudguards and fender liners).
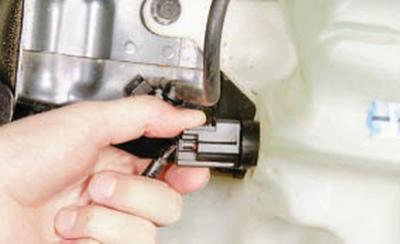
3. Squeeze the wiring harness connector retainer…
NOTE: Shown with front bumper removed for clarity.
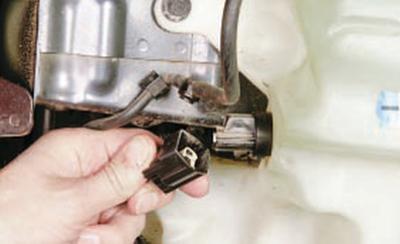
4….and disconnect the connector from the liquid level sensor.
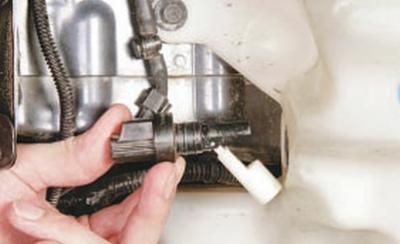
5. Remove the fluid level sensor from the hole in the washer reservoir.
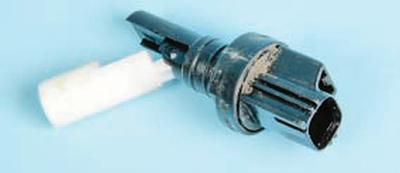
6. Install the washer fluid level sensor in the reverse order of removal.
For removal washer reservoir perform the following operations.
You will need a 10 mm wrench.
1. Disconnect the wire from the negative terminal of the battery.
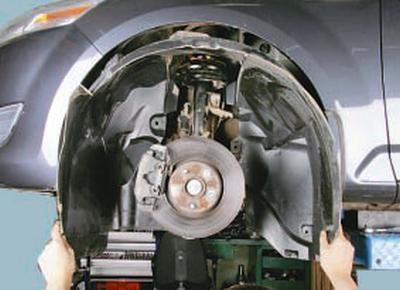
2. Remove the left front wheel arch liner (see Removing and installing wheel mudguards and fender liners).
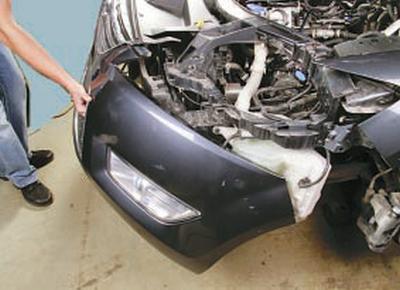
3. Remove the front bumper (see Removing and installing the front bumper).
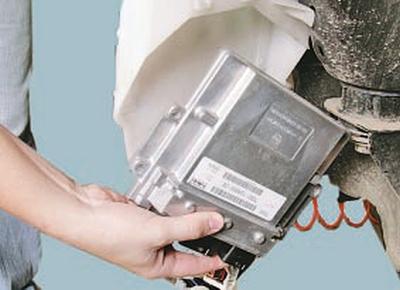
4. Remove the electronic engine control unit from the washer reservoir (see Replacing the Engine Control Unit).
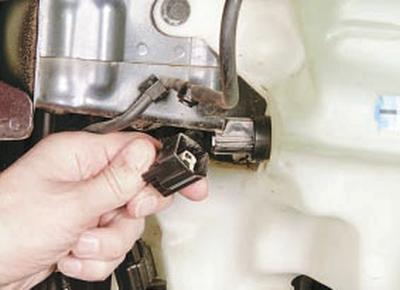
5. Disconnect the wiring harness connectors from the washer fluid level sensor…
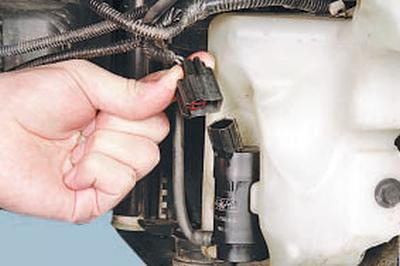
6….and the washer pump, squeezing the fastening clips.
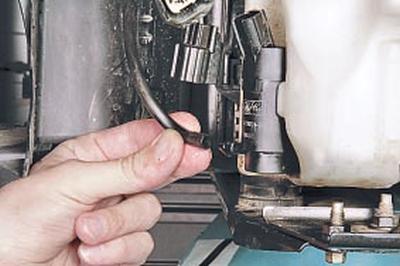
7. Remove the hose from the pump fitting.
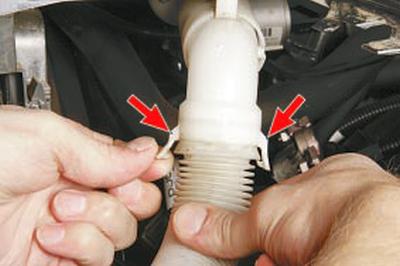
8. Release the two clamps…
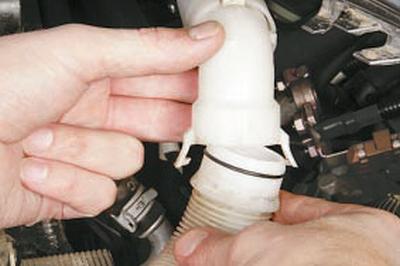
9….and disconnect the filler pipe and the tank neck.
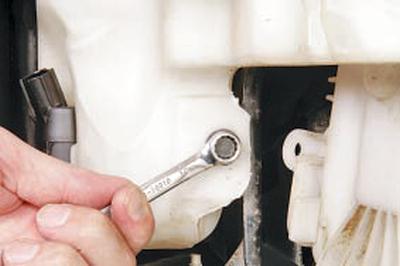
10. Remove the three bolts securing the washer reservoir…
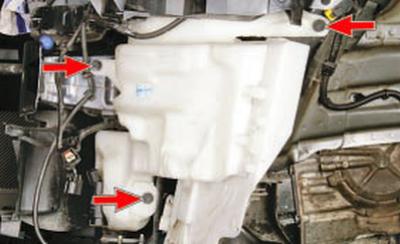
NOTE: This is the location of the washer reservoir mounting bolts.
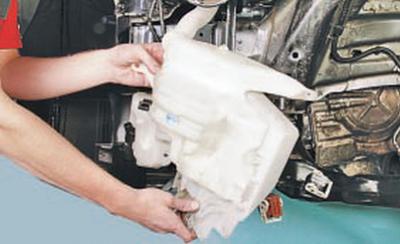
11….and remove the tank
12. Install the washer reservoir and all removed parts in the reverse order of removal.
For replacement washer jets do the following.
You will need a flat-blade screwdriver.
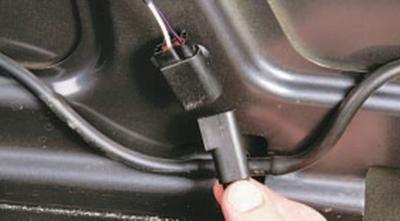
1. Open the hood, disconnect the jet wiring harness connector.
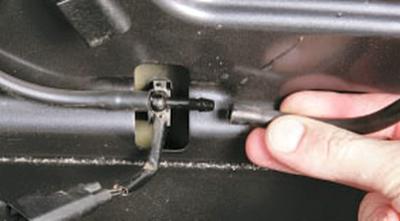
2. Disconnect the fluid supply hoses from the jet.
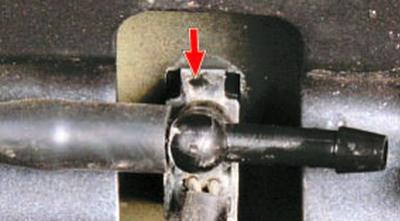
3. Press the lock with a screwdriver…
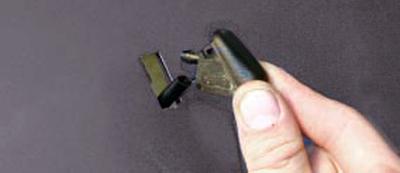
4….and remove the washer jet by pulling its wiring harness through the hole in the hood.
5. Install the parts in the reverse order of removal.
The text of the article was copied from the website FORDBOOK