


Contents: Removal ↳ Installation ↳
Removal
1. Remove the lower footwell trim panel.
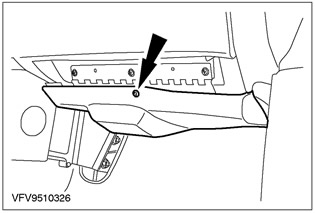
2. Open the glove compartment.
3. Remove the footwell vent duct. Disconnect the hose.
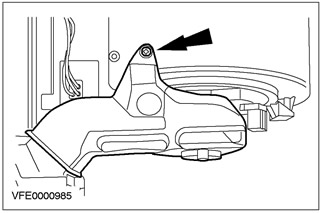
4. Close the glove compartment.
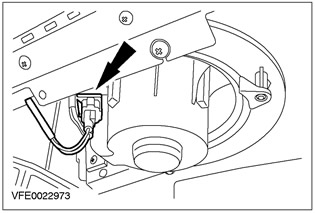
5. Disconnect the electrical connector of the blower fan motor.
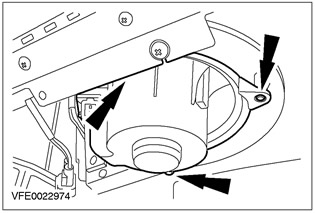
6. Remove the blower fan motor.
Installation
NOTE: Procedure to follow when whistling noises occur in the heating system.
1.
NOTE: Set the air distribution switch to the "Head Height" position, set the temperature control to the "MAX Cool" position.
Remove the central vent and open the glove compartment.
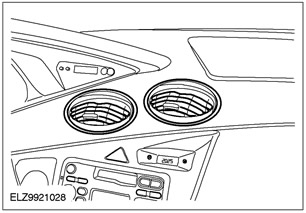
2. Remove the anti-icing nozzle duct from the passenger side and place it on the open glove compartment lid.
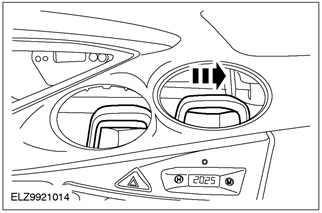
3.
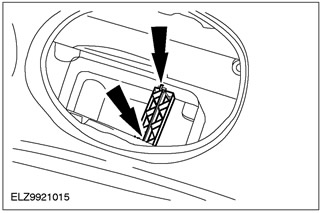
NOTE: Do not allow any part of the connector tail to get caught behind the instrument panel.
Remove the two-piece plastic connecting tail located on the heater body.
- Cut the connecting tail at the top using side cutters, break it at the bottom and discard.
4. Cut the insulating tape into a 50x50 mm square.
5.
CAUTION: Sharpen the edges of the heater housing.
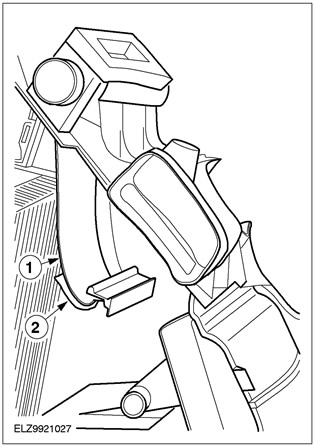
Check for a gap in the heater body, attach the insulation tape over the gap from the inside and press firmly on the insulation tape.
NOTE: Install the insulating tape in the position shown. Installing the insulating tape higher than the position shown in the illustration is not allowed.
- 1. Heater body (shown in cross section)
- 2. Insulating tape
6. To install, perform the removal procedure in reverse order.