Contents: Removal ↳ Installation ↳
Removal
1. Remove the front door trim panel. Refer to Section 501-05 for additional information.
2. Remove the side impact protection reinforcement.
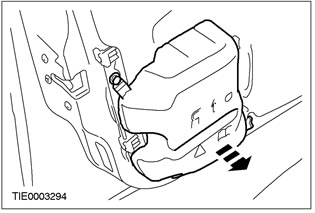
3. Disconnect the speaker from the front door panel.
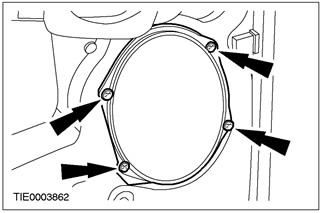
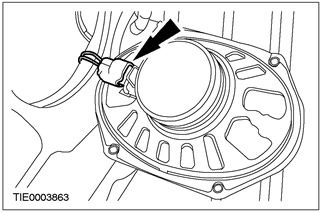
4. Remove the speaker.
- Disconnect the electrical connector.
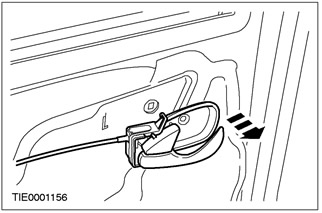
5. Disconnect the door latch release handle from the front door panel.
6.
CAUTION: Do not touch the adhesive surface as this will disrupt the re-bonding.
Disconnect the seal from the front door panel.
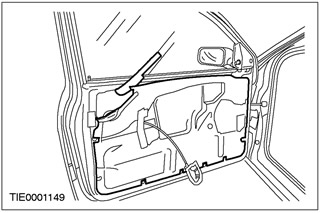
7. Disconnect the one-touch window relay from the front door panel.
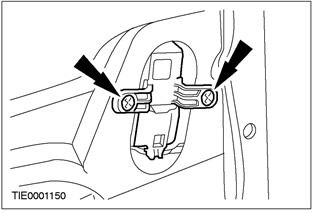
8. Connect the electrical connector of the window switch.
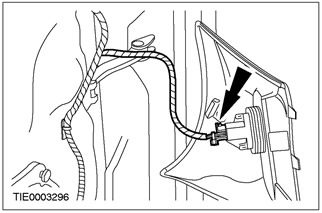
9. Remove the front door window glass clamp bolts.
- Align the mounting bolts with the holes.
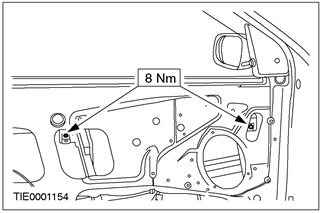
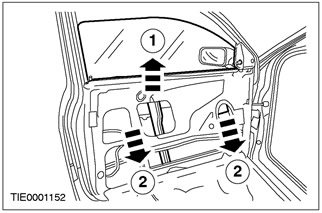
10. Disconnect the front door window glass from the regulator.
- 1. Hold the front door window glass at the top of the opening.
- 2. Lower the regulator.
11.
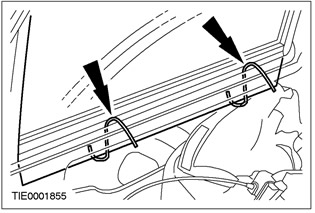
CAUTION: Make sure that the door window glass is adequately supported.
Using suitable hooks, secure the front door window glass.
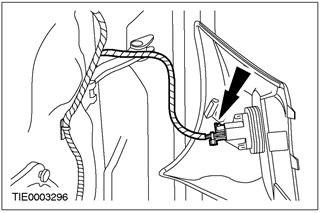
12. Disconnect the electrical connector of the window switch.
13. Disconnect the front door window regulator motor electrical connector.
- Disconnect the wiring harness from the clamp.
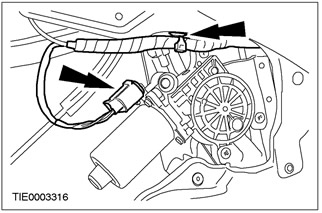
14. Remove the front door window regulator and motor. Remove the screws.
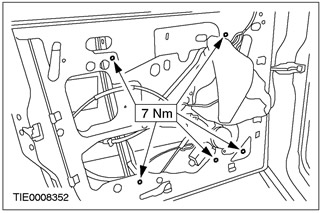
Installation
1. Install all elements back in place in reverse order.