


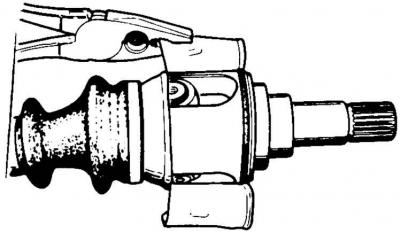
2. Cut the hinge covers and bend them back using pliers.
3. Using a spring compressor, remove the axle hub from the joint.
4. Remove the outer retaining ring of the three-arm joint and mark its position relative to the axle shaft.
5. Move the protective cover along the axle shaft and use a three-jaw puller to remove the joint.
6. Remove the synthetic lining, cover and rubber hinge guard.
7. Remove the O-ring from the hub.
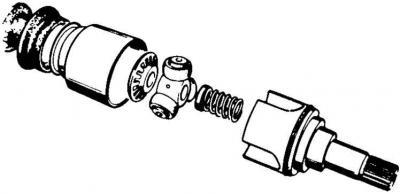
8. Clean and check all parts, replace worn or damaged ones.
9. Install protective covers, covers and a lining made of artificial material on the axle shaft (with the convex surface directed away from the hinge).
10. Using a bushing of the appropriate dimensions, install a three-arm joint on the axle shaft. Both axle shaft joints must be offset relative to each other by an angle of 60° (using the markings made during disassembly).
11. Install the retaining ring.
12. Using a spring compressor, install the axle hub onto the joint. Fill the joint with 15 grams of solid lubricant.
13. Install a round rubber ring onto the hub.
14. Using a suitable puller, install the three-arm joint housing, positioning its edges in the joint grooves.
15. Clamp the casing around the entire perimeter.
16. Fill the joints with 65–85 grams of solid lubricant S-MIC 75 F or SQM-IC 9004.
17. Install the rubber protective covers and tighten the new cover fastening clamps.
The text is available on the specified website info portal: Fordbook.ru