


SEQUENCE OF WORKS
1. Raise the car horizontally and secure it on supports, the wheels should rotate freely.
2. Turn the steering wheel all the way to the left, then to the right. Rotate the wheel on the outer radius of the turn by hand and check the condition of the protective boots of both constant velocity joints for cracks and damage.
If dirt and moisture penetrate the joint, it will fail within a short time. To check the protective cover of the inner joint, have an assistant slowly rotate the wheel.
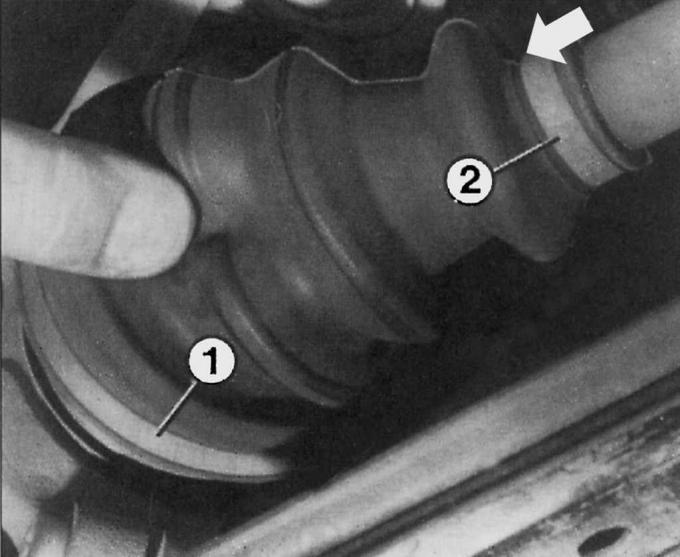
Fig. 12.13. Checking the protective cover of the outer constant velocity joint of the drive shafts and the location of the outer (1) and inner (2) clamps for fastening the protective cover
3. Check the reliability of the fastening of the protective covers with clamps (Fig. 12.13). The clamps are tightened with a side pin (arrow). To do this, bend the projection in the form of a letter "O" compressed from the sides and insert it into the clamp. Tighten firmly with the side pin until the cover stops moving. The drive shaft at the place where the protective cover is attached must be very clean.
4. Oil tracks on the protective cover are an alarm signal, as the joint lubricant leaks out, and dirt and moisture get into the joint and quickly damage it. At the factory, each ball joint is filled with 40 g of special MoS2 grease (SM-1C75-A; SQH-1C9004-A).
5. Replace damaged protective covers immediately. To do this, remove and disassemble the drive shaft.
(For more information, please visit the website: fordbook)