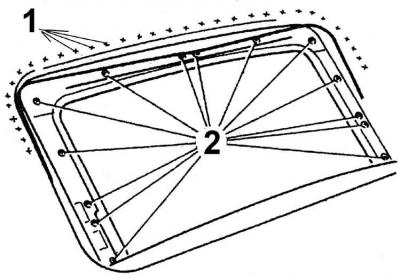
2. Unscrew the four screws and ten self-tapping screws securing the hatch frame (1 – adhesive tape, 2 – frame securing screws).
3. To protect the paint, tape the front and side edges of the hatch opening with adhesive tape.
4. Close the hatch.
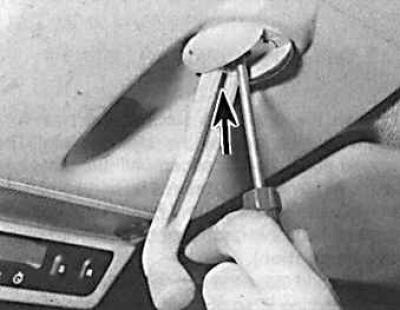
5. Unscrew the handle (indicated by the arrow) for opening the hatch.
6. Unscrew the "Torgx" screws securing the control lever, while unscrewing the screws, move the lever in the opposite direction. Remove the lever.
7. Remove the sunroof assembly upward from the vehicle, pushing it forward from the outside. Support the rear of the sunroof after removal.
8. Installation is carried out in the reverse order of removal.
The original article is posted at: FORDBOOK