- If there are deep scratches on the bumper, fenders or doors, it is better to dismantle these body parts before repair. The result will be better if this work is done manually.
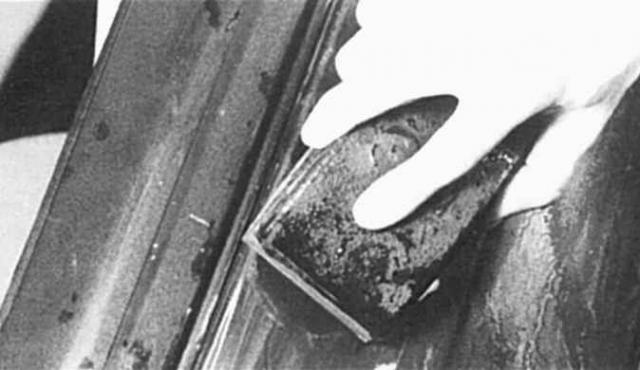
- Sand the damaged areas with sandpaper (80 or 100 grit). If there is rust, sand until bare metal appears. Then apply a rust converter and let it work for about an hour.
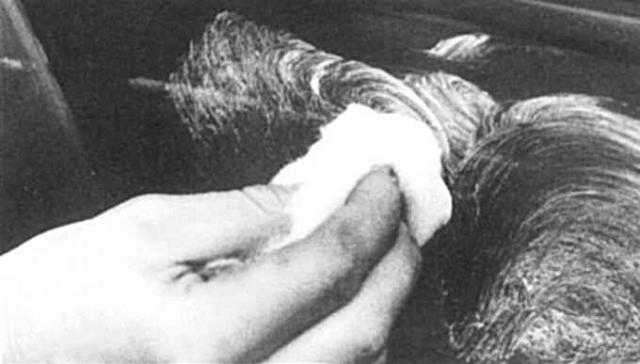
- First, clean the area with varnish thinner, degrease and ventilate well.
- Mix the putty and hardener. Level the putty mass to the height of the limiting surface of the defect area.
|
Note: Depending on the temperature, the two-component putty retains its effect for several minutes. Therefore, make a mixture of small amounts of both components. |
- Apply the filler evenly and successively in several thin layers. In about an hour the filler will harden.
- Remove any uneven areas with dry sanding paper (180 grit). Finish sanding with wet sanding paper (400 grit). Use plenty of water and apply force when sanding the surface.
- Now smooth out the remaining grooves using putty. Once it has hardened, sand all areas with wet sandpaper (600 grit).
- Before painting, thoroughly rinse off all sanding dust with water.
- Thoroughly prepared damaged areas should now be covered on all sides with adhesive tape, film or old newspapers. Neglect the certainly cheap adhesive tape, it quickly gets wet and is then absorbed by the primer.
|
Warning: Ventilate your work area well - a lot of harmful fumes are produced during varnishing. |
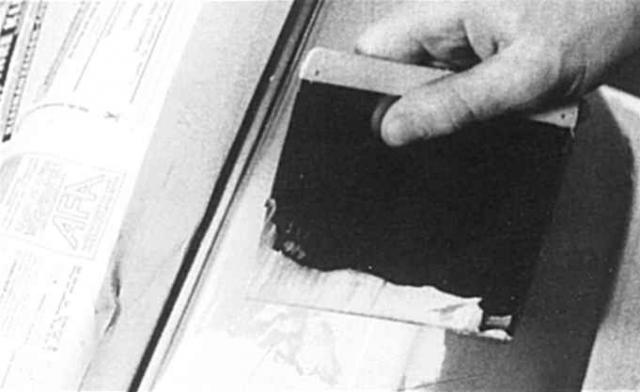
- Inject the primer (filler) as a base for the top coat. Work cleanly - unevenness and varnish protrusions do not disappear after the paint layer is applied, but only increase. Let the primer dry, then sand with wet sandpaper (grain size 600). Rinse off the sanding residue with water.
- Apply the top coat evenly from the spray can and continuously in several thin layers. The distance from the spray nozzle to the surface to be painted should be approximately 20-30 centimeters. Before painting, warm the can slightly in hot water. Remove the paint residues later at high pressure. Advantage: the surface becomes smoother and the varnish layer is more even.
- Release the edges of the adhesive tape, bend and spray these areas. The transitions to the existing varnish should be less abrupt and easier to polish.
- Once the repair varnish has dried completely (in summer within about 2 days, in winter after five days), treat these areas with polish and the transition areas with varnish cleaner. The best results are achieved if the entire car is polished in the end.
- When varnishing with an aerosol can, cut a hole in a large sheet of paper the size of the damaged area. The varnish stream will cover the surface only in the specified dimensions.
|
- Scratches and scars should be removed with a sanding polish or varnish remover if there is still a trace of the topcoat. Use only high-quality working material purchased from auto parts stores.
|
- Wrap sanding paper around the sanding block you are using, sand the damaged area smoothly with even circular motions in one direction. Keep the block wet with water to remove sanding dust.
|
- If you are working with putty for the first time, you should practice a little before you start working. Practice on an old car part. This will give you the necessary confidence and reliability when working with this material.
|
- Hold the aerosol can over the surface to be painted as still as possible. Run the stream over the object to be painted, without stopping or with oval movements - this reduces the degree of paint drips.
|
|
|