Warning: Before you begin disassembling the strut, prepare a device for compressing the coil springs. Do not use improvised means, as this may cause the spring to jump out, which may cause injury. After removing the spring with the device, leave it in it in a secure, closed place.
1. If the suspension strut shows signs of wear such as leaks, insufficient damping, settling or cracks in the spring, the strut must be disassembled and repaired. In this case, the shock absorber unit must be replaced entirely in the event of a malfunction, since it cannot be repaired. Springs and related components can be replaced. To ensure reliable damping, components on both sides of the car must be replaced at the same time.
2. After removing the rack from the car, clean off any dirt and place it in a vice.
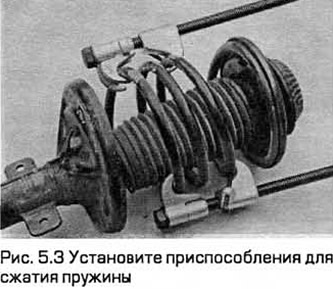
3. Install the spring compressor and compress the spring so that the upper support does not take up its force (see Fig. 5.3).
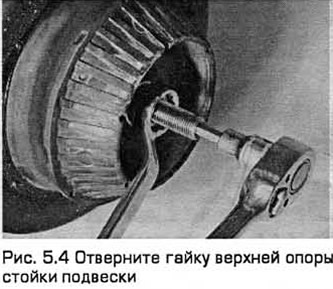
4. Holding the piston with a hex key, use a spanner to unscrew the thrust bearing nut (see Fig. 5.4).
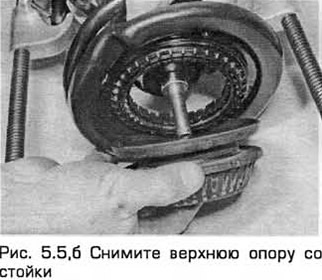
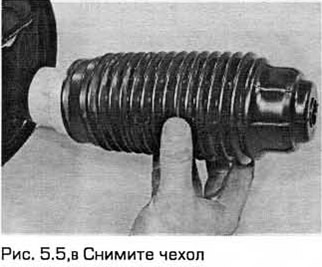
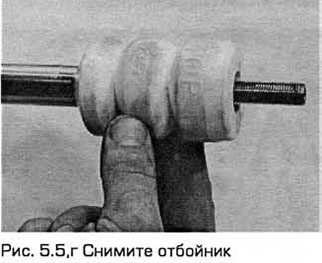
5. Remove the upper support, thrust bearing, upper spring seat and spring, then the boot and bump stop (see Fig. 5.5, a-g).
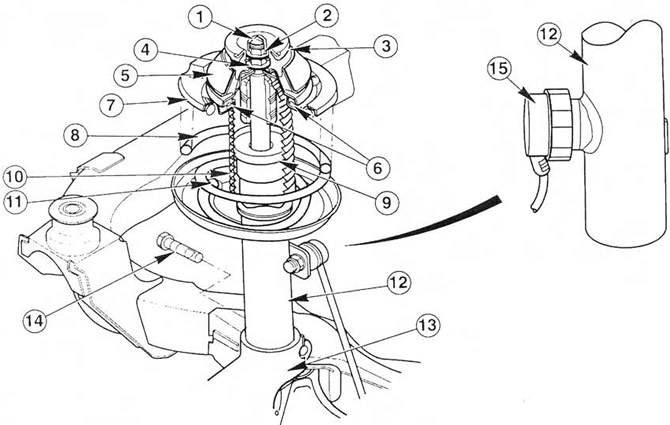 Fig. 5.5,a. Components of the front suspension strut.
1. Cap
2. Nut
3. Stopper
4. Nut
5. Upper support
6. Thrust bearing
7. Upper spring seat
8. Spring
9. Bumper
10. Cover
11. Lower spring seat
12. Rack
13. Steering knuckle
14. Clamp bolt
15. Adaptive suspension solenoid valve
6. If you are installing a new spring, unclamp the fixture and remove the spring from it. If you are installing the same spring, you can leave it in the fixture.
7. Now that the rack is disassembled, inspect all components for wear and damage. Check the bearing - it should rotate smoothly. Replace components if necessary.
8. Inspect the strut for leaks. Inspect the piston rod for pitting along its entire length. Inspect the strut body for damage.
9. Check how the strut works. Holding it vertically, move the piston from stop to stop, and then back and forth by 50-100 mm. In both cases, you should feel uniform and constant resistance to the piston movement. If you feel jerks or uneven resistance, or notice wear or damage to the strut, it needs to be replaced.
10. Perform assembly in the reverse order of disassembly, taking into account the following:
- a) Before releasing the spring compressor, seat the upper and lower ends of the spring into its upper and lower seats.
- b) Correctly install the bearing into the seat on the piston rod.
- c) Tighten the thrust bearing nut to the specified torque.
(The original can be found on the specified resource: FORDBOOK.RU)