Contents: Removal ↳ Installation ↳
| Name | Specification |
| External panel of the pillar "A" | |
| Seal mounting panel | |
| Reinforcement panel of the pillar "A" | |
| Inner panel of the "A" pillar | |
| Reinforcement of the apron panel |
Removal
1. General notes:
- Before starting repairs, remove the fender, door, hood front panel, windshield and instrument panel trim.
- Remove the following components: A-pillar trim panels, lower trim panels.
- Move flooring and electrical wiring away from the work area.
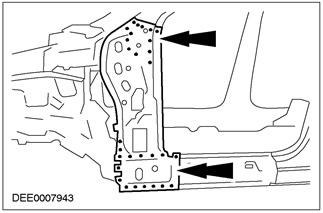
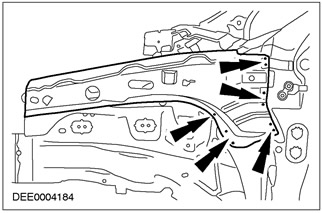
2. Strengthening the apron panel
- Mill spot welds.
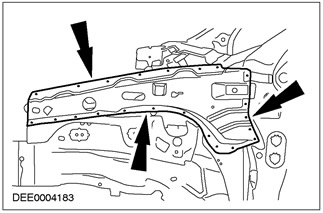
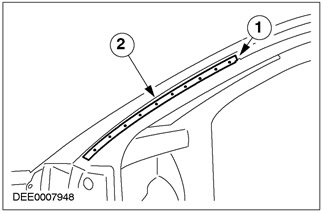
3. Seal mounting panel
- Cut it.
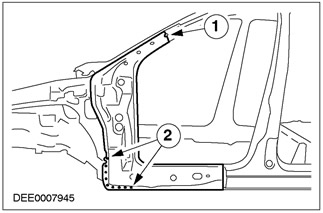
4. Stand "A"
- Place of cutting.

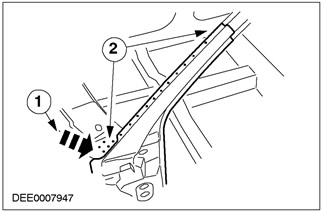
5. The connection area with the front panel of the hood
- Rout to a depth equal to twice the panel thickness and bend the tab up.
6. Reinforcement panel of the pillar "A"
- 1. Place of cutting.
- 2. To remove, heat the area using a hot air gun (foam filled area).
7. Inner panel of the "A" pillar
- Mill spot welds.

Installation
1. Inner panel of the "A" pillar
- Spot weld.
2.
NOTE: Before applying sealant, lift the A-pillar outer panel and measure the gap width.
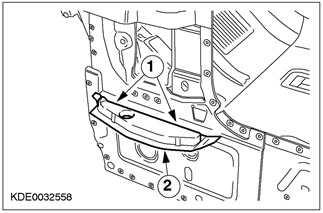
Connection of the "A" pillar/bottom trim panel
- 1. Install the NVH element carrier plate.
- 2. Apply sealant along the entire edge of the carrier plate according to the gap width.
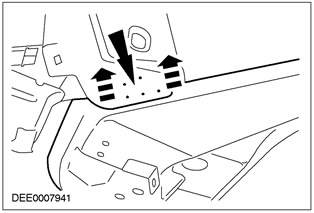
3. Strengthening the "A" pillar
- 1. Make a continuous weld with the roof timber along the cut edge - using MIG technology.
- 2. Perform puddling welding.
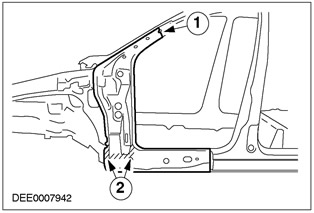
4. Stand "A"
- 1. On the cut edge, spot weld a backing strip and weld using MIG technology.
- 2. Perform puddling welding.
- 3. Perform continuous welding using MIG technology.
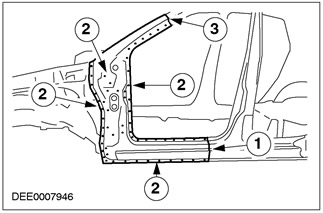
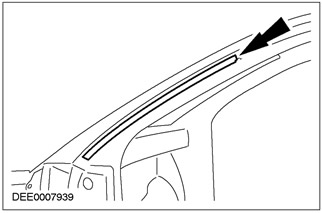
5. External panel of the "A" pillar
- 1. Bend the tab upward.
- 2. Perform puddling welding.
6. Seal mounting panel
- 1. Perform continuous welding using MIG technology.
- 2. Perform puddling welding.
7. Strengthening the apron panel
- Perform puddling welding.
The original can be found on the specified resource (FordBook)