Contents: Removal ↳ Installation ↳
| Name | Specification |
| Roof assembly |
Removal
1.
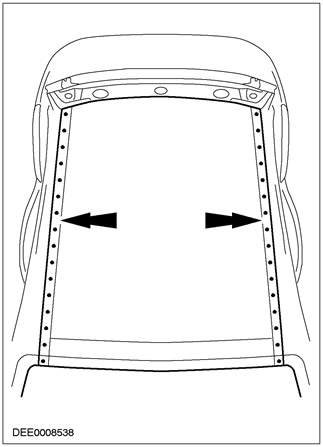
CAUTION: Rout to a depth equal to twice the panel thickness in the area of the center roof cross member.
Roof
- Remove the sealant.
- Separate spot welds.
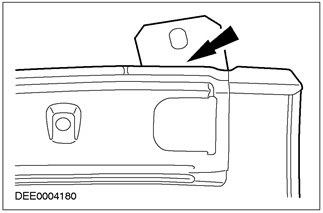
2. Roof crossbar - pillar "A" (on both sides)
- 1. Separate spot welds.
- 2. Bend the tabs upward.

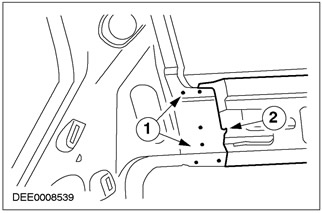
3. Roof crossbar - pillar "C" (on both sides)
- 1. Separate spot welds.
- 2. Bend the tabs upward.

Installation
1.
CAUTION: When removing the roof, the door and window frame will move inward. Therefore, before installing the roof, restore the original gap between the door and window frame (use a door clamp).
Prepare the remaining body parts and new spare parts
- Remove the transport element (new spare part).
2. Roof crossbar - pillar "A" (on both sides)
- 1. Perform puddling welding.
- 2. Bend back the tab.

3. Roof crossbar - pillar "C" (on both sides)
- 1. Perform puddling welding.
- 2. Bend back the tab.
4. Sealing - protection against corrosion
- Seal the roof panel on the left and right sides using flange sealant. Apply flange sealant to a thickness that ensures the weather strip is positioned at its original height and fits accurately.
(The full article is on the online resource: www.FordBook.ru)