The top and sides of the upholstery can be removed without the use of a tool; a Phillips screwdriver is required to remove the bottom of the upholstery.
To remove the upper part of the upholstery of the tailgate..
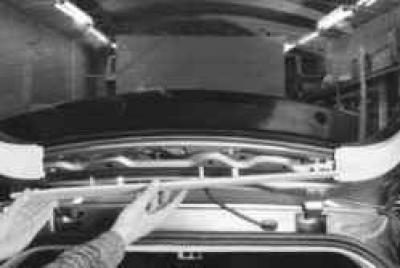
1.... pull the upper part towards you, removing its latches from the holes in the inner door panel.
2. Establish the top part of an upholstery of a door of a back in an order, the return to removal.
To remove the bottom trim of the tailgate do the following.
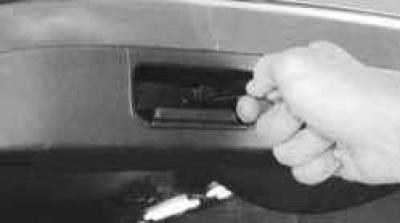
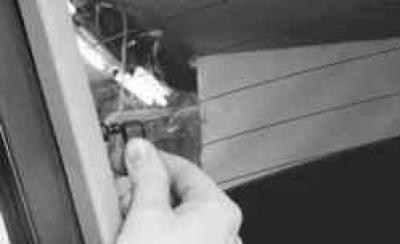
1. Remove one screw securing the lower part of the upholstery to the lower end of the door on the left..
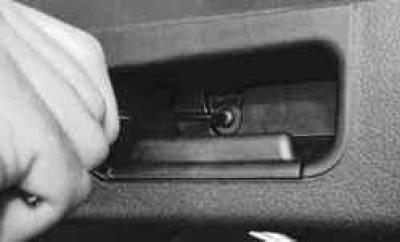
2....and to the right...
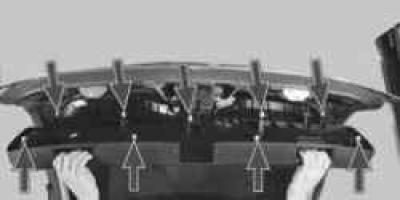
3.... then remove the lower part of the tailgate upholstery, overcoming the elastic resistance of its nine holders (shown by arrows).
4. Establish the bottom part of an upholstery of a door of a back in an order, the return to removal.
To remove the side part of the upholstery of the tailgate do the following.
1. Remove the top and bottom of the upholstery (see above in this subsection).
2. Remove the upper end of the cord to raise the trunk shelf from the holder.
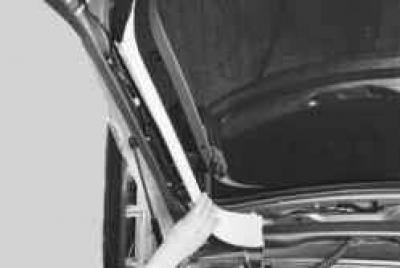
3. Pull the side of the upholstery towards you, removing the clips from the holes in the inner door panel, and remove it. Remove the second side trim in the same way.
4. Establish lateral parts of an upholstery of a door of a back in an order, the return to removal.
Visitor comments