Contents: Removal ↳ Installation ↳
Removal
Vehicles with mechanical sunroof.
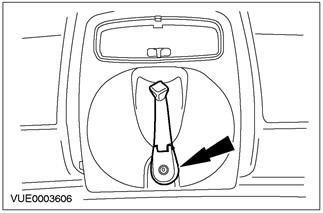
1. Remove the sunroof handle.
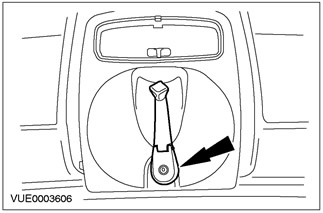
All cars
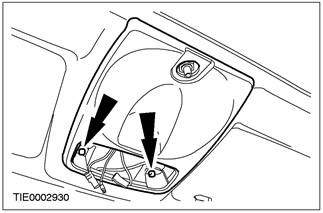
2. Disconnect the front interior light.
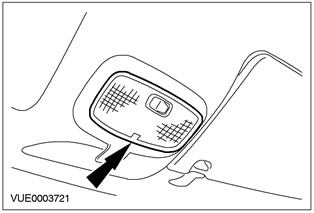
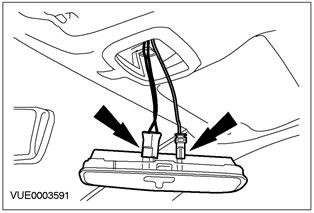
3. Disconnect the electrical connectors of the front interior light and remove the front interior light.
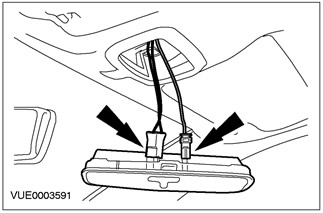
Vehicles with mechanical sunroof.
4. Remove the overhead console.
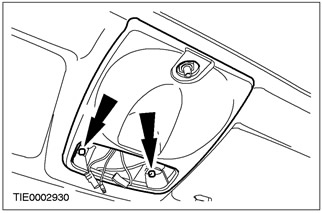
All cars
5. Remove the A-pillar trim panel. Refer to Section 501-05 for additional information.
6. Remove the sun visors.
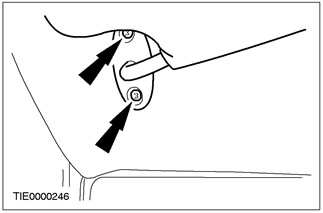
7. Remove the sun visor mounting clips.
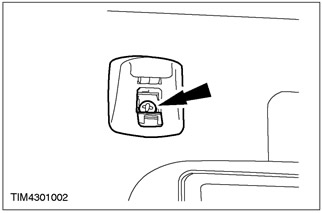
8. Remove the sunroof seal.
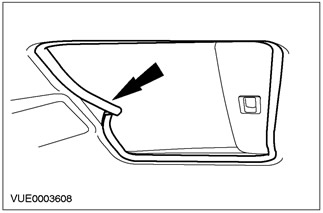
9. Carefully remove the front edge of the headlining to access the GSM antenna cable.
10. Disconnect the GSM antenna cable from the AM/FM antenna cable (headliner shown removed for clarity).
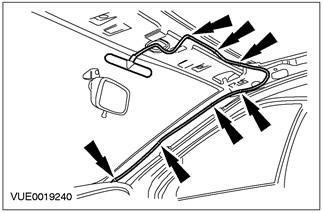
11. Disconnect the GSM antenna from the windshield.
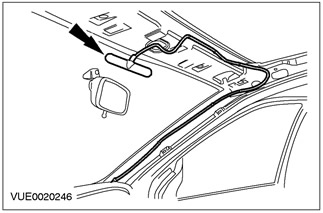
12. Cut the GSM antenna cable. Discard the GSM antenna cable.
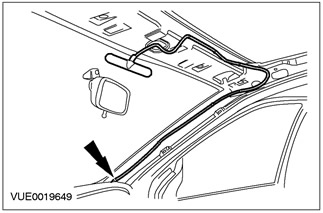
13. Remove the glove compartment.
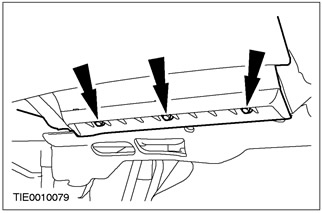
14. Remove the recirculation air duct.
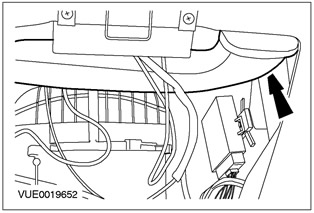
15. Disconnect the GSM antenna cable from the AM/FM antenna cable.
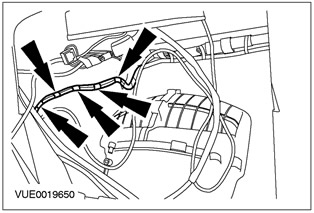
16. Cut the GSM antenna cable.
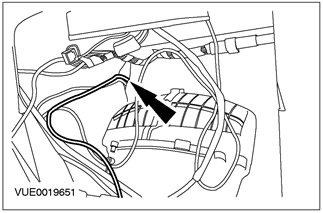
17. Disconnect the GSM antenna in-line electrical connector from the telematics control module ultra-fine wire electrical connector and remove the GSM antenna cable.
- Discard the GSM antenna cable.
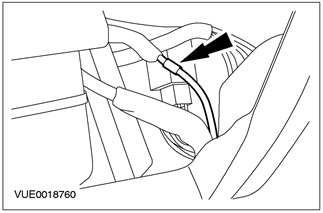
Installation
All cars
1.
CAUTION: Use an alcohol swab to clean the windshield before installing the antenna.
NOTE: Install a new GSM antenna.
NOTE: The GSM antenna must be installed in the correct position.
Install the GSM antenna cable to the windshield. For more information, refer to the "Description and Operating Principle" section.
2. Using suitable staples, secure the GSM antenna cable to the AM/FM antenna cable (headliner shown removed for clarity).
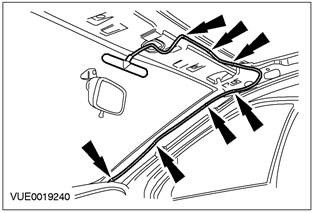
3.
NOTE: Make sure the GSM antenna cable is connected to the in-line electrical connector on the telematics control module.
Using suitable staples, secure the GSM antenna cable to the instrument panel wiring harness.
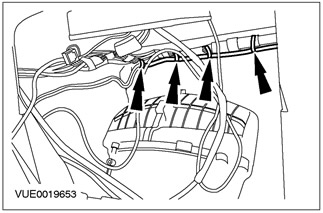
4. Using suitable clamps, secure the GSM antenna cable to the AM/FM antenna cable.
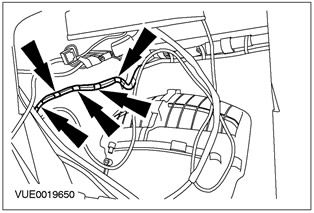
5. Connect the in-line electrical connector of the GSM antenna cable to the electrical connector of the superfine wire of the telematics system control module.
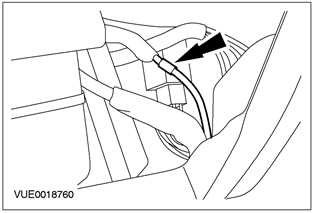
6. Install the recirculation duct.
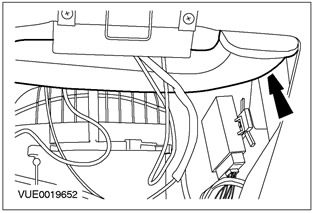
7. Install the glove compartment.
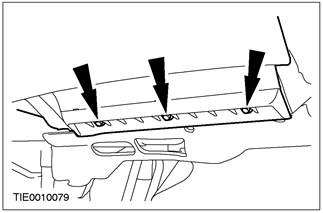
8. Secure the ceiling trim.
9. Install the sunroof seal.
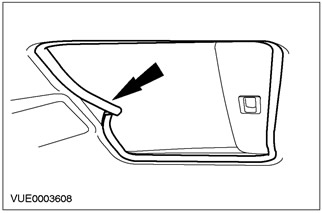
10. Install the A-pillar trim panel. Refer to Section 501-05 for additional information.
11. Install sun visors.
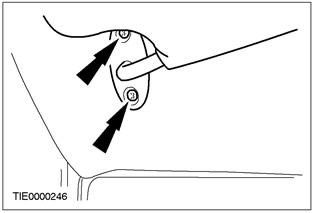
12. Install the sun visor mounting clamps.
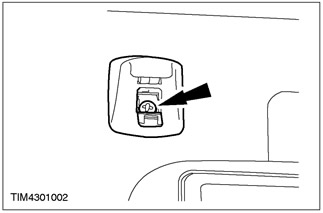
Vehicles with mechanical sunroof.
13. Install the ceiling console.
All cars
14. Connect the electrical connectors of the front interior light.
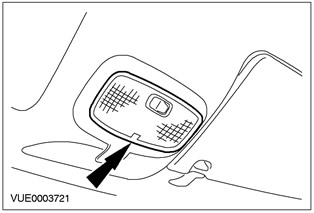
15. Install the front interior light.
Vehicles with mechanical sunroof.
16. Install the sunroof handle.
[The article was taken in its entirety from the specified website fordbook]