Contents: Removal ↳ Installation ↳
Removal
Move the seat all the way back.
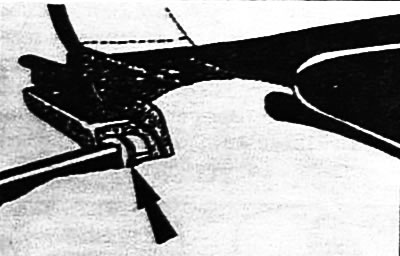
Unscrew the front mounting bolt "arrow".
If necessary, detach the return spring from the seat crossbar.
Move the seat forward as far as it will go.
If present, remove the protective caps from the rear mounting bolts.
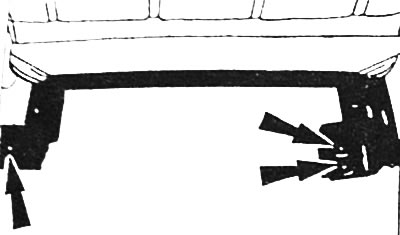
Remove the 3 rear bolts securing the arrow.
Tilt the seat forward and, if necessary, disconnect the 3 multi-pin plug connectors. To facilitate subsequent assembly, mark the connectors with adhesive tape beforehand.
Carefully remove the seat from the vehicle interior.
Installation
Activate the seat locking mechanism, move the seat tires back as far as they will go and secure them with the locking mechanism.
Place the seat in the vehicle interior and install it in the installation position. If necessary, connect the 3 multi-pin plug connectors in accordance with the markings.
Attach and tighten the 3 rear mounting bolts by hand.
Move the seat all the way back and lock it in place.
Screw in the front mounting bolt and tighten to a torque of 30 Nm.
Move the seat forward as far as it will go and tighten the 3 rear mounting bolts to 30 Nm.
If present, tighten the protective caps on the rear mounting bolts.
If equipped, attach the return spring to the seat crossbar.
Note: The end of the spring must be located between the protrusions of the crossbar.
(For details, please visit the website: FordBook)