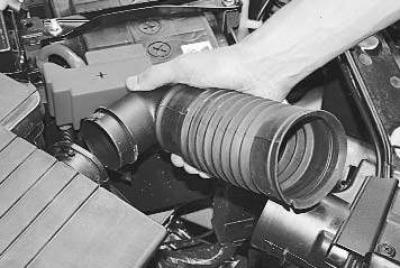
1. Remove the air supply hose.
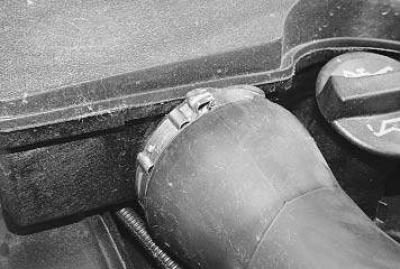
2. Remove the clamp securing the hose to the air filter housing pipe…
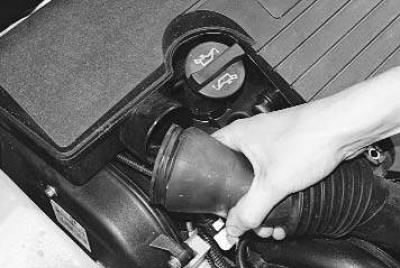
3. …disconnect the hose and move it to the side.
Note: The hose clamp is disposable, please replace it with a new one during assembly.
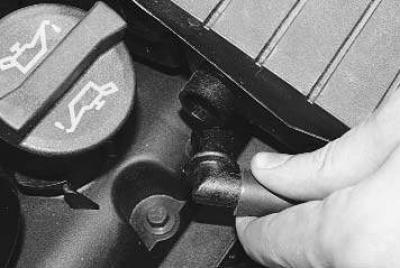
4. Disconnect the crankcase ventilation hose.
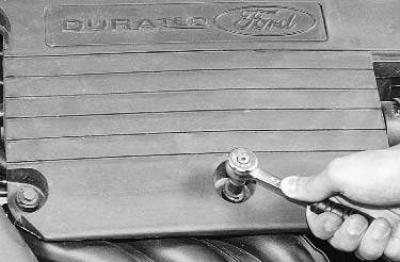
5. Remove the two air filter housing mounting bolts…
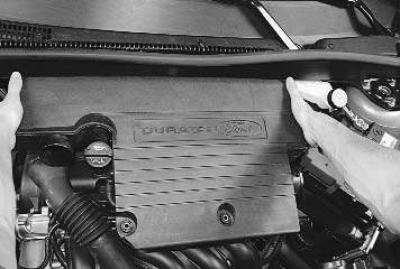
6. …and remove the air filter housing.
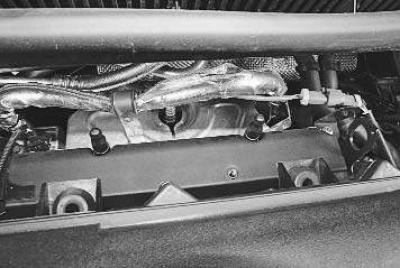
Note: The rear part of the air filter housing is installed on the guides.
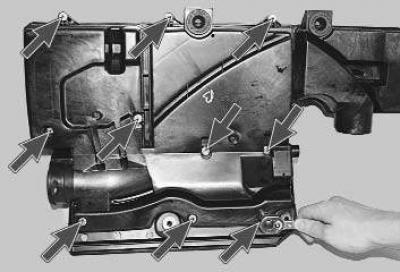
7. Remove the ten bolts securing the air filter housing cover…
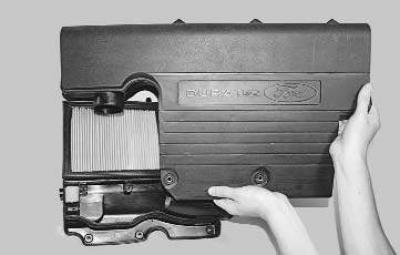
8. …remove the cover...
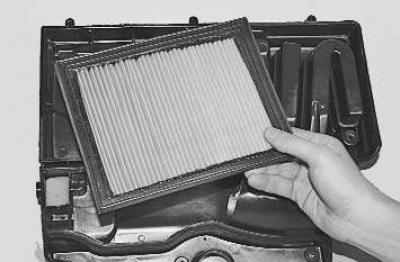
9. …and remove the filter element from the air filter housing.
10. Inspect the filter element. Blow it with compressed air. Replace a heavily contaminated filter element.
11. If necessary, remove dust and dirt from the air filter housing.
12. Install a new filter element into the housing.
Note: The filter element has a rectangular shape that matches the shape of the air filter housing, so incorrect installation of the element is excluded.
13. Install the parts in the reverse order of removal.
The material was copied from an information website: FORDBOOK