Removal of the rear mounting block located in the luggage compartment is described in this subsection. The mounting block located in the engine compartment does not have common wiring harness connectors - each wire is inserted into a separate socket in the base of the block. Due to the large number of wires connected to this block and the need to have a special wire location map, the work on removing and installing the mounting block located in the engine compartment should be carried out at a specialized service station. The rear mounting block located in the luggage compartment has the same switching method, but it has significantly fewer connecting wires, so with sufficient skill and care it can be replaced on your own. The central mounting block located under the instrument panel is made in one piece with the multifunctional electronic unit (GEM) and to repair or replace it, it is necessary to remove the block, see Removal and installation of the multifunctional electronic unit (gem).
To remove the rear mounting block, follow these steps:.
You will need a 10mm socket head.
1. Disconnect the wire from the negative terminal of the battery.
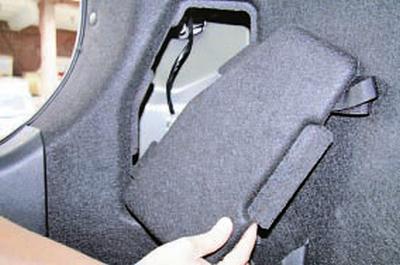
2. Remove the hatch cover in the side trim (
see Fuses, fuse links and relays location and replacement).
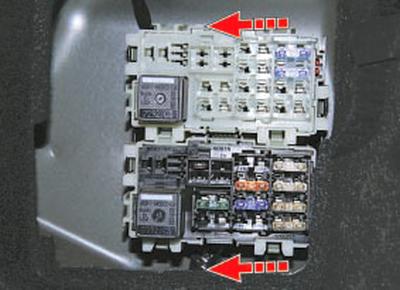
3. Unscrew the two nuts securing the block bracket to the side (not visible in the photo, their locations are shown by dotted arrows)..
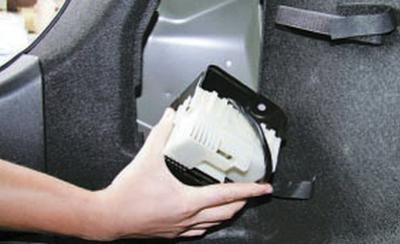
4….and move the blocks away from the side.
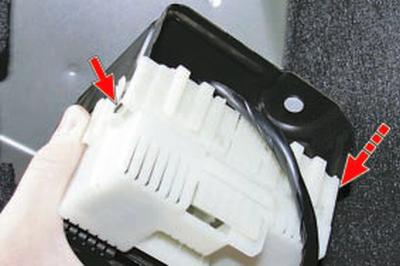
5. To remove the replacement mounting block, press the two latches on the sides of the mounting block to the bracket and disconnect the block from the bracket. Disconnecting the wires from the mounting block one by one, write down their location in its sockets and remove the block.
6. Install the parts in the reverse order of removal.
The original article is available on the website (FordBook)