NOTE: Left headlight bulb replacement shown. The lamps in the right block headlight are located symmetrically, they are replaced in the same way.
1. Disconnect the wire from the terminal «minus» battery.
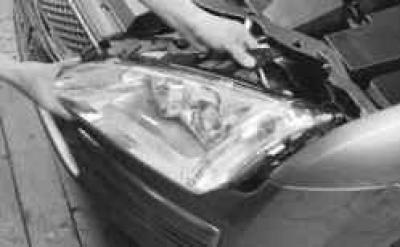
2. Remove headlight (cm. «Headlight Replacement»).
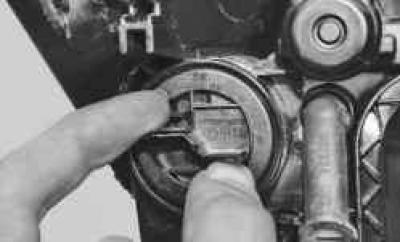
3. Turn the turn signal bulb socket counterclockwise..
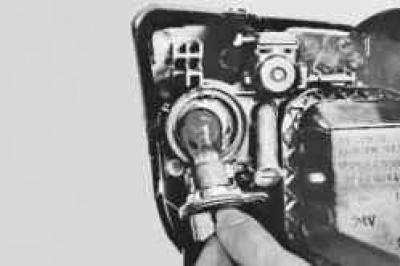
4.... and remove it from the headlight.
NOTE: The turn signal bulb holder is sealed with a rubber gasket. Replace a heavily compressed, hardened, or torn gasket.
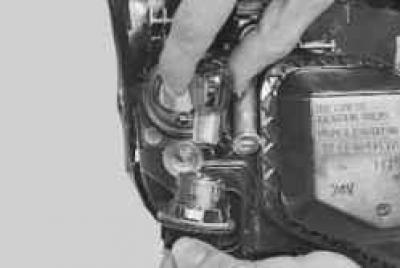
5. Press the bulb, turn it counterclockwise and remove it from the socket.
6. Install the new bulb in the socket and the socket in the headlamp.
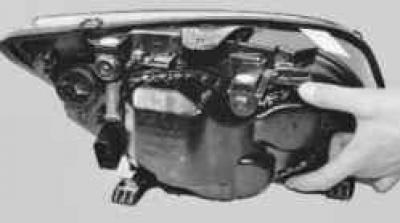
7. Squeeze the four latches..
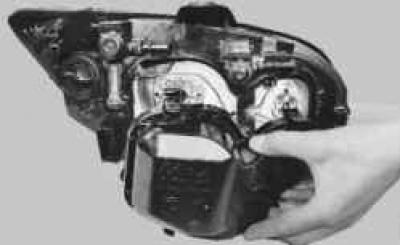
8.... and remove the headlight cover.
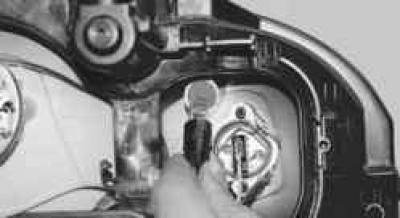
9. Squeeze the latches and remove the side light bulb holder from the hole in the reflector.
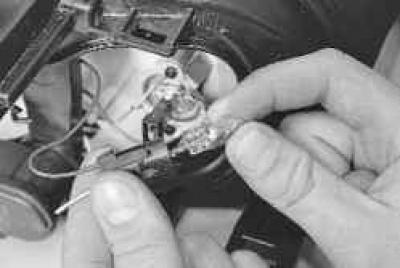
10. Remove the bulb from the socket.
11. Insert a new lamp into the socket and replace the socket.
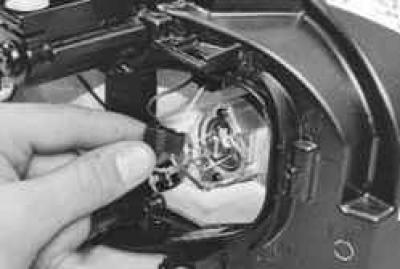
12. Disconnect the wiring harness block from the low beam lamp.
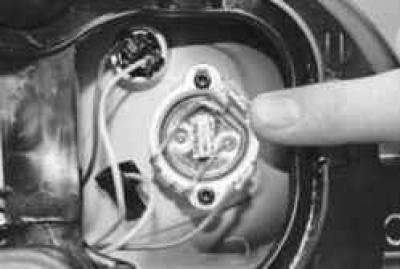
13. Remove the spring clip from the hook on the reflector..
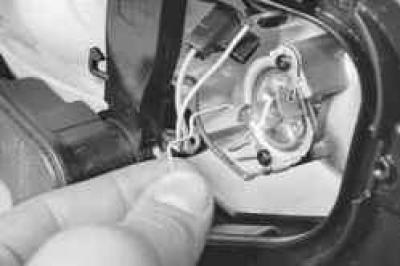
14.... fold down the latch..
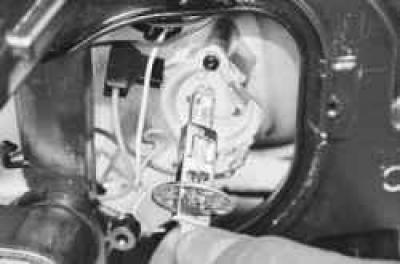
15.... and remove the low beam lamp.
16. Insert a new lamp into the reflector and fix it with a spring holder.
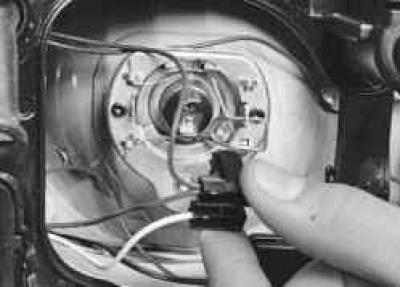
17. Disconnect the wiring harness block from the high beam lamp.
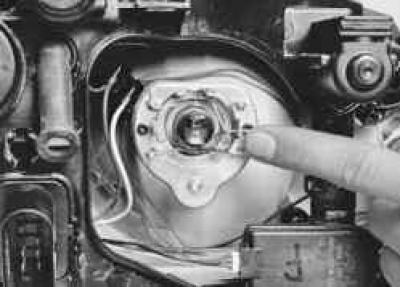
18. Remove the spring clip from the hook on the reflector..
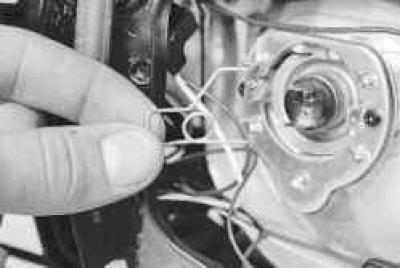
19.... fold down the latch...
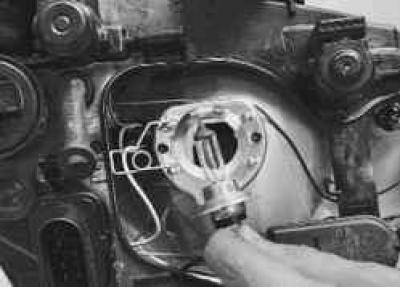
20.... and remove the high beam lamp from the reflector.
WARNING: Do not touch the lamp bulb with your fingers, as the halogen lamp gets very hot and grease stains will cause the bulb to darken. Handle the bulb by the bulb only with clean gloves or a clean cloth. If there are still grease stains on the lamp, remove them with alcohol.
21. Insert a new lamp into the reflector and fix it with a spring holder.
22. Replace the cover.
23. Install headlamp.
To replace the side turn signal bulb perform the following operations.
1. Disconnect the wire from the terminal «minus» battery.
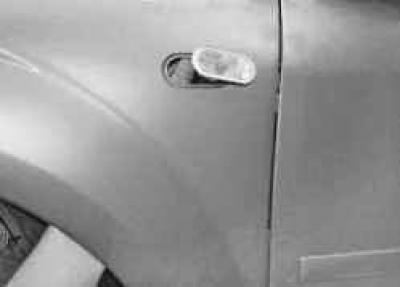
2. Remove the turn signal light from the hole in the fender (cm. «Replacement of a lateral lantern of the index of turn»).
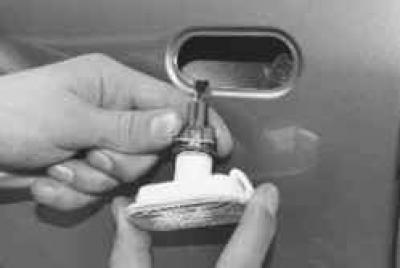
3. Turn the lamp socket counterclockwise..
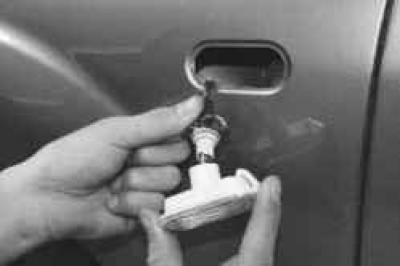
4.... and remove it from the indicator lamp.
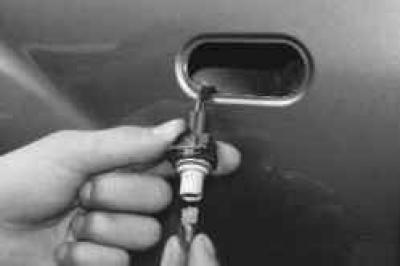
5. Remove the bulb from the socket.
6. Insert a new lamp into the socket, and the socket into the pointer body.
7. Establish a lateral lantern of indexes of turn in an order, the return to removal.
To replace the bulb in the side turn signal, located in the outside rearview mirror, perform the following operations.
1. Disconnect the wire from the terminal «minus» battery.
2. Remove the mirror cover.
3. Through an opening in the case of a mirror wring out a clamp and take a plafond of the index of turn.
4. Remove the bulb socket from the turn signal light and the bulb from the socket.
5. Install a new lamp.
6. Install the parts in the reverse order of removal.
To replace any bulb in the rear light hatchback and station wagon vehicles, perform the following operations.
1. Disconnect the wire from the terminal «minus» battery.
2. Open the tailgate.
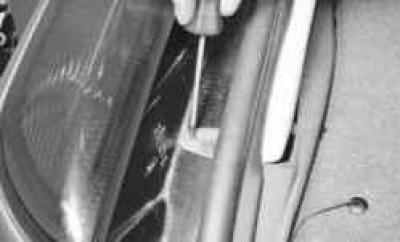
3. Turn out the lower..
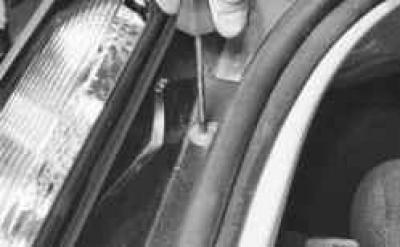
4.... and the upper screws for attaching the lamp..
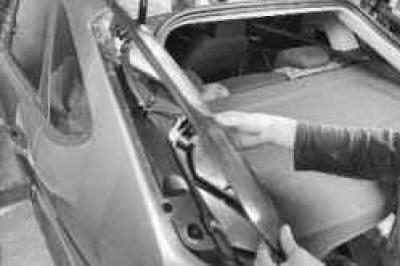
5.... and take the lamp away from the body, overcoming the force of the clamps.
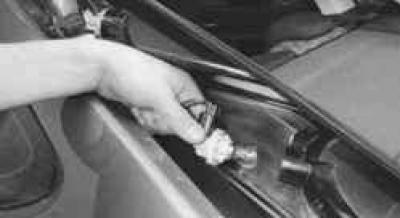
6. On vehicles with a hatchback body Turn the side light/brake light bulb socket and remove it from the light housing.
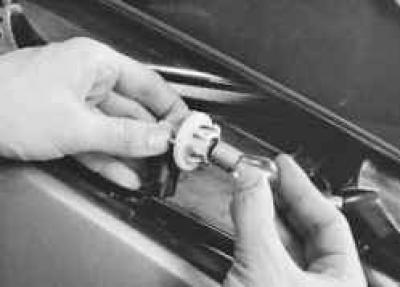
7. Press the bulb, turn it counterclockwise and remove it from the socket.
8. Install the new bulb in the socket and the socket in the lamp body.
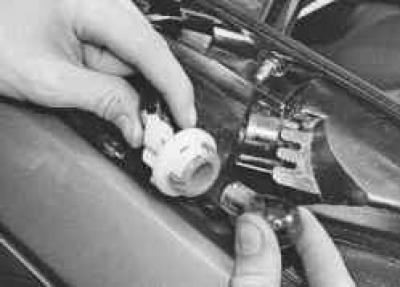
9. Similarly replace a lamp of the index of turn.
10. On vehicles with a station wagon body Squeeze the latch and disconnect the wiring harness connector from the rear light.
11. Turn out two screws and remove a lamp cover in gathering with cartridges of lamps.
12. Press the bulb, turn it counterclockwise and remove it from the socket.
13. Install a new lamp.
14. Install the parts in the reverse order of removal.
To replace any bulb in the rear light sedan vehicles, perform the following operations.
1. Disconnect the wire from the terminal «minus» battery.
2. Open the trunk lid.
3. Turn the two latches on the rear light cover and remove the cover.
4. Wring out two clamps and remove a cover of a lantern in gathering with cartridges of lamps.
5. Press the bulb, turn it counterclockwise and remove it from the socket.
6. Install a new lamp.
7. Install the parts in the reverse order of removal.
To replace the bulb in the reversing light perform the following operations.
1. Disconnect the wire from the terminal «minus» battery.
NOTE: To replace the lamp, it is not necessary to remove the lamp, it is enough to perform the operations of paragraphs. 4–9. However, it is more convenient to perform these operations by removing the lantern.
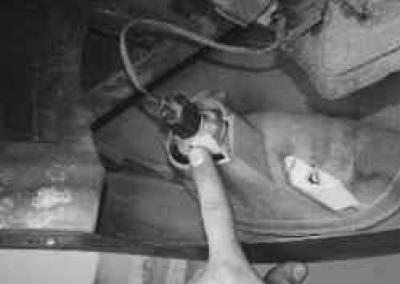
2. Press the latch..
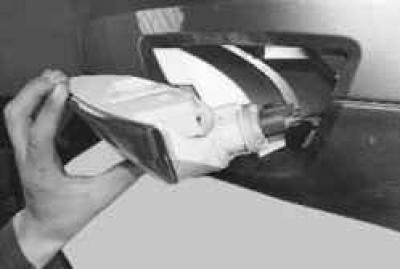
3.... and remove the reversing light from the bumper.
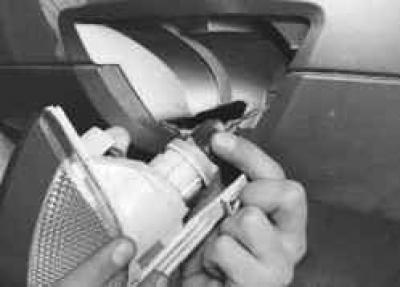
4. Turn the bulb socket counterclockwise..
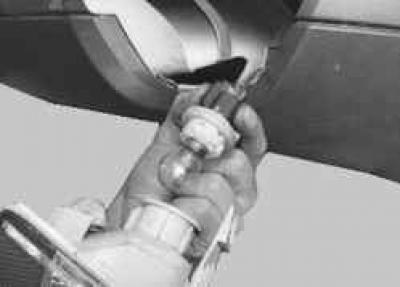
5.... and remove it from the lamp.
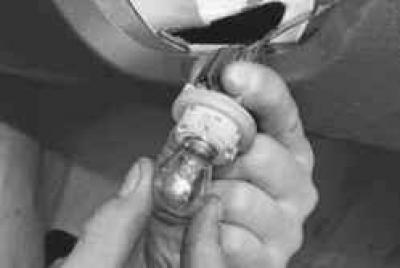
6. Turn the lamp counterclockwise..
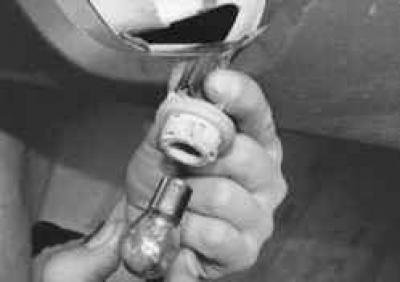
7.... and remove it from the cartridge.
8. Install a new lamp.
9. Install the parts in the reverse order of removal.
To replace a bulb in a fog light perform the following operations.
1. Disconnect the wire from the terminal «minus» battery.
NOTE: To replace the lamp, it is not necessary to remove the lamp, it is enough to perform the operations of paragraphs. 4–9. However, it is more convenient to perform these operations by removing the lantern.
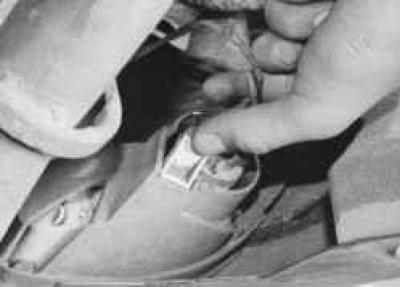
2. Press the latch..
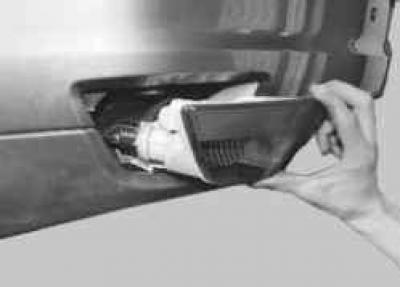
3.... and remove the fog lamp from the bumper.
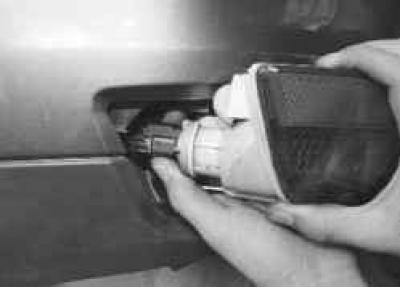
4. Turn the bulb socket counterclockwise..
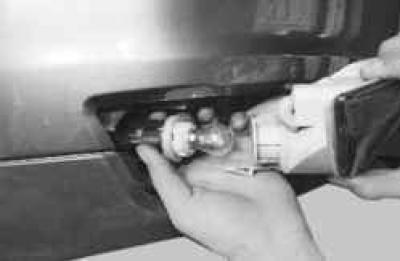
5.... and remove it from the lamp.
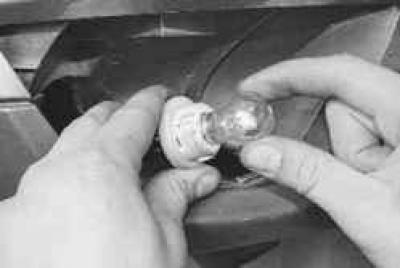
6. Turn the lamp counterclockwise..
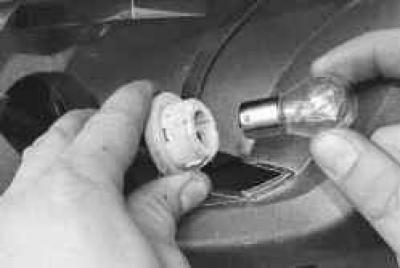
7.... and remove it from the cartridge.
8. Install a new lamp.
9. Install the parts in the reverse order of removal.
To replace bulbs in license plate lights perform the following operations.
1. Disconnect the wire from the terminal «minus» battery.
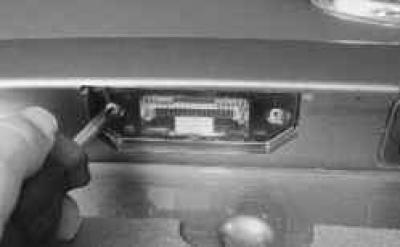
2. Turn out two screws of fastening..
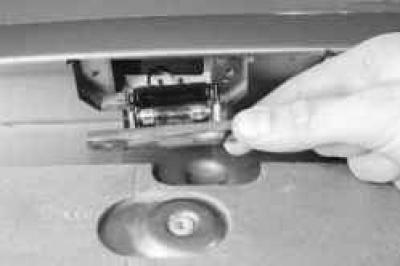
3.... remove the lamp from the tailgate trim (trunk lids) …
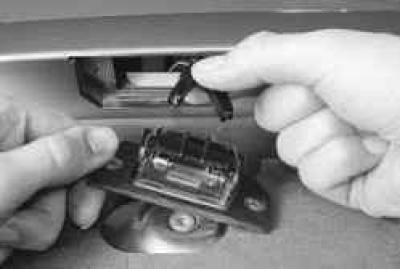
4.... and disconnect the wiring harness pads from it.
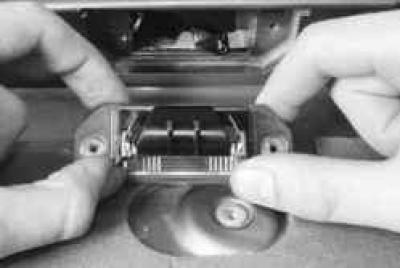
5. Release the latches..
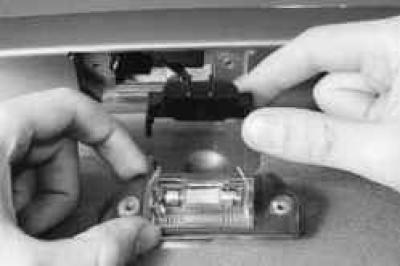
6.... and remove the reflector.
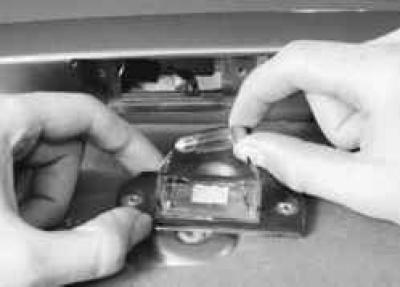
7. Wring out spring contact and take a lamp.
8. Install a new lamp.
9. Install the parts in the reverse order of removal.
10. Similarly, replace the bulb in the second license plate light.
To replace a bulb in an additional brake light perform the following operations.
1. Disconnect the wire from the terminal «minus» battery.
2. Remove the additional brake light (cm. «Replacement of an additional brake light»).
NOTE: On hatchback and station wagon vehicles, additionally…
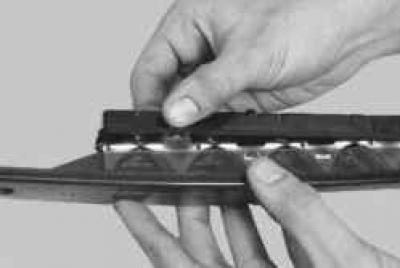
...squeeze the tabs on the left..
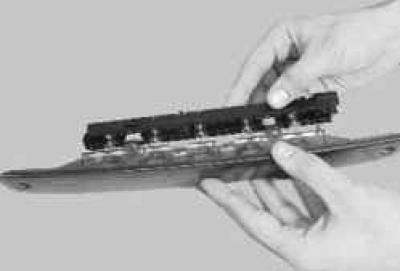
... and on the right, and then separate the lamp socket and diffuser.
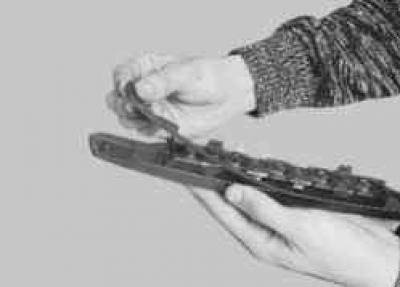
The connection of the diffuser with the lamp socket is sealed with a gasket. Replace damaged gasket.
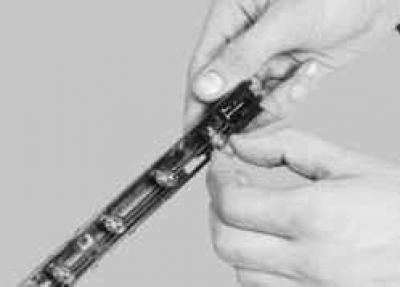
3. Remove the socketless lamp to be replaced from the socket.
4. Install a new lamp.
5. Install the parts in the reverse order of removal.
To replace the lamp in the dome light perform the following operations.
1. Disconnect the wire from the terminal «minus» battery.
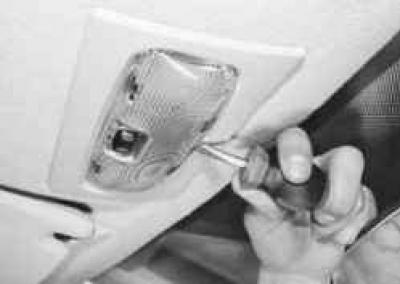
2. Pry with a screwdriver..
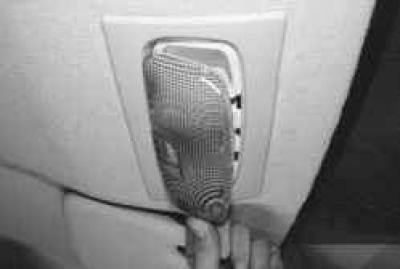
3.... and remove the interior lamp diffuser, overcoming the force of the clamps.
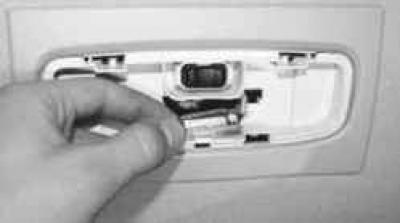
4. Wring out spring contact and take a lamp.
5. Insert a new lamp.
6. Replace the diffuser.
To replace the pedal lamp perform the following operations.
1. Disconnect the wire from the terminal «minus» battery.
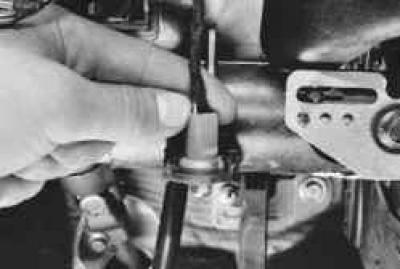
2. Turn the bulb socket counterclockwise..
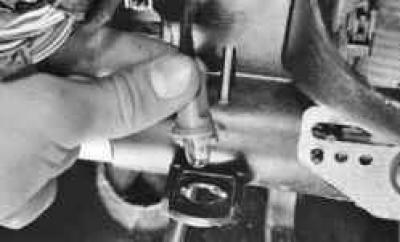
3.... and remove it from the bracket on the instrument panel frame reinforcement.
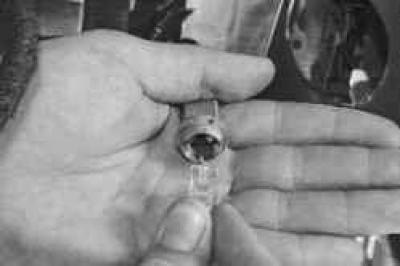
4. Remove the baseless lamp from the socket.
5. Install a new lamp in the holder.
6. Install the parts in the reverse order of removal.
To replace the lamp in the trunk light perform the following operations.
NOTE: The trunk light is installed on sedan vehicles.
1. Disconnect the wire from the terminal «minus» battery.
2. Open the trunk.
3. Overcoming the force of the latch, remove the cover from the hole in the car body (if necessary, pry it with a screwdriver).
4. Remove the bulb from the socket.
5. Insert a new lamp into the socket.
6. Install the parts in the reverse order of removal.
Visitor comments