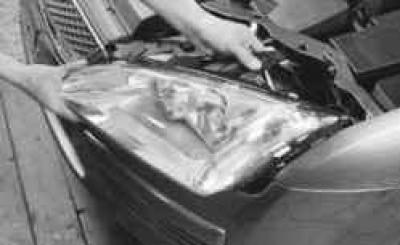
2. Remove headlight (cm. «Headlight Replacement»).
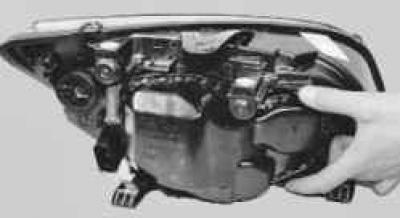
3. Squeeze the four latches..
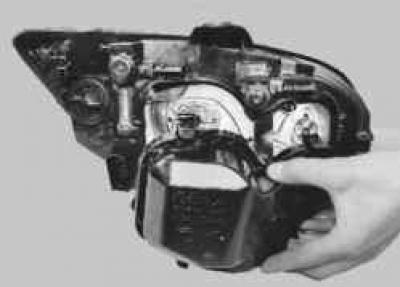
4.... and remove the headlight cover.
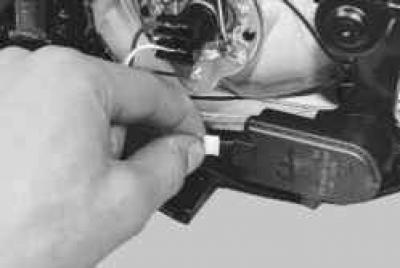
5. Disconnect the wiring harness block..
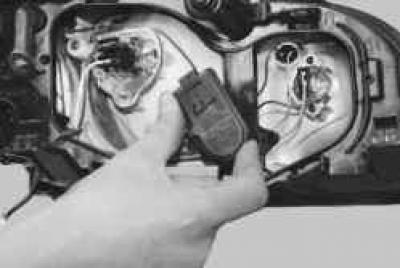
6.... turn the electric corrector clockwise (for left headlight) or counterclockwise (for right headlight) …
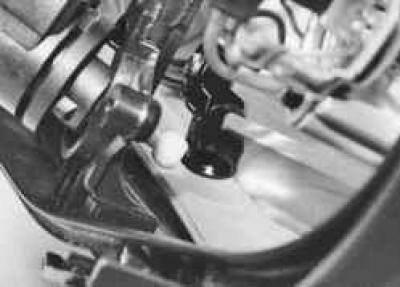
7.... disengage the ball end from the plastic reflector lever..
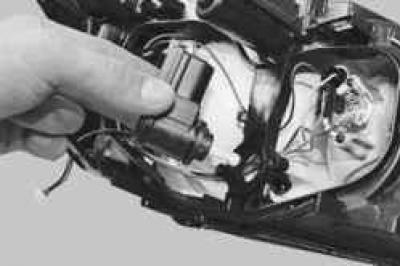
8.... and remove the electrocorrector.
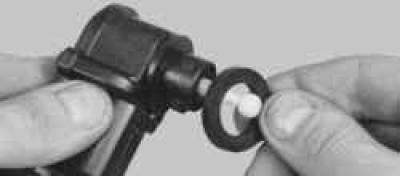
9. Remove the O-ring.
NOTE: Replace a severely compressed or torn ring.
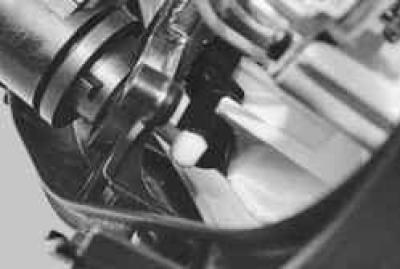
10. Install the electrocorrector in the reverse order of removal. When installing, make sure that the ball tip of the electrocorrector engages with the reflector lever.
GOOD ADVICE: Connect the wiring harness without installing the headlight, connect the wire to the terminal «minus» battery and check the operation of the electrocorrector: turn on the dipped or main beam headlights. When turning the regulator of the electrocorrector, the light beam of the headlight should move in the vertical direction. If the sound of the operation of the electrocorrector is heard, and the light beam does not move, then most likely the tip of the electrocorrector did not engage with the reflector lever.
11. Install the parts in the reverse order of removal. Check that the headlights are set correctly and adjust if necessary (cm. «Checking and adjusting the headlights»).
Visitor comments