Contents: Removal ↳ Installation ↳
| Name | Specification |
| Light mounting panel | |
| Extended part of the rear side panel | |
| Reinforcement of the floor panel |
Removal
1. General note
- Before starting repairs, remove the rear panel.
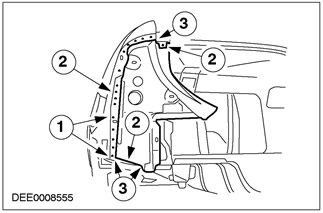
2. Light mounting panel with reinforcement
- Cut it out.
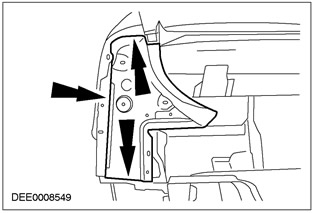
3. Light mounting panel with reinforcement
- Cutting places.
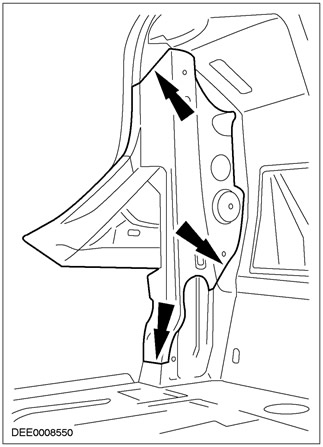
4.
CAUTION: The light mounting panel is held in place by high temperature soldering.
Light mounting panel
- 1. Remove the remaining flanges.
- 2. Cut out.
- 3. Grind down the weld seam.
- 4. Separate the high temperature soldering joints.
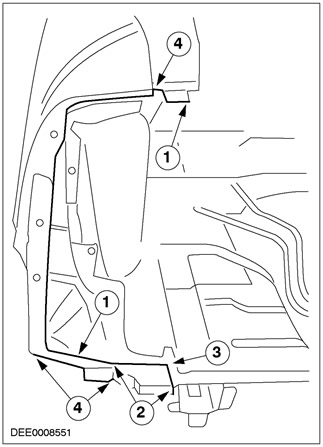
Installation
1. Light mounting panel with reinforcement
- 1. Perform welding using MIG technology.
- 2. Perform puddling welding.
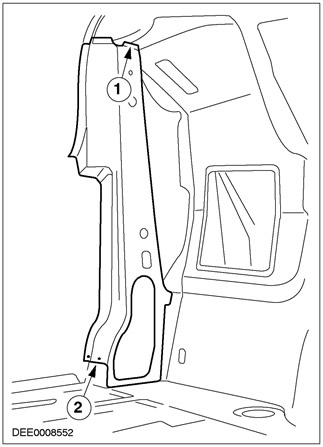
2. Reinforcement of the floor panel
- Bend up the weld flange of the rear side panel.
- 1. Perform a puddling weld (to a depth equal to twice the panel thickness)
- 2. Bend up the welded flange of the rear side panel.
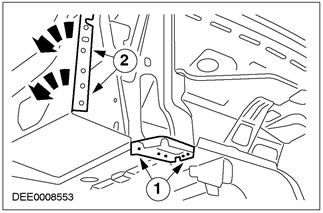
3. Light mounting panel
- Bend the weld flanges upward.
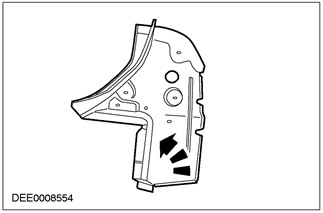
4.
CAUTION: If the headlamp mounting panel is being replaced in combination with the taillamp panel, install the taillamp panel before installing the headlamp mounting panel.
Light mounting panel
- 1. Bend back the weld flange of the rear side panel.
- 2. Perform puddling welding.
- 3. Perform soldering.