Remove the expansion tank cap, check the cap and the neck of the tank for rust and salt deposits, remove any deposits found.
Caution: Remove the cap only when the radiator has cooled down and is warm to the touch, otherwise there is a risk of scalding from hot liquid. For safety reasons, cover the neck of the tank with a thick rag.
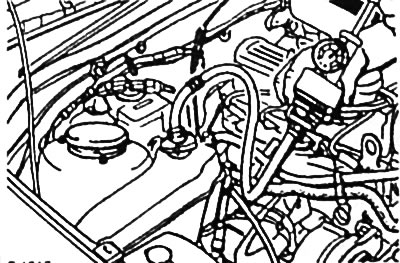
Instead of the cap, screw the connecting element of the device onto the filler neck of the expansion tank.
Using the hand pump of the device, create excess pressure in the cooling system of approximately 1.4 bar.
The pressure created should remain constant for about two minutes. If the pressure drops, check the cooling system visually for leaks and eliminate the cause of the leak. The leak is determined by the escaping coolant under pressure.
Release the pressure in the cooling system and slowly unscrew the connecting element of the device.
Checking the safety valve
The relief valve is located in the radiator cap. At a certain excess pressure, the valve opens the cooling system and allows excess coolant to flow into the expansion tank.
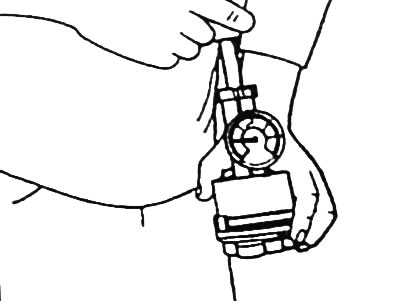
To check the radiator cap, screw it onto the device through the adapter, as shown in the figure.
Create pressure using a hand pump and read the reading corresponding to the valve opening. The measured value should correspond to the pressure value stamped on the radiator cap. If the pressure values do not match, replace the radiator cap.
Check the coolant level, top up to the MAX mark if necessary.
Screw on the expansion tank cap. If damaged, replace the rubber sealing gasket on the cap.