Withdrawal
All cars
1.
WARNING: If brake fluid comes into contact with the paintwork, the affected area must be washed immediately with cold water.
Disconnect the battery ground wire.
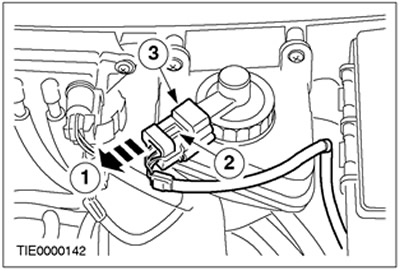
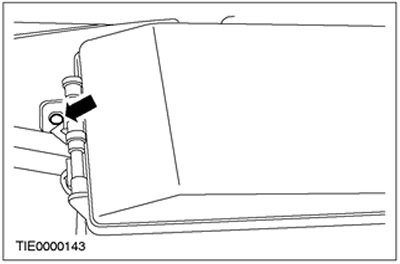
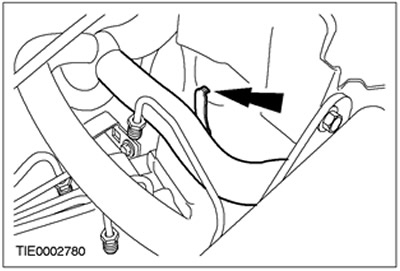
2. Disconnect the plug connector on the filler cap.
- 1.Pull back the tongue.
- 2.Press on the clips.
- 3.Disconnect the plug connector.
3.
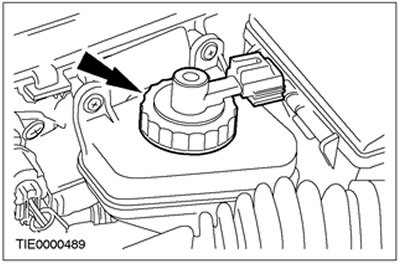
CAUTION: Avoid getting dirt on the filler cap.
Remove the tank filler cap.
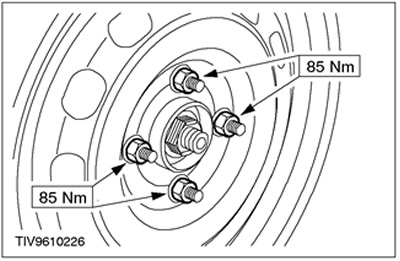
4. Loosen the front wheel nuts.
5. Raise and support the vehicle. See Section 100-02 for more information.
6. Remove the front wheels.
7. Release the bleed valve.
- 1.Remove the vent cap.
- 2.Release the bleed valve.

8.
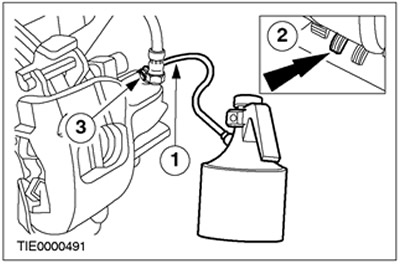
NOTE: Perform this procedure on both front brake lines.
Remove the brake fluid from the brake fluid reservoir.
- 1. Connect the bleed tube to the bleed port and immerse it in a suitable container.
- 2. Press the brake pedal until the release of brake fluid stops.
- 3.Tighten the bleed screw.
9. Lower the car.
10. Remove the air filter. See Section 303-12 for more information.
11. Remove the final pipeline of the air filter.
12. Disconnect the plug connector.
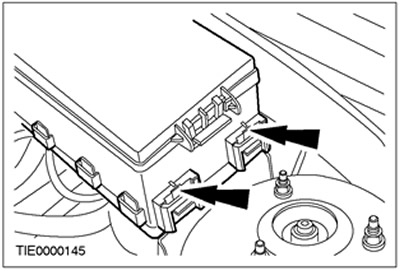
13. Remove the screw securing the central electrical box.
14. Disconnect the central electrical box. Move the air filter to the side.
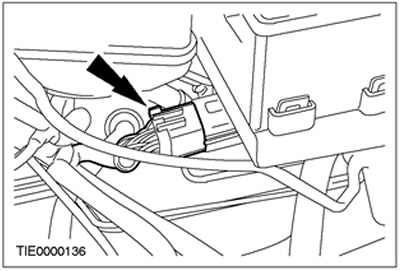
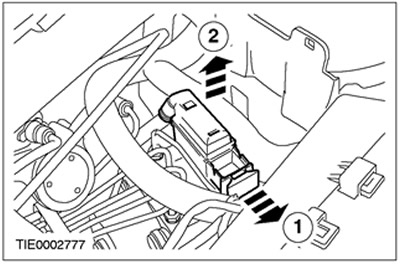
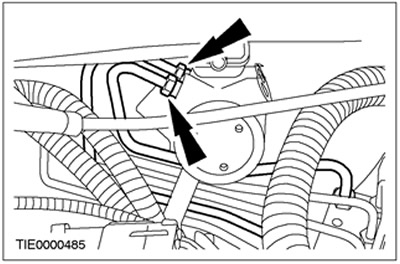
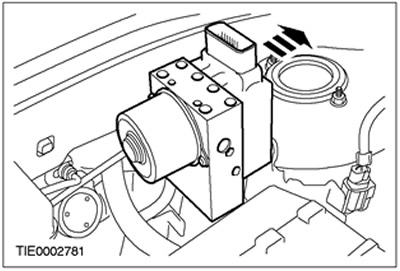
15. Disconnect the plug connector of the hydraulic control unit.
- 1. Loosen the lock.
- 2.Disconnect the plug connector.
Vehicles with a course stability function
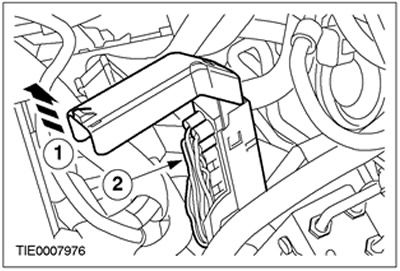
16. Disconnect the plug connector of the hydraulic control unit.
- 1. Loosen the lock.
- 2.Disconnect the plug connector.
All cars
17.
CAUTION: Plug brake lines to prevent leakage of brake fluid and ingress of dirt.
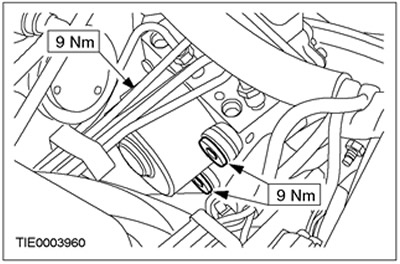
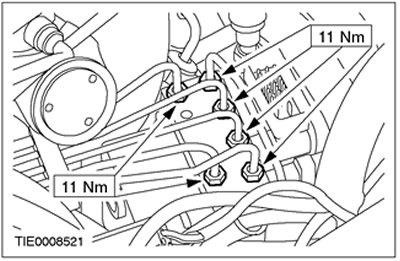
Disconnect the hydraulic control unit brake lines.
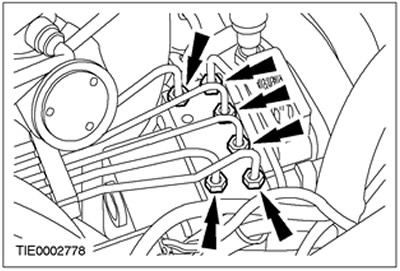
18. Disconnect brake pipelines.
Left hand drive vehicles
19.
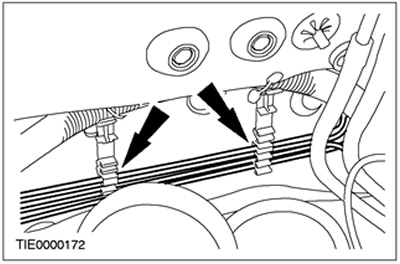
CAUTION: Plug the brake line connections to prevent leakage of brake fluid and ingress of dirt.
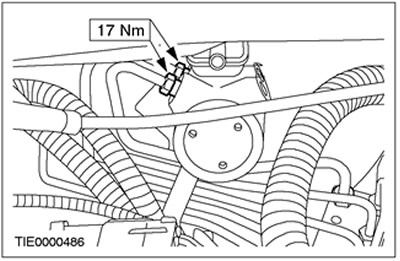
Disconnect the brake lines from the master cylinder.
All cars
20. Disconnect the hydraulic control unit.
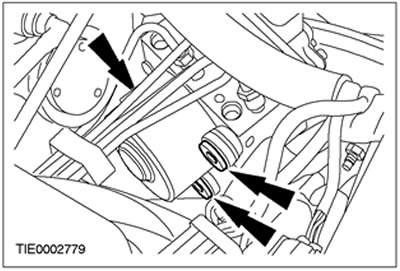
21. Disconnect the wiring harness from the suspension strut.
22. Remove the hydraulic control box.
Installation
1.
NOTE: After installation, bleed the brake system. See Section 206-00 for more information.
When installing, follow the removal procedure in reverse order.
Visitor comments