NOTE: It is more convenient to perform work on a lift.
You will need: keys (or socket heads) "for 10", "for 13", "for 21", TORX T25, a screwdriver with a flat blade, a container for collecting the working fluid of the power steering, a puller for pressing silent blocks.
1. Set the steering wheel to the position corresponding to the rectilinear movement of the car.
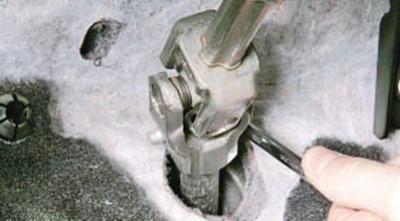
2. In the passenger compartment under the instrument panel, loosen the nut of the terminal connection of the steering shaft with the steering gear shaft and separate the shafts.
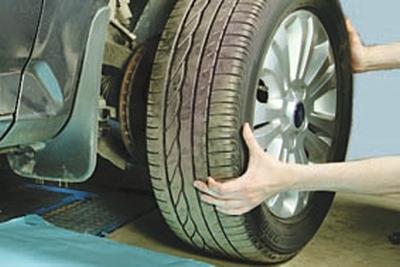
3. Install wheel chocks ("shoes") under the rear wheels, hang the front of the car and remove the front wheels.
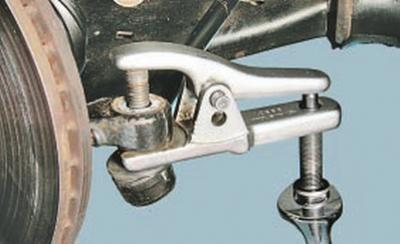
4. Press out from the levers of the steering knuckles the pins of the hinges of the outer tips of the steering rods (refer to Outer Tie Rod End Replacement).
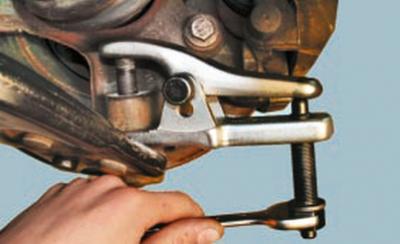
5. Press the ball joint pin out of the steering knuckle (see Ball joint replacement).
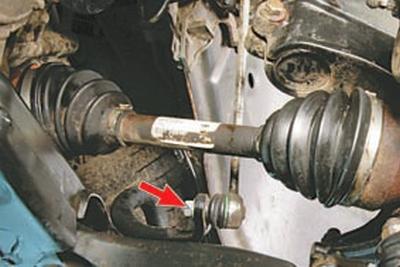
6. Turn away a nut of fastening of a finger of a stabilizer rack, keeping a finger from turning, and disconnect a pin of the hinge of a stabilizer rack from a bar of the stabilizer.
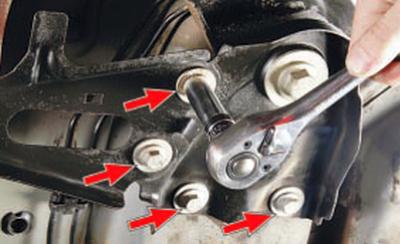
7. Turn out on four bolts of fastening of a spacer to a body from the left and right side.
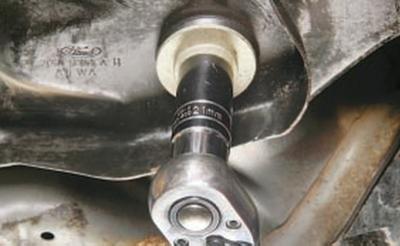
8. Turn out on one bolt of fastening of a strut and a stretcher of a forward suspension bracket to a body from the left and right side.
9. Remove body brace.
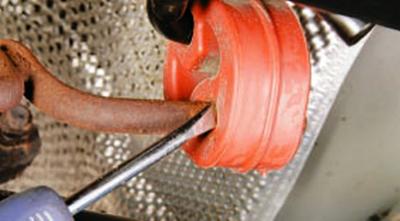
10. Pry with a screwdriver..
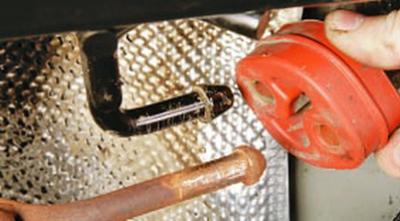
11.... and remove the left suspension cushion of the exhaust system from the brackets of the front suspension subframe and the exhaust pipe.
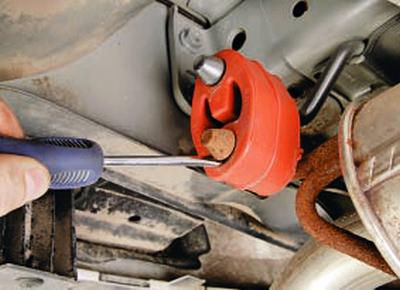
12. Similarly remove the right pillow of a suspension bracket of system of release of the fulfilled gases.
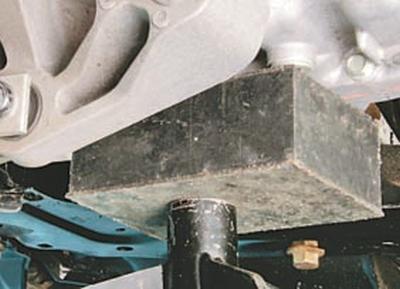
13. Establish a support under a case of a transmission.
14. Turn out a bolt of fastening of a back support of a suspension bracket of the power unit to a subframe of a forward suspension bracket (refer to Powertrain Rear Mount Replacement).
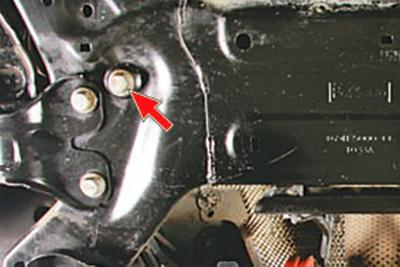
15. Turn out bolts of fastening of a stretcher to a body from the left and right side.
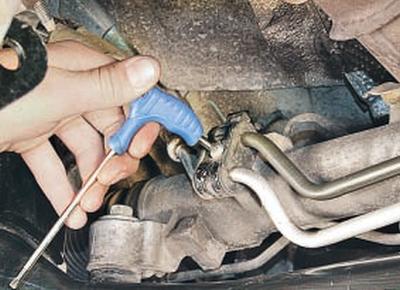
16. Turn out the screw of fastening of the holder of tubes …
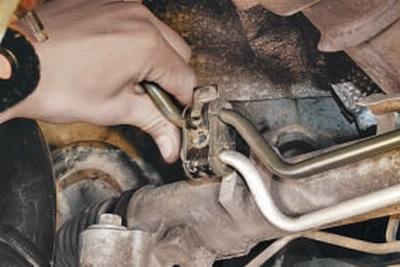
17.... and remove the holder with tubes from the steering mechanism.
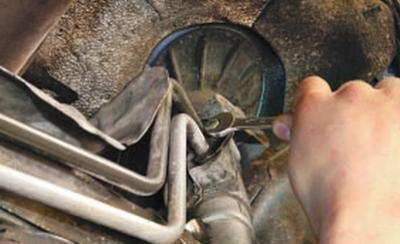
18. Turn out a bolt of fastening of a clamp of tubes …
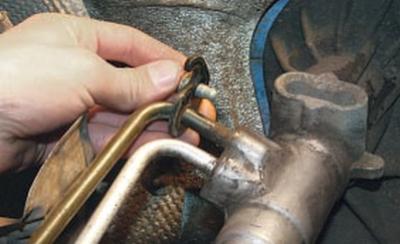
19….remove the latch…
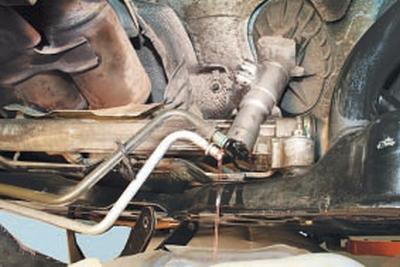
20.... disconnect the tubes from the steering mechanism and drain the working fluid of the hydraulic booster system from them or plug them with plugs.
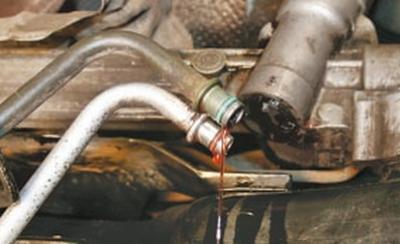
NOTE: The connection of the tubes to the steering gear is sealed with rubber rings.
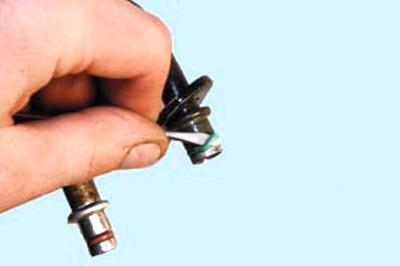
Replace the rings with new ones each time the connection is disconnected.
21. Turn out the top bolts of fastening of a subframe of a forward suspension bracket to a body.
22. Remove the front suspension subframe assembly with the lower arms, steering gear and stabilizer bar by lowering it down. Remove the stabilizer bar if necessary (refer to Replacing Front Suspension Anti-roll Bar Parts), steering gear (see Steering Gear Replacement) and lever (refer to Front Suspension Arm Replacement).
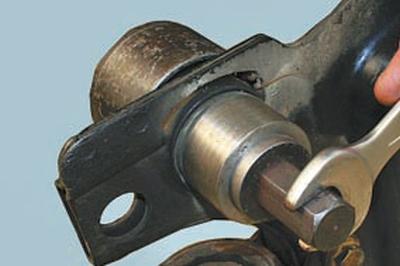
23. If replacement is necessary, install the puller and press out the silent block of the front suspension subframe, remembering the position in which it was installed.
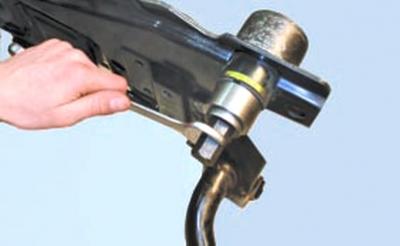
24. Press in a new silent block.
25. Install the parts in the reverse order of removal. Tighten the bolts to the torque specified in Appendix 1.
26. Bleed the power steering system (see Bleeding the Power Steering System).
27. Check and, if necessary, adjust the wheel alignment (see Checking and Adjusting Wheel Alignment) in a workshop equipped with special equipment.
Visitor comments