You will need: a 21 mm spanner, a wheel bolt wrench, a ball joint puller, a drill, and a 12 mm metal drill bit.
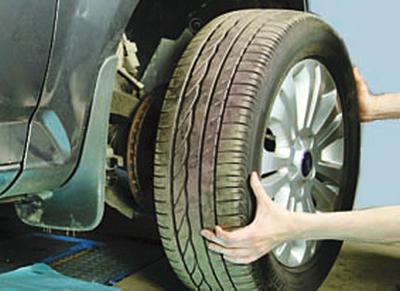
1. Raise and support the front of the vehicle. Remove the wheel.
WARNING: Apply the parking brake and place wheel chocks under the rear wheels.
WARNING: Loosen and tighten wheel nuts only with the vehicle on the ground.
2. Moisten the nut and ball joint pin with penetrating lubricant such as WD-40 or its equivalent.
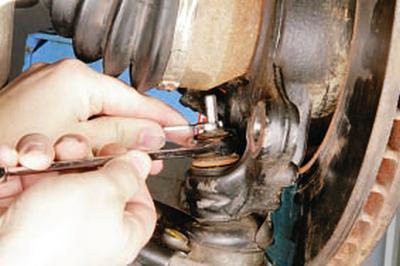
3. Loosen the nut securing the ball joint pin to the suspension arm, using a wrench to hold the ball joint pin from turning if necessary.
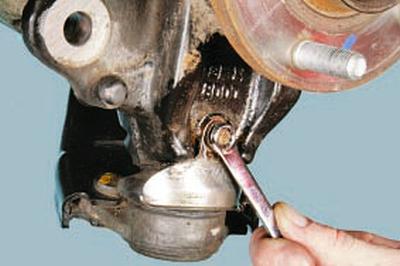
NOTE: If necessary, remove the ball joint protector by unscrewing the bolt that secures it to the steering knuckle.
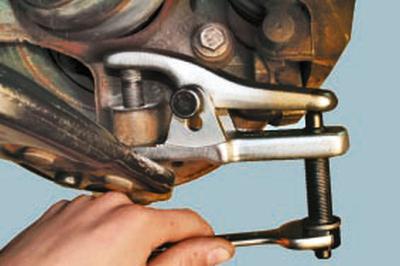
4. Install the ball joint puller and press the pin out of the lever.
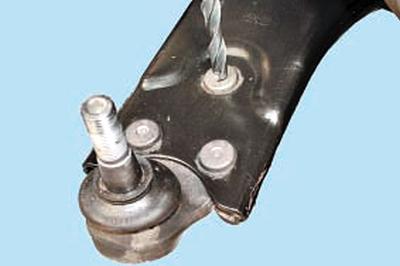
5. If the ball joint is riveted to the control arm (factory installation), drill out these three rivets.
USEFUL TIP: It is easier to drill out the rivets on the removed front suspension arm (see Replacing the front suspension arm).
6. If the support is attached with bolts (it has already been replaced), unscrew the three self-locking nuts, holding the bolts from turning with a second wrench.
WARNING: Self-locking nuts are not reusable, replace with new ones.
7. Remove the rivets (bolts) from the holes of the ball joint and lever, then remove the support.
8. Install the ball joint in the reverse order of removal, without completely tightening the nut of its pin.
CAUTION: Do not damage the ball joint boot during installation.
9. Lower the car to the ground and rock it vigorously several times. Tighten the ball joint pin mounting nut.
NOTE: After replacing the front lower control arm, check and adjust the wheel alignment if necessary (see Checking and adjusting wheel alignment angles).
Use the services of workshops that have special equipment.