1. Raise the front of the vehicle.
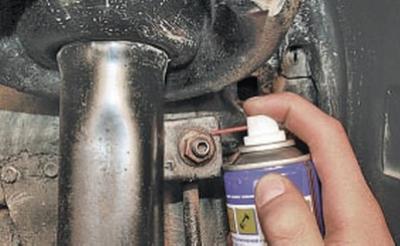
2. Apply penetrating lubricant such as WD-40 or similar to the nuts.
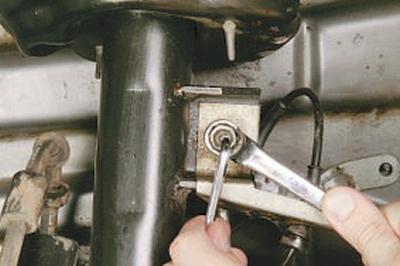
3. While holding the hinge pin from turning, unscrew the nut securing the hinge to the front suspension strut bracket…
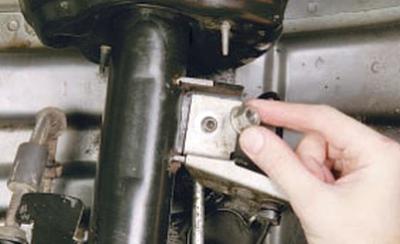
4….and remove the nut.
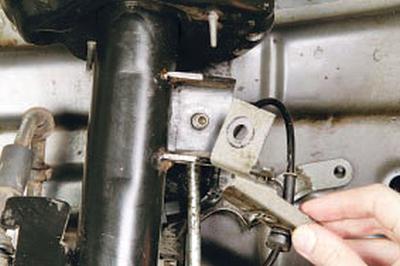
5. Remove the wire mounting bracket.
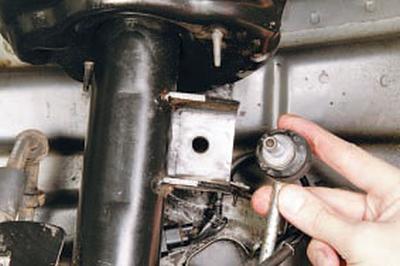
6. Disconnect the upper stabilizer bar joint from the front suspension bar bracket.
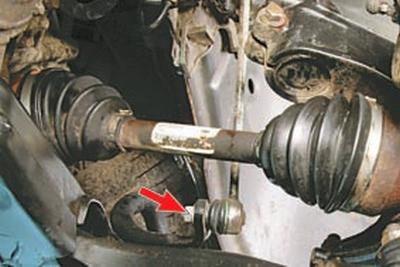
7. Similarly, unscrew the nut securing the lower hinge pin of the strut to the stabilizer bar.
8. Remove the anti-roll bar.
9. To replace the anti-roll bar and its cushions, remove the front suspension subframe (see Removing and installing the front suspension subframe).
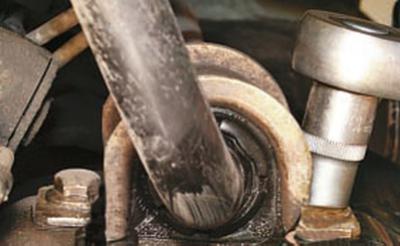
10. Unscrew the two bolts securing the stabilizer bar brackets to the front suspension subframe and remove the bar assembly with the brackets and rubber cushions.
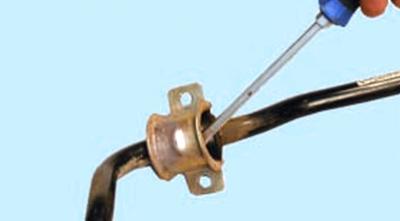
11. Pry it up with a screwdriver…
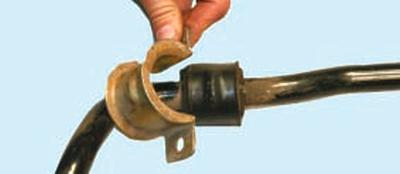
12….and remove the stabilizer bar mounting bracket.
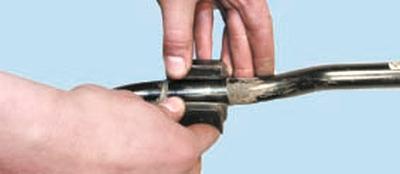
13. Release the stabilizer bar cushion…
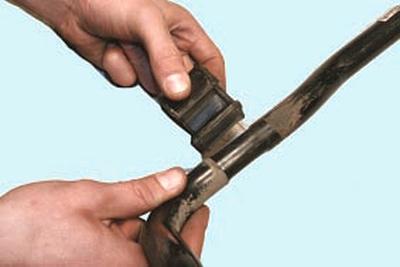
14….and take it off.
15. Remove the second pillow in the same way.
16. Install the parts in the reverse order of removal; tighten bolts and nuts to the torque specified in Appendix 1.
17. Bleed the power steering system (see Bleeding the power steering system).
NOTE: After replacing the stabilizer bar components, check and adjust the wheel alignment if necessary (see Checking and adjusting wheel alignment angles). Use the services of workshops that have special equipment.