1. Apply the parking brake and place wheel chocks under the rear wheels.
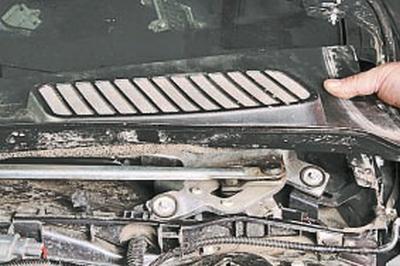
2. To facilitate access to the rear shock absorber strut mounting bolt, remove the air intake box grille (see Removing and installing the air intake box trim). However, if you have the right tool (a ratchet without an extension and a socket head), this bolt can be unscrewed even with the trim installed.
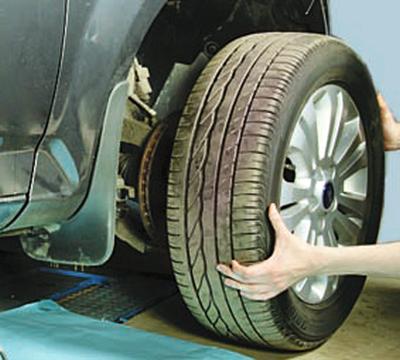
3. Remove the wheel.
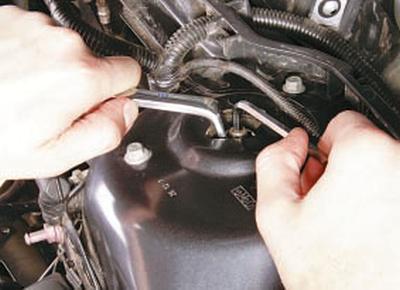
4. If you are removing the shock absorber strut for repair, loosen the upper strut support mounting nut while holding the shock absorber strut rod from turning with a hex key.
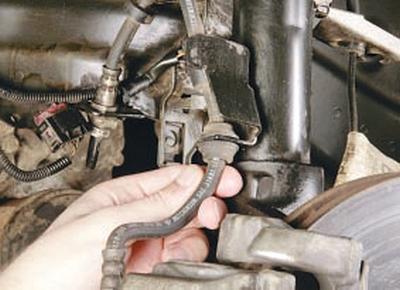
5. Remove the brake hose holders from the brackets on the rack…
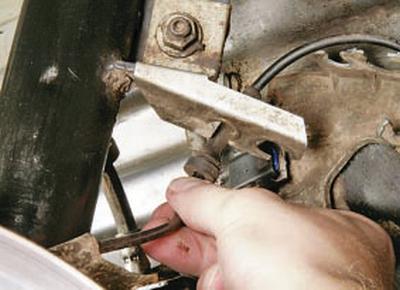
6….and the wheel speed sensor wiring harness.
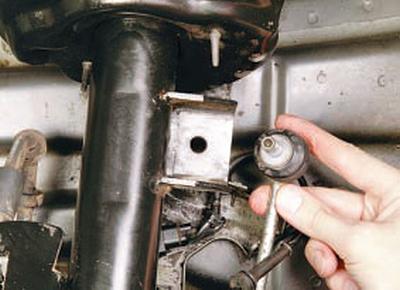
7. Disconnect the upper joint of the stabilizer bar from the shock absorber strut bracket (see Replacing the front suspension stabilizer bar components).
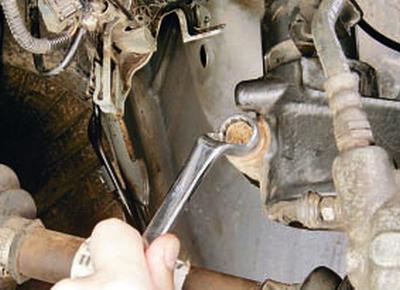
8. Remove the bolt securing the steering knuckle and shock absorber strut terminal connection.
9. Using a chisel and hammer, loosen the terminal connection, wetting it with penetrating lubricant such as WD-40 or its equivalent.
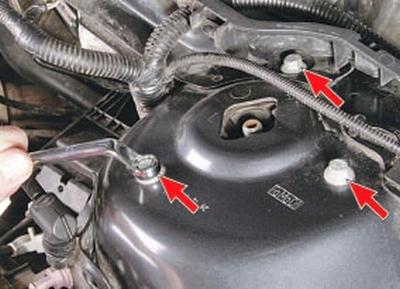
10. Unscrew the three shock absorber strut mounting bolts, remove the strut from the steering knuckle terminal connection and remove the strut.
NOTE: Do not over-tighten the brake hose to avoid damage.
11. Install the parts in the reverse order of removal.
NOTE: After replacing the front suspension shock absorber strut or its components, check and, if necessary, adjust the wheel alignment angles (see Checking and adjusting wheel alignment angles). Use the services of workshops that have special equipment.