Contents: Models with 4-cylinder engines ↳ Removal ↳ Installation ↳ Models with V-shaped 6-cylinder… ↳ Removal ↳ Installation ↳
Models with 4-cylinder engines
Removal
1. Disconnect the negative battery cable (paragraph 1).
2. Remove the intake air plenum (Chapter 4).
Models produced before 01.1997
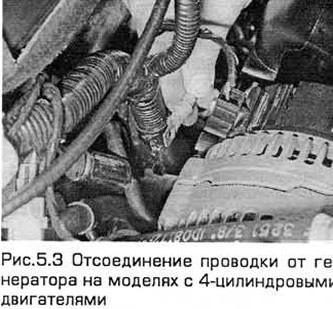
3. Loosen the nuts to disconnect the wiring from the generator (see Fig. 5.3). To increase the working space, you can unscrew the three screws securing the wiring channel to the rear side of the intake manifold.
4. Raise and support the front of the vehicle. Remove the radiator shield and the right wheel arch liner. To improve access, you can remove the oil filter, oil radiator (if present) and disconnect the right tie rod.
5. Remove the accessory drive belt (chapter 1).
6. Unscrew the bolts and nuts at the top and bottom (see Fig. 5.6).
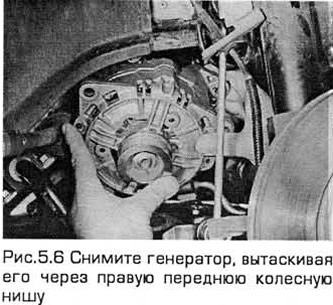
7. Turn the generator with the pulley plane facing up and remove the generator by lifting it up.
Models produced since 01.1997
8. Remove the accessory drive belt (chapter 1).
9. Disconnect the generator wiring.
10. Unscrew the bolts and remove the generator by lifting it upwards.
All models
11. If you are going to replace the generator, then when purchasing a new unit, take the old one with you as a sample. Inspect the terminals of the new generator - their number, size and location should be the same as those of the old generator. Pay attention to the designation stamped on the body or printed on the label. The designations of the old and new generators should match.
12. The alternator you purchase may not have a pulley, in which case you will need to remove the old pulley and install it on the new alternator. Ask the place where you purchase the alternator to install the pulley on it as well.
Installation
13. Installation - in the reverse order of removal (if necessary, see the relevant chapter). Tighten all fasteners to the required torque.
Models with V-shaped 6-cylinder engines
Removal
14. Apply the parking brake. Raise the front end and place it on supports. Remove the right front wheel.
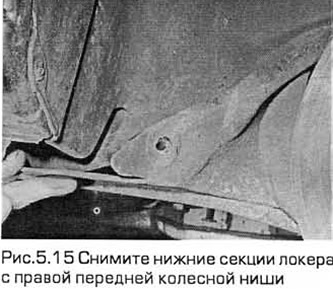
15. Unscrew the bolts and remove the lower sections of the poker from the right front wheel arch (see Fig. 5.15).
16. Remove the accessory drive belt (chapter 1).
17. Disconnect the negative battery cable (chapter 5A).
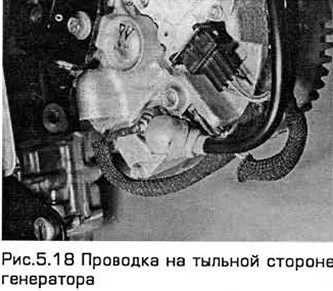
18. From under the car, using a handle with a cardan joint and a socket head, unscrew the nut and disconnect the main wire from the rear of the generator (see Fig. 5.18). The handle must be inserted into the space behind the engine near the exhaust pipes. This nut can also be unscrewed after the generator has been removed.
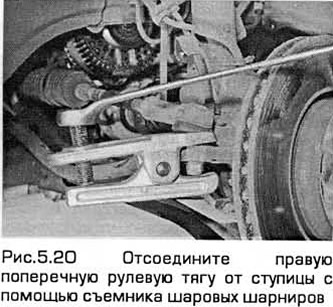
20. Disconnect the right tie rod from the hub (Chapter 10) (see Fig. 5.20).
21. Remove the generator rear bracket bolts. To do this, insert the handle into the space behind the engine near the exhaust pipes.
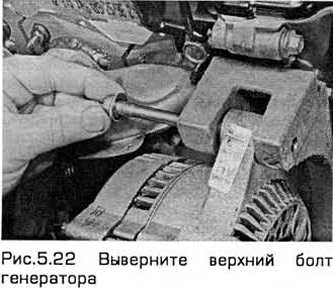
22. Using a handle with a cardan joint and a socket head, unscrew the upper generator bolt (see Fig. 5.22). To do this, the handle must be inserted into the space between the gearshift rods and the body.
23. Using a universal joint handle and socket head, remove the lower alternator bolt (see Fig. 5.22). To do this, insert the handle into the space between the pan and the front section of the exhaust system.
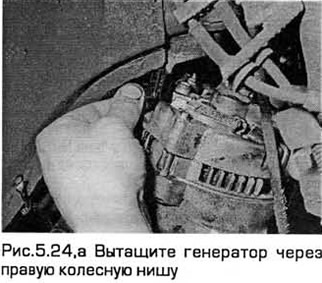
24. Pull the generator out through the right wheel arch. Disconnect the wiring from it, if it is not disconnected yet (see Fig. 5.24, a, b).

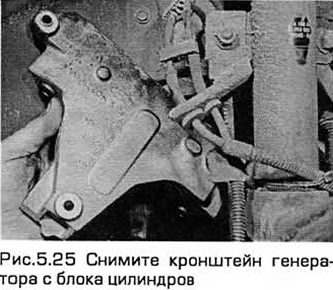
25. If necessary, unscrew the bolts and remove the generator bracket from the cylinder block (see Fig. 5.25).
Installation
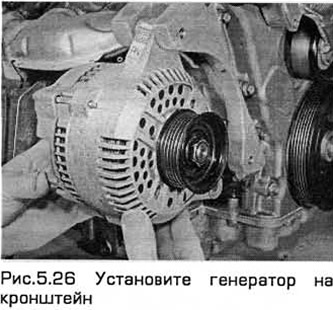
26. Installation - in the reverse order of removal. Tighten all bolts and nuts to the required torque (see Fig. 5.26).