Models with 4-cylinder engines
Removal
2. Remove the air flow meter and resonator (Chapter 4A).
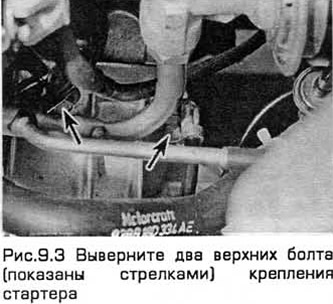
3. Unscrew the two upper starter mounting bolts, taking into account that one of them also secures the engine/transmission ground wire (see Fig. 9.3).
4. Apply the parking brake. Raise the front end and place it on supports.
Warning: Do not work under a vehicle that is supported only by a jack!
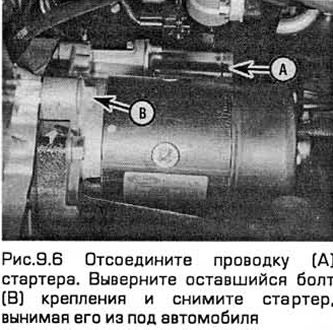
5. Remove the nuts to disconnect the wiring from the starter/solenoid terminals.
6. Unscrew the remaining starter mounting bolt (see Fig. 9.6). Remove the starter.
Installation
7. Installation - in the reverse order of removal. Tighten the bolts to the required torque.
Models with V-shaped 6-cylinder engines
Removal
8. Remove the air cleaner and its bracket.
9. Apply the parking brake. Raise the front end and place it on supports.
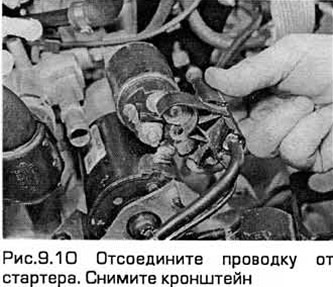
10. Disconnect the wiring from the starter, and also unscrew the bolt and two nuts securing the bracket to the starter and transmission. Remove the bracket (see Fig. 9.10).
11. On automatic transmission models, remove the shift cable bracket from the transmission housing and disconnect the cable from the transmission.
12. Remove the fuel lines from the bracket located on the accelerator cable bracket. Remove the fuel line bracket.
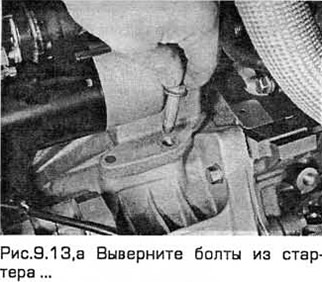
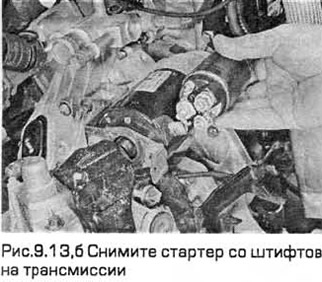
13. Remove the bolts from the starter. Then remove the starter from the pins on the transmission and take it out of the engine compartment (see Fig. 9.13,a,b).
14. Installation - in the reverse order of removal.