


Contents: Removal ↳ Installation ↳
Removal
1. Disconnect the negative battery cable.
2. Remove the wiper arms (paragraph 15).
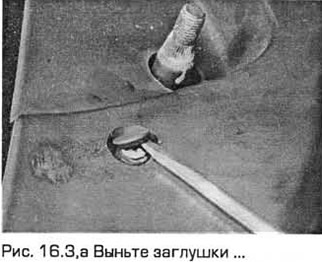
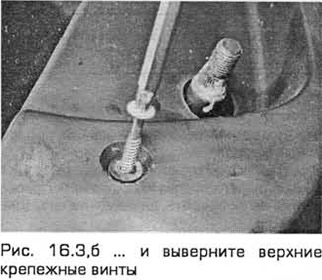
3. When the hood is closed, release the upper edge of the grille panel directly in front of the windshield by removing the plugs and unscrewing the upper mounting screws (see Fig. 16.3,a,b).
4. Open the hood and secure it with the stand.
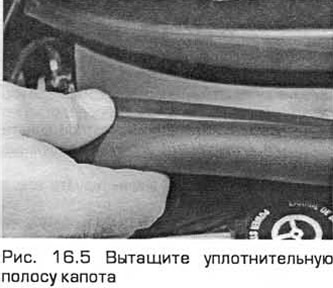
5. Remove the sealing strip from the cross panel located at the rear of the engine compartment (see Fig. 16.5).
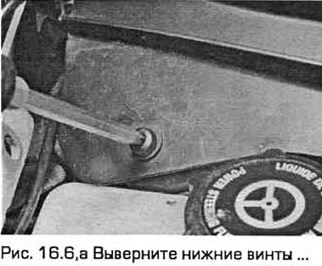
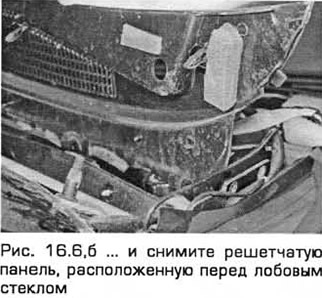
6. Unscrew the lower screws and remove the halves of the grille panel located in front of the windshield, removing first one side and then the other (see Fig. 16.6, a, b).
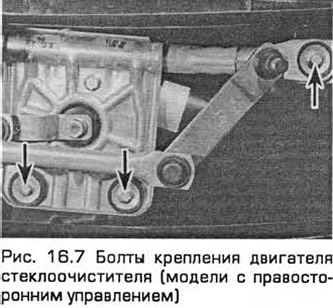
7. Remove the bolts securing the engine and lever mechanism to the engine compartment bulkhead. On right-hand drive models, the lever mechanism is located on the bulkhead on the right (see Fig. 16.7). On left-hand drive models, it is on the left.
8. Disconnect the windshield wiper motor electrical connector.
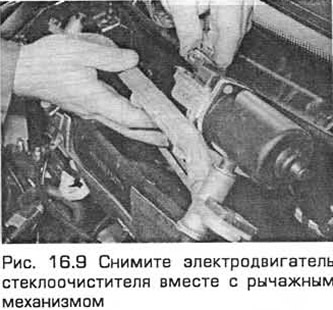
9. Remove the electric motor together with the lever mechanism from the partition (see Fig. 16.9).
10. Mark the position of the engine lever on its support plate. Then unscrew the central nut (see Fig. 16.10).

11. Remove the engine mounting bolts and separate it from the lever mechanism.
Installation
12. Installation - in the reverse order of removal. Tighten the engine bolts to the specified torque. The specified tightening torque for the bolts for the old engine is less than the tightening torque for the bolts for the new engine. Before installing the engine lever, make sure that the engine is in its original position. Check the alignment of the lever mechanism with the engine lever.
The original can be found on this resource: FORDBOOK.ru