Contents: Removal ↳ Installation ↳
Removal
1. Disconnect the negative battery cable and open the trunk lid.
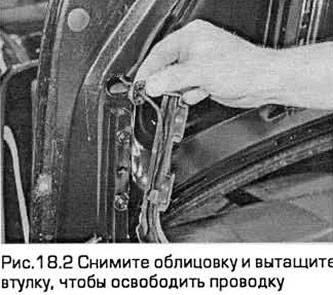
2. On the right hinge, remove the trim and separate the wiring from the hinge lever. Pull out the bushing to release the wiring (see Fig. 18.2).
3. Remove the trim (if present) from the inside of the trunk lid.
4. Disconnect the electrical wiring connectors through the opening on the inside of the trunk lid.
5. Tie a strong rope to the end of the wire inside the opening for use during installation.
6. Separate the rubber wiring guide bushing and pull the wiring through the bushing. Untie the rope and leave it in the trunk lid.
7. Mark the position of the hinge levers with a pencil.
8. Place rags under the corners of the trunk lid to avoid damaging the paintwork.
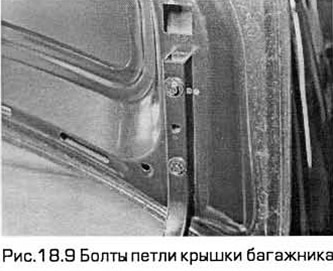
9. Together with an assistant, unscrew the mounting bolts and remove the trunk lid (see Fig. 18.9).
Installation
10. Installation - in the reverse order of removal. The cover must be installed so that the gap between it and the adjacent body panels is the same along the entire contour of the cover. If necessary, the cover can be adjusted. To do this, loosen the hinge bolts and move the cover relative to the grooves of the fastening bolts. When the cover is closed, check: the latch should enter the opening of the lock along its axis.