Varnishing should be carried out only at temperatures above +12°C, avoiding direct sunlight and wind.
Rust removal
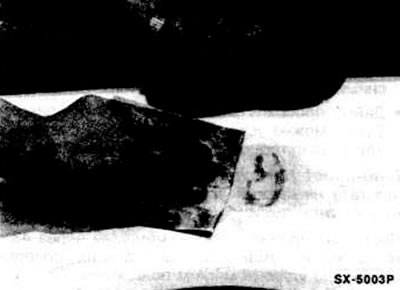
Cover the repair area with adhesive tape to avoid accidentally damaging the adjacent varnish.
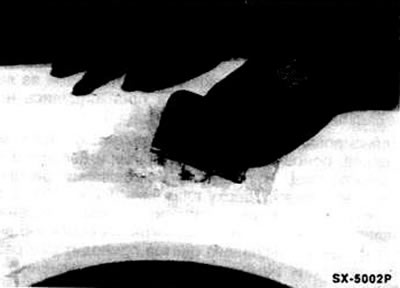
Use a triangular file or screwdriver and 120-grit sandpaper to remove visible rust and rust hidden by bubbles.
Using 320 grit sandpaper, sand the area around the damage in advance, approximately 1-2 cm wide, until the varnish is healthy.
Whenever possible, sand galvanized surfaces of the body only to the primer, and not to the galvanized surface.
Application of a corrosion-protective primer (Primer)
Wipe the repair area with nitro thinner and remove grease and dust with a clean cloth, let dry.
To avoid further problems, the Primer and the topcoat applied to it must be of the same manufacture. Otherwise, the topcoat may bubble or shrink later.
"Primer" is sprayed onto the sheet metal, cleaned of rust, from a distance of 25 cm. To prevent the smallest splashes of aerosol from falling on adjacent parts, cover the surface around the repair site with paper and adhesive tape.
After 10-15 minutes, you can repeat the spraying. If you need to putty after spraying, you should let the Primer dry.
Putty
There are two types of putty: two-component putty and thin putty. Two-component putty is mixed with a hardener shortly before processing. It causes the putty to harden quickly, which can be processed shortly after. This putty is used to level out larger unevenness in the body. Thin putty is decorative, smoothing out small unevenness. It can be applied in several layers. Both types of putty are available in tubes and cans, and filler putties are also available in aerosol packaging.
Attention! Although the can states that the putty can be applied directly to the cleaned sheet metal, we recommend that you pre-treat the sheet metal with "Primer" (corrosion protection) just in case.
Apply two-part filler to the straightened or fiberglassed repair area and allow it to cure. Follow the filler manufacturer's instructions.
After drying, sand the uneven areas by hand or with a superfinishing head. Sandpaper No.180 should be used. Wet sanding paper can be used. In this case, moisten the repair area with a wet sponge and pour a sufficient amount of water on the sandpaper from time to time during the sanding process.
Finally, thoroughly clean the repair area and let it dry.
Apply thin filler to the repair area using a wide, flexible plastic spatula and allow it to dry for at least two hours. In areas of repair on curves and contours, it is recommended to use thin filler in an aerosol can.
Depending on the thickness of the layer, thin putty should dry for 2-3 hours.
Grinding
Sanding paper of different grain sizes is available for sale. The smaller its number, the rougher the sanding. For sanding two-component putty, grain sizes from No.180 to No.240 are recommended; the filler putty and old varnish are sanded with 360 grit sandpaper with moisture. For the final wet sanding before varnishing, 600 grit sandpaper is recommended.
Sand the prepared putty area with wet paper #360, constantly squeezing the wet sponge over the sanded area. Dip the sponge in clean water from time to time and let it soak completely.
For subsequent wet final sanding, special wet sanding paper No.600 is best suited; it can also be used to sand off the border varnish and varnish splashes. The microscopic scratches left on the top varnish are barely noticeable.
Cleaning
Before applying the varnish coating, you need to clean the sanding surface and the adjacent varnish surface from grease and silicone residues, about two palms wide. Silicone remover is best suited for this.
After sanding, thoroughly clean the repair area and cover all adjacent surfaces with newspaper and adhesive tape. When varnishing the fenders, carefully cover the tires and shock absorber.

If possible, always cover the repair area so that the sprayed surface reaches the nearest decorative strip or the edge of the body, since paint always flows at the edge of the paint. If a relatively smooth transition to the brand varnish is not possible, then cover at a distance of approximately two palms' width from the repair area.
To prevent dust from settling, spray the floor with water.