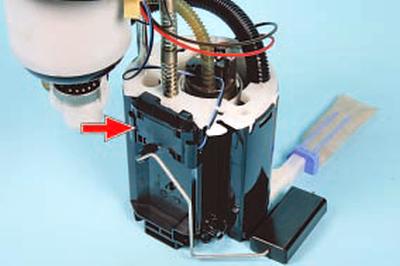
The fuel level indicator sensor is installed on the fuel module.
To check the sensor you will need an autotester.
1. Disconnect the wire from the negative terminal of the battery.
2. Remove the fuel module (see Removal, repair and installation of the fuel module).
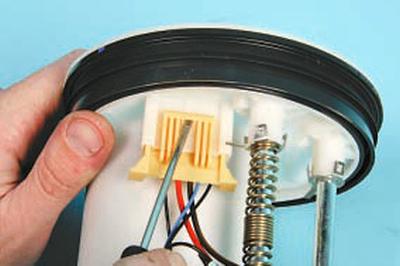
3. Pry up the fuel module wiring harness connector…
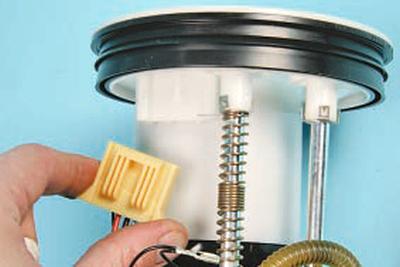
4….and disconnect it from the terminals of the module body.
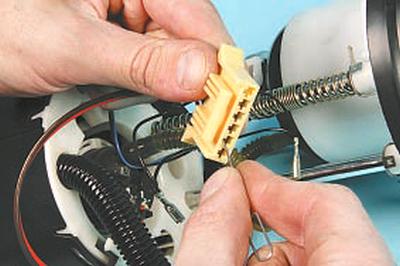
5. Pry up the clamps of the fuel level sensor wire terminals and remove them from the block.
NOTE: To facilitate subsequent installation, record the location and colors of the disconnected wires.
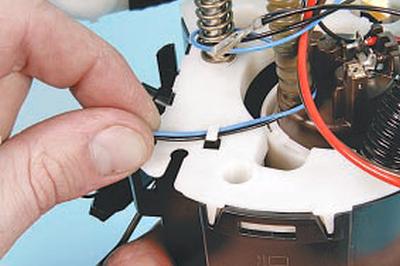
6. Remove the fuel level sensor wires from the retainer on the module body…
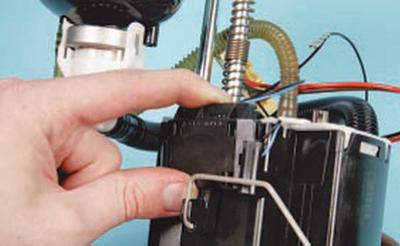
7….press the lock and remove the fuel level sensor from the module housing.
8. To check the fuel level indicator sensor, connect the tester in ohmmeter mode to the sensor terminals.
9. Measure the resistance of the sensor with the lever with the float in the lower position. The resistance should be 200–206 Ohms.
10. Raise the lever with the float to the extreme position – the resistance should drop to 7.7–9.3 Ohms. If the sensor resistance does not fall within the specified range of values, the sensor is faulty and must be replaced.
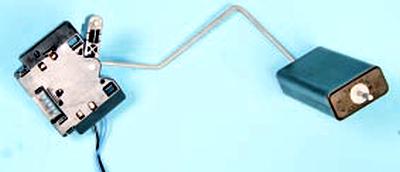
11. Install the parts in the reverse order of removal.
This article was borrowed from the website (FORDBOOK.ru)