1. Disconnect the wire from the negative terminal of the battery.
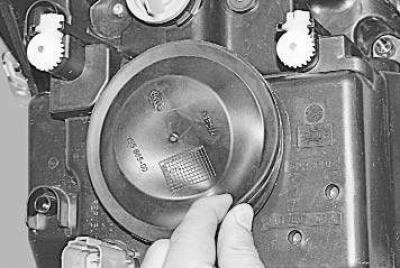
2. Pry up the edge of the sealing cuff (for clarity, these operations are shown on the removed headlight)…
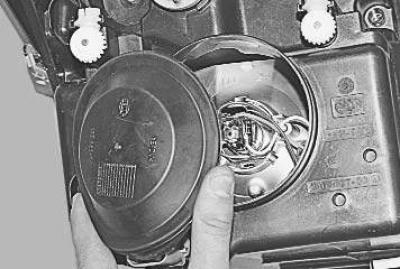
3. ...and remove the cuff.
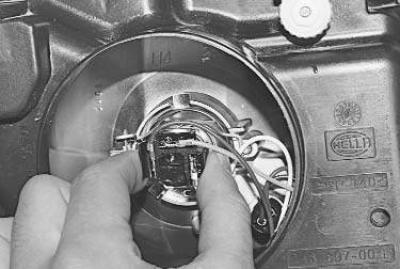
4. Disconnect the wiring harness connector from the lamp.
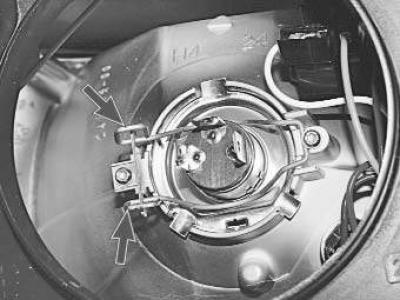
5. Remove the ends of the spring clip from the hooks on the reflector...
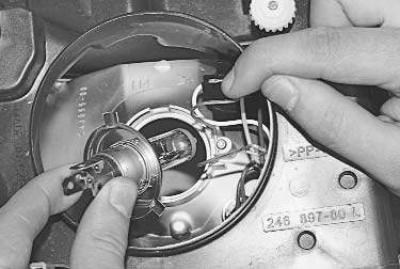
6. …fold back the latch and remove the lamp.
Warning! Do not touch the bulb with your fingers, as the halogen bulb gets very hot and grease stains will cause the bulb to darken. Only handle the bulb with clean gloves or a clean cloth. If grease stains still remain on the bulb, remove them with alcohol.
7. Insert the new bulb into the reflector and secure it with the spring clip.
To replace the side light bulb in the headlight perform the following operations.
1. Disconnect the wire from the negative terminal of the battery.
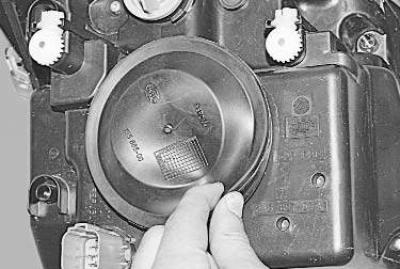
2. Pry up the edge of the sealing cuff (for clarity, these operations are shown on the removed headlight)…
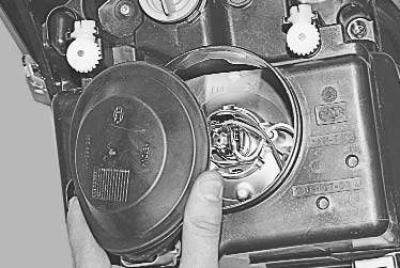
3. ...and remove the cuff.
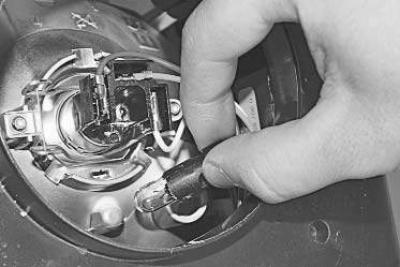
4. Squeeze the latches and remove the parking light bulb socket from the hole in the reflector.
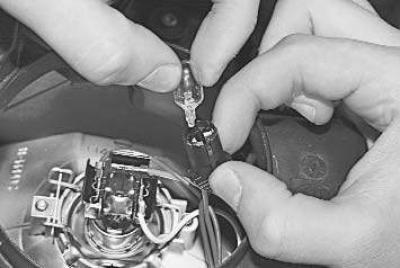
5. Remove the lamp from the socket.
6. Insert the new bulb into the socket and install it in place.
To replace the turn signal lamp in the headlight perform the following operations.
1. Disconnect the wire from the negative terminal of the battery.
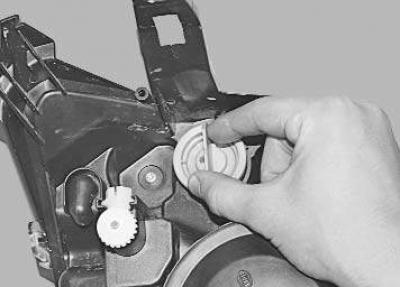
2. Turn the turn signal bulb socket counterclockwise (for clarity, these operations are shown on the removed headlight)…
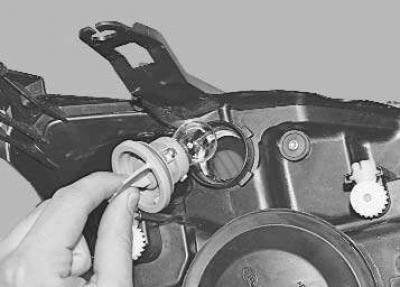
3. …and remove it from the headlight unit.
Note: The turn signal bulb socket is sealed with a rubber gasket. Replace the gasket if it is too compressed, hardened or torn.
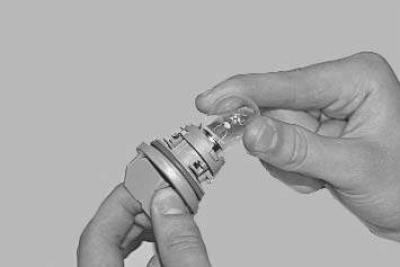
4. Press the lamp, turn it counterclockwise…
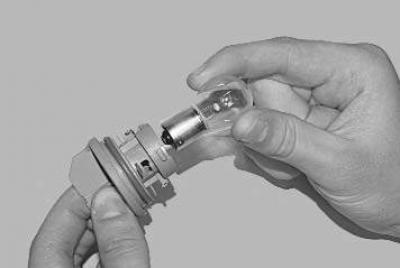
5. …and remove the turn signal bulb from the socket.
6. Install the new lamp in the reverse order of removal.
To replace the side turn signal lamp perform the following operations.
1. Disconnect the wire from the negative terminal of the battery.
2. Remove the front wheel arch liner on the corresponding side (see "Removal and installation wheel mudguards and fender liners").
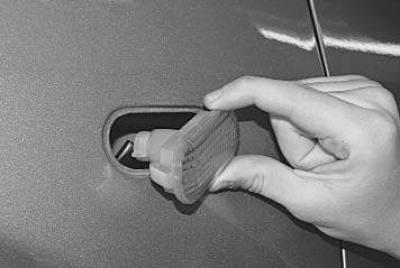
3. Remove the side turn signal light from the hole in the fender (see "Replacing the side turn signal light").
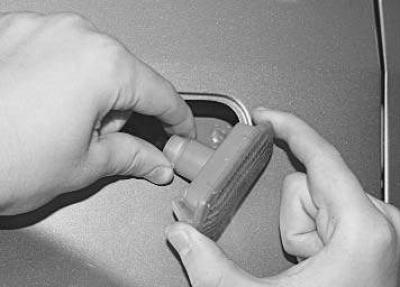
4. Turn the lamp holder counterclockwise…
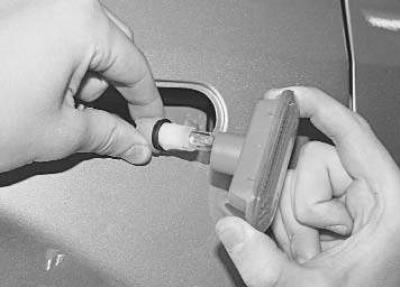
5. …and remove it from the indicator lamp.
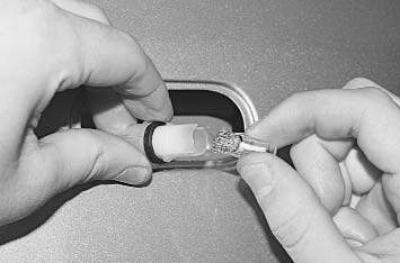
6. Remove the lamp from the socket.
7. Insert the new bulb into the indicator socket and install all previously removed parts in reverse order.
To replace the fog light bulb perform the following operations.
1. Disconnect the wire from the negative terminal of the battery.
2. Remove the front wheel arch liner on the corresponding side (see "Removal and installation wheel mudguards and fender liners").
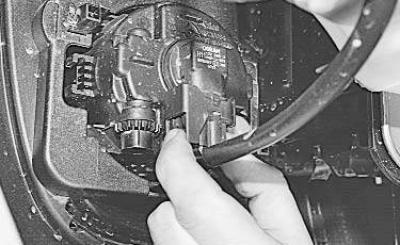
3. Squeeze the latch…
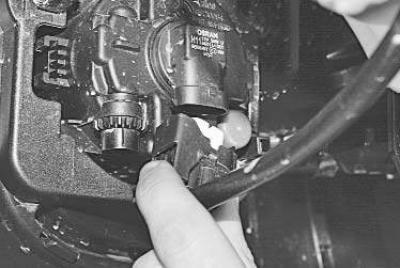
4. …and disconnect the wiring harness connector from the lamp terminals.
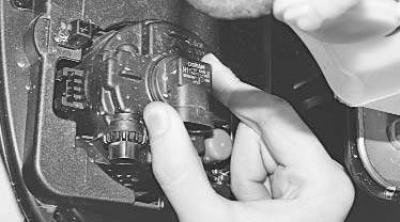
5. Turn the lamp holder counterclockwise…
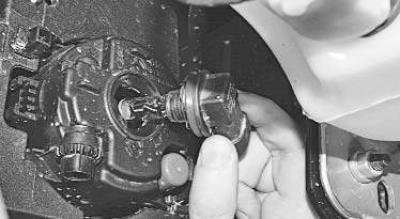
6. …and remove the socket with the bulb from the fog light.
7. Install the new lamp and all previously removed parts in reverse order.
To replace any bulb in the rear light perform the following operations.
1. Disconnect the wire from the negative terminal of the battery.
2. Remove the rear light (see "Replacing the rear light").
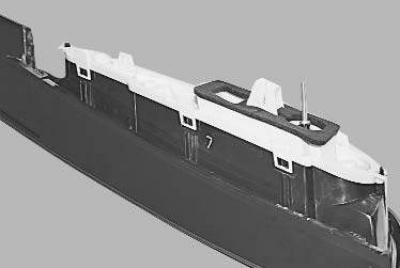
3. Carefully pry up the fasteners securing the base of the flashlight to the diffuser housing using a screwdriver…
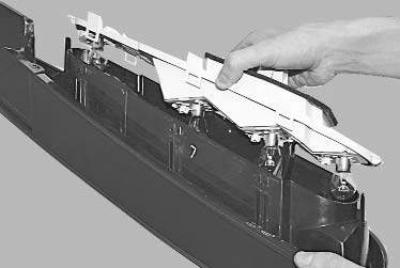
4. …and detach the base of the flashlight from the diffuser housing.
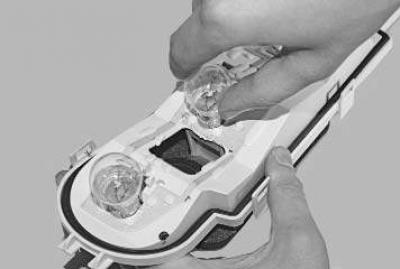
5. Turn the replacement lamp counterclockwise…
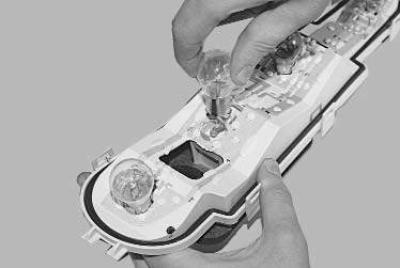
6. …and remove the lamp.
7. Insert the new bulb into the socket and install the tail light in reverse order.
8. Replace the remaining lamps in the same manner.
To replace the bulb in the license plate light you will need a TORX T20 key.
1. Disconnect the wire from the negative terminal of the battery.
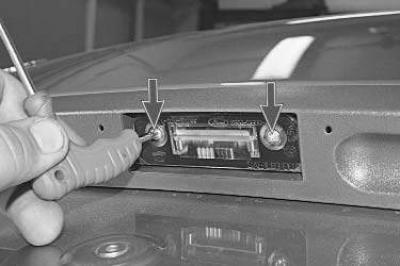
2. Remove the two mounting screws…
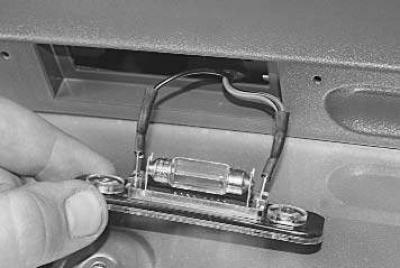
3. …remove the diffuser from the mounting hole…
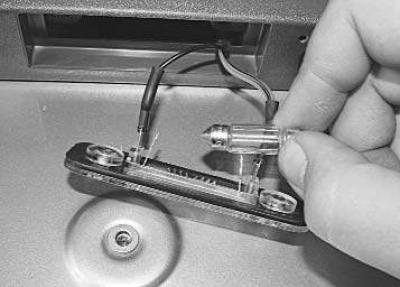
4. …and, having overcome the force of the spring contacts, remove the faulty lamp.
5. Install the new lamp and all previously removed parts in reverse order.
6. Similarly, replace the bulb in the second license plate light.
To replace the lamp in the additional brake light you will need a flat-blade screwdriver.
1. Disconnect the wire from the negative terminal of the battery.
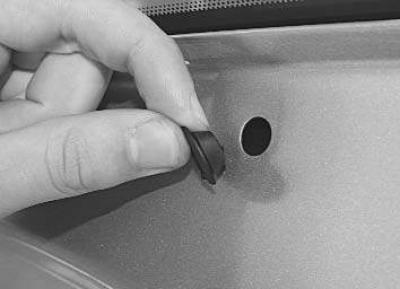
2. Remove the rubber plugs.
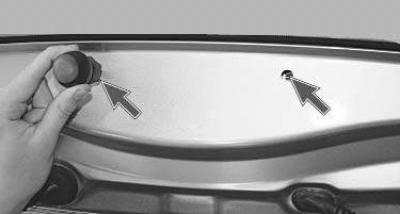
3. Using a screwdriver, gently press the clips located in the holes, remove the additional brake light from its mounting hole…
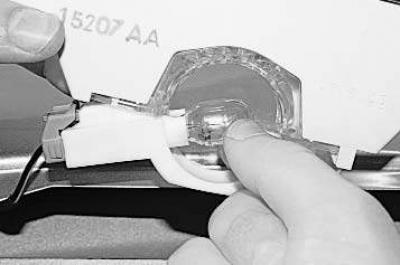
4. …and remove the lamp from the socket.
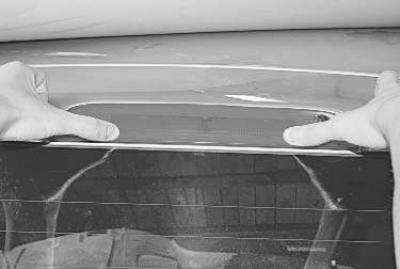
5. Insert a new lamp into the socket.
6. Install the additional brake light in place, overcoming the resistance of its mounting clips.
To replace the bulb in the front interior light you will need a flat-blade screwdriver.
1. Disconnect the wire from the negative terminal of the battery.
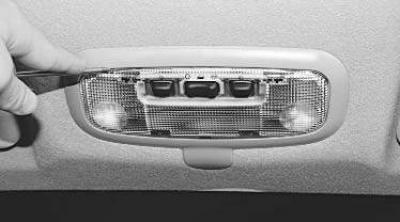
2. Use a screwdriver to press the lampshade diffuser fasteners…
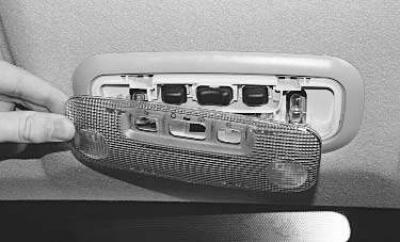
3. …and remove the diffuser.
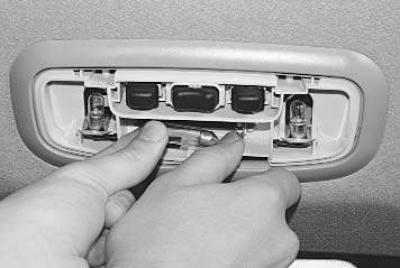
4. Press the spring contact and remove the interior light bulb.
5. Insert the new bulb.
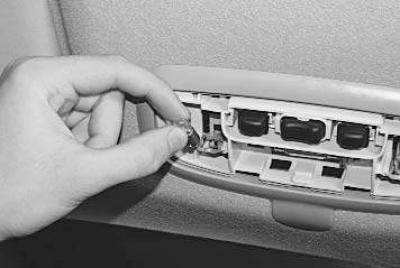
6. To replace the individual driver and passenger seat lighting bulb, follow steps 1–3. Then, turn the bulb in the socket and remove it.
7. Install the new lamp and lampshade diffuser in reverse order.
To replace the lamp in the rear interior light you will need a flat-blade screwdriver.
1. Disconnect the wire from the negative terminal of the battery.
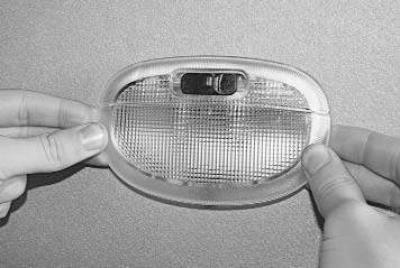
2. Overcoming the force of the retainer, remove the lamp from the hole in the car body (if necessary, pry it off with a screwdriver).
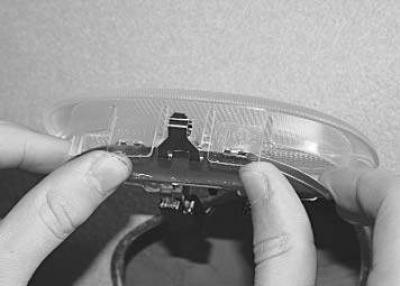
3. Press the reflector mounting latches…
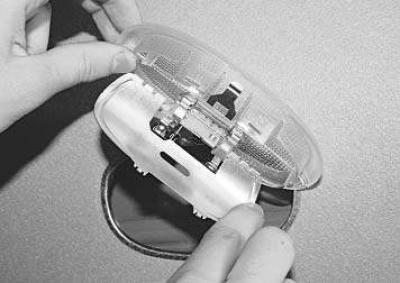
4. …remove the reflector…
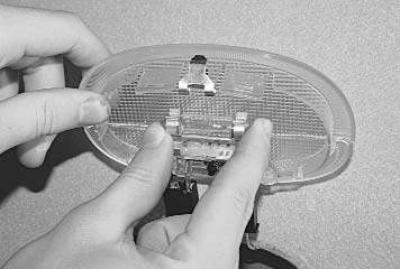
5. …and, overcoming the resistance of the spring contacts of the lampshade, remove the lamp.
6. Install the new lamp and all previously removed parts in reverse order.
To replace the lamp in the trunk light you will need a flat-blade screwdriver.
1. Disconnect the wire from the negative terminal of the battery.
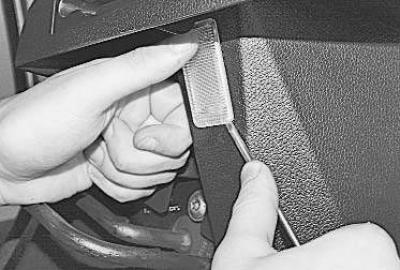
2. Use a screwdriver to pry up the lampshade retainer and remove the lampshade…
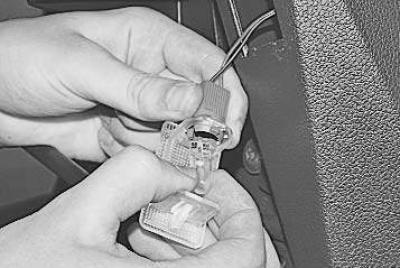
3. …and remove the lamp.
4. Install the new lamp and all previously removed parts in reverse order.