To remove the hood lock, follow these steps:.
1. Open the hood and place it on the support.
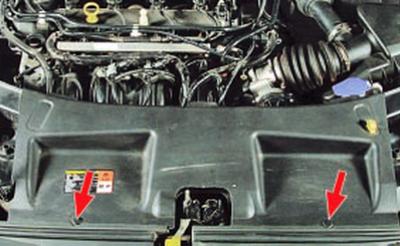
2. Remove the two pistons and remove the air guide shield.
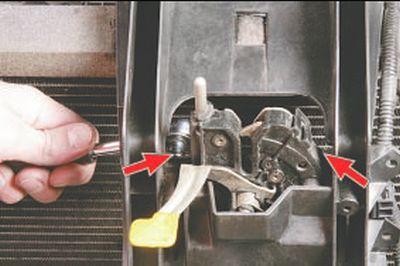
3. Remove the two bolts securing the hood lock to the radiator frame (the bolts are not visible in the photo, as they are covered by the frame)…
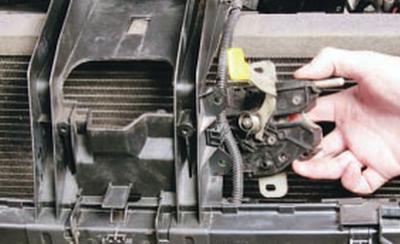
4….and disconnect the lock from the frame.
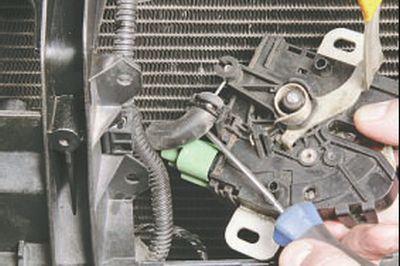
5. Use a screwdriver to pry up the end of the cable sheath…
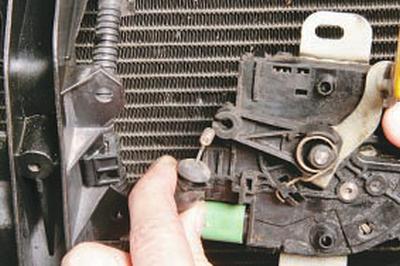
6….take it out of the lock holder and disconnect the cable end from the lock lever.
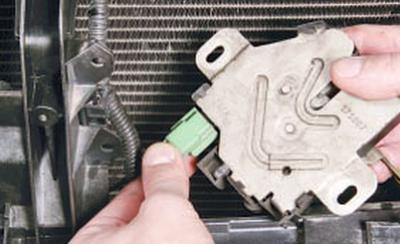
7. Squeeze the harness connector lock…
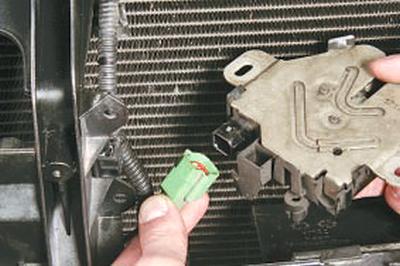
8….disconnect the shoe from the lock and remove the lock.
9. Install the hood lock in the reverse order of removal. Before installing the lock, lubricate its locking mechanism with consistent grease (e.g. Litol).
10. If after installation the lock does not lock clearly or is difficult to unlock, adjust its position. Loosen the bolts that secure the lock and move it vertically within the oval holes in the housing until it works clearly.
To remove the hood lock latch, follow these steps:.
1. Open the hood and place it on the support.
2. Remove the additional sound insulation (see Removing and installing the hood).
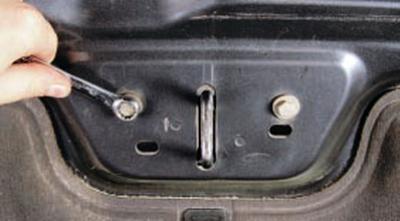
3. Unscrew the two bolts securing the latch and remove the latch through the access hole in the hood reinforcement.
4. Install the hood lock latch in the reverse order of removal.
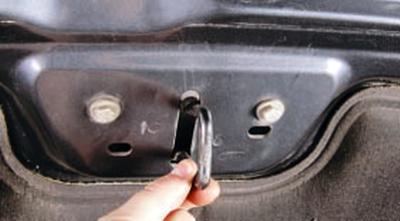
5. If after installing the latch the lock locks with an impact, loosen the latch mounting bolts and, by moving it horizontally in the desired direction within the holes in the hood reinforcement, achieve impact-free locking of the lock.
[A copy of the article is available on the website fordbook]