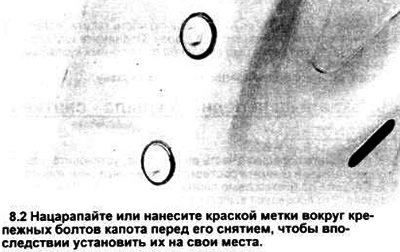
2. Scratch or paint match marks around the hood support bolts (see picture).
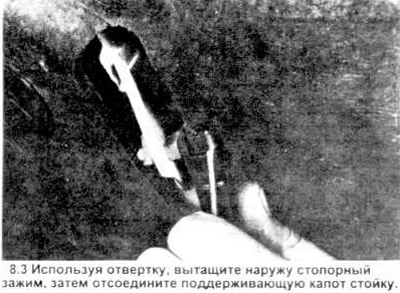
3. Have an assistant hold the hood until the retaining clip is pulled out with a small screwdriver, then disconnect the upper ends of the hood supporting struts (see picture).
4. Unscrew the bolts securing the hood hinge block to the hood.
5. Remove the hood.
6. Installation is carried out in the reverse order.
7. The position of the hood can be adjusted forward-to-backward and side-to-side; to do this, loosen the 2 bolts connecting each hinge to the hood (see picture). Move the hood and tighten the bolts again.
8.7. The hood hinges have elongated slots to allow slight adjustment of the hood position.
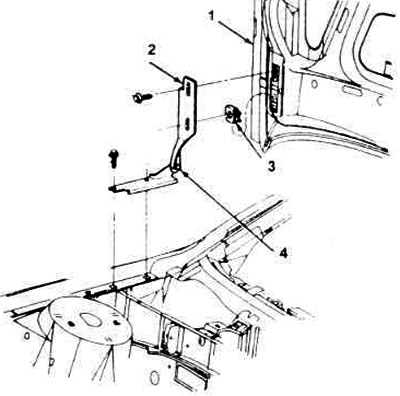
1. Hood block.
2. Assembling the hood hinge.
3. Nut.
4. Rotary hinge nut.
8. To raise or lower the rear of the hood, loosen the bolts securing the hinge itself to the body. Raise or lower the hinge so that the hood is aligned with adjacent body panels.
Then tighten the hinge bolts to the body.
Visitor comments