NOTE: The work is shown on the example of the left wing of the car. The right wing is removed and installed in the same way.
1. Disconnect the wire from the negative terminal of the battery.
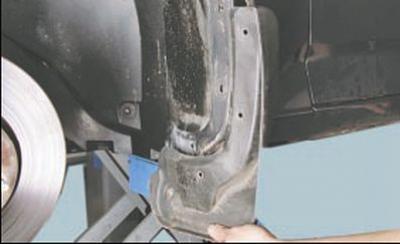
2. Remove the mudguard…
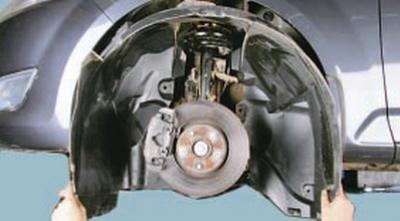
3….and the front fender liner (see Removing and installing wheel mudguards and fender liners).
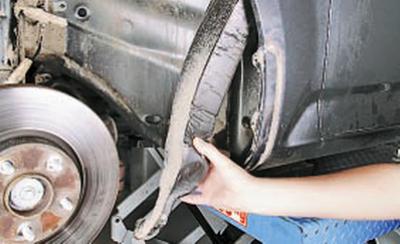
4. Remove the sound insulation from the wing cavity.
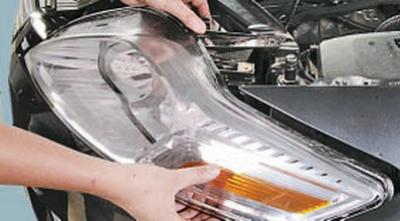
5. Remove the headlight (see Headlight Replacement).
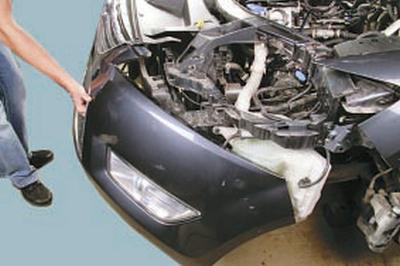
6. Remove the front bumper (see Removing and installing the front bumper).
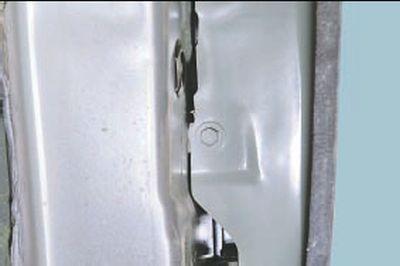
7. Remove the bolt securing the rear edge of the wing to the front body pillar.
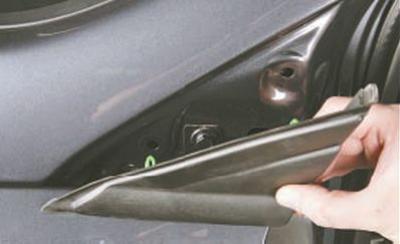
8. Pressing outward the rear edge of the decorative corner trim of the front pillar…
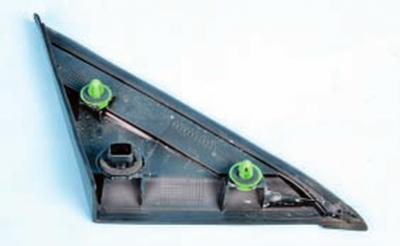
9….remove the cover, overcoming the elastic resistance of the two pins that secure it.
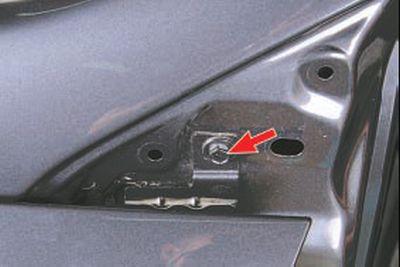
10. Unscrew the bolt securing the wing to the front pillar, located under the decorative trim.
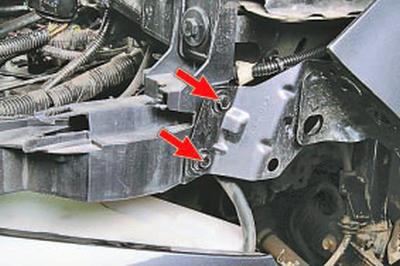
11. Remove the two bolts securing the wing bracket to the engine compartment frame.
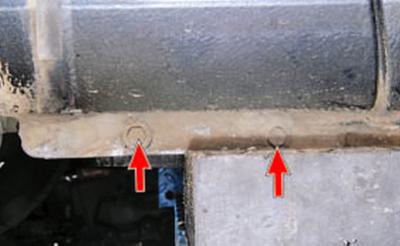
12. Remove the two bolts securing the front wing to the body sill flange.
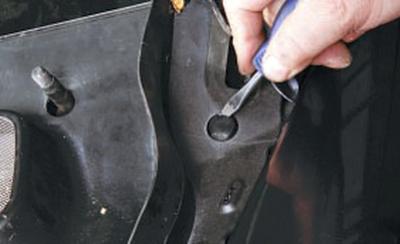
13. Use a screwdriver to pry up the retaining clip of the front wing decorative shield and remove the clip.
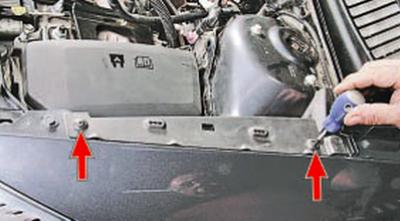
14. Unscrew the fasteners of the two pins of the decorative shield of the front wing..
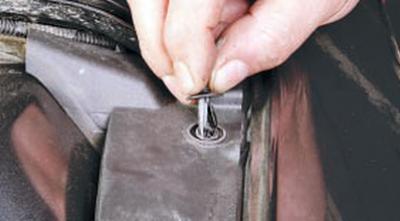
15….and take them out.
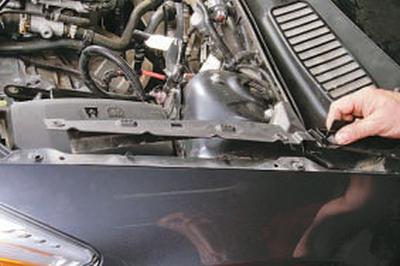
16. Remove the front wing decorative shield.
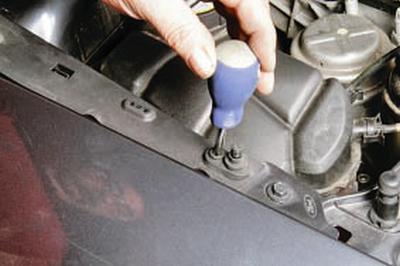
NOTE: When replacing the right front fender, additionally remove the hood limit switch mounting screw.
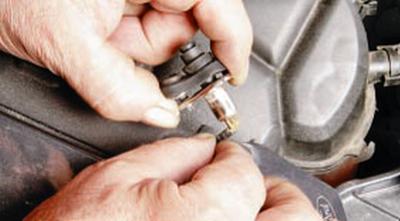
Remove the switch and disconnect the wire from it.
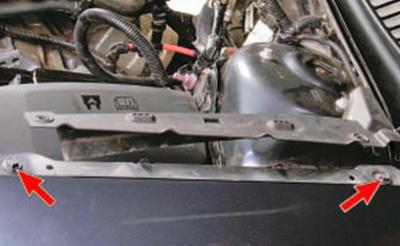
17. Remove the two bolts securing the wing to the engine compartment splash guard and remove the front wing.
18. Install the front wing in the reverse order of removal.