Withdrawal
1. Separate the engine from the transmission (paragraph 7).
Cable operated clutch
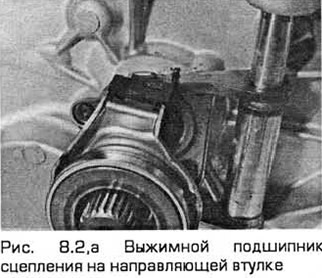
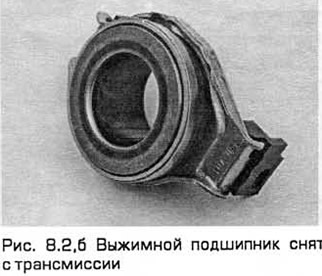
2. Remove the bearing of this guide bush by turning the release lever (see fig. 8.2, a, b).
Hydraulic clutch
3. The release bearing and the slave cylinder are arranged in one unit.
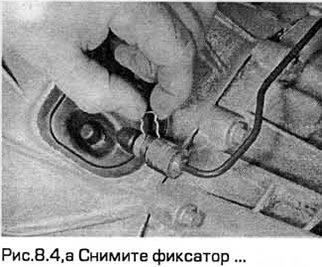
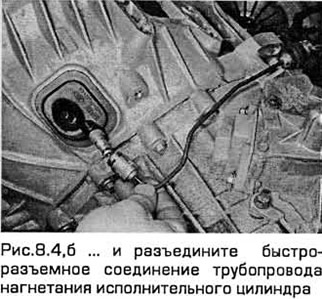
4. Remove the retainer and disconnect the quick coupling of the slave cylinder discharge line (see Fig. 8.4, a, b). Plug the resulting holes.
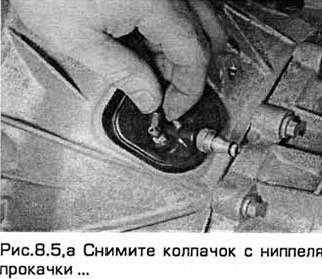
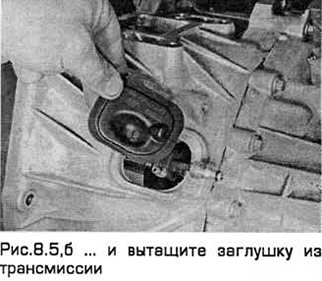
5. Remove the cap from the bleed nipple and remove the plug from the top of the transmission (see Fig.8.5, a, b).
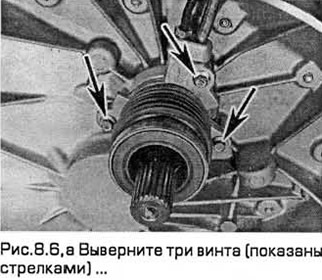
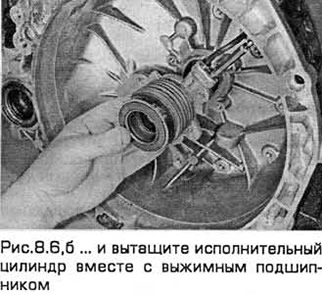
6. Turn out three screws and pull out the executive cylinder together with the release bearing (see Fig.8.6, a, b).
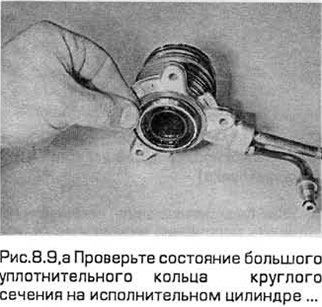
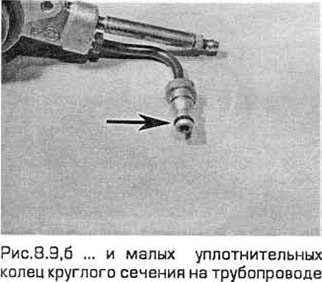
Inspection
7. Check up smoothness of rotation of the bearing and in case of its uneven course replace the bearing. Do not attempt to disassemble, clean or lubricate it.
8. As mentioned above, it is recommended to replace the bearing regardless of its condition.
9. On models with hydraulic clutch, check the condition of all O-rings (see Fig.8.9, a, b). It is recommended to install new rings in advance, since in case of a malfunction it is not easy to get to them.
Installation
10. Installation - in the reverse order of removal.
- A) On cable operated models, make sure the bearing fits correctly on the release lever yoke. When installing the bearing on the guide bush, it is useful to slightly raise the release lever. When installing the bearing, the fork must be in contact with the plastic shoulders of the bearing.
- b) On models with hydraulic drive, tighten the bolts to the specified torque. Connect the pipe and remove air from the hydraulic system.
Visitor comments