NOTE: Replace springs as a set (left and right at the same time).
You will need a spring compressor.
USEFUL TIP: It is more convenient to perform the work with an assistant, placing the car on a lift.
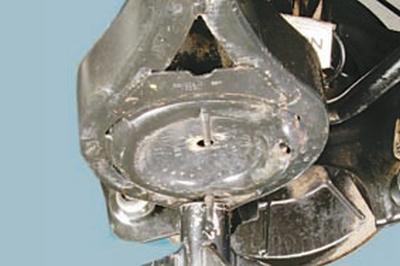
1. If you are replacing the springs on a lift, place supports under the lower control arm and lower the car, slightly loading the suspension. This operation is not required when working on an inspection pit.
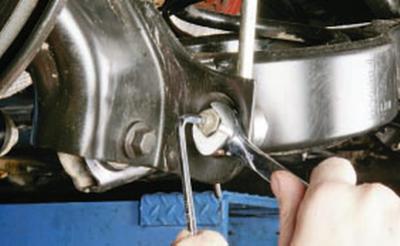
2. Unscrew the nuts securing the stabilizer struts to the suspension trailing arm brackets (see Replacing the rear suspension stabilizer bar components).
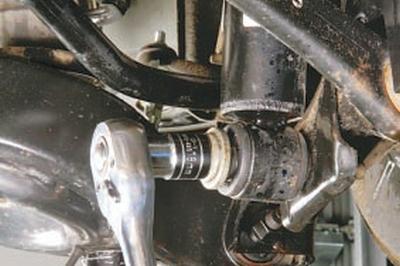
3. Unscrew the bolt securing the shock absorber to the bracket, remove the bolt (see Replacing the rear shock absorber) and move the shock absorber to the side so that it does not interfere with work.
CAUTION: Do not move the shock absorber out to the side more than necessary to avoid bending the piston rod.
4. Install the spring compressor and compress the spring.
5. Unload the vehicle's suspension by removing the supports from under the lower arm (if working on a lift), or lift the vehicle (if working with a jack) and remove the spring by pressing down the lower suspension arm.
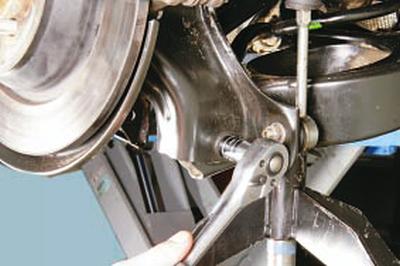
NOTE: If a spring compressor is not available, disconnect the outer end of the rear lower arm from the knuckle (see Replacing the rear lower control arm of the rear suspension)…
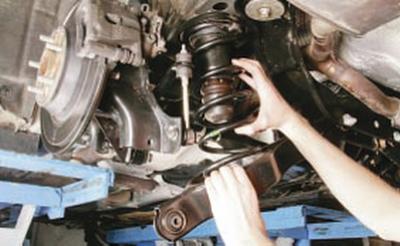
…carefully unload the rear suspension of the car and remove the spring by pressing down the lower suspension arm.
WARNING: Use extreme caution when removing and installing springs to avoid injury from the spring "shooting" out of the rear suspension.
6. Remove the upper spring gasket assembly with the compression buffer…
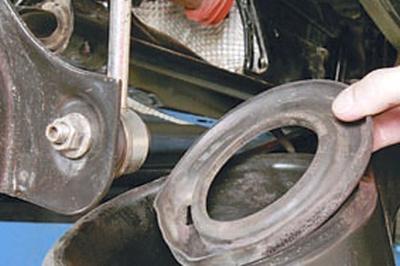
7….and the lower spring gasket.
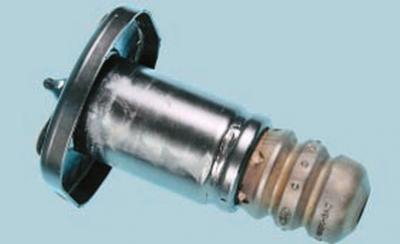
Damaged upper…
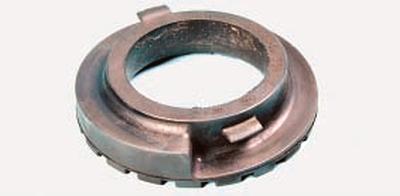
…and replace the lower spring pads with new ones.
8. Install the spring with the gaskets on the car in the reverse order of removal. Replace the second spring in the same way.
[This article was borrowed from the website: www.FordBook.ru]