You will need: TORX T20 key, flat-blade screwdriver.
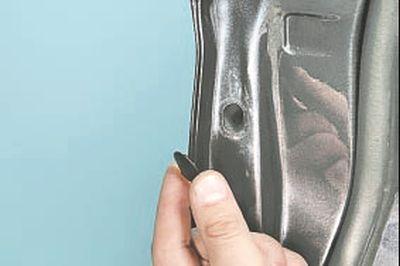
1. Open the door, use a screwdriver to pry the plug out of the hole in the rear end of the door.
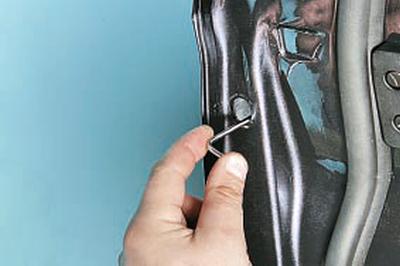
2. Through the opened hole in the end, unscrew the screw securing the lock switch…
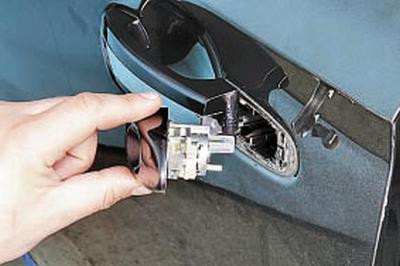
3….and remove the switch.
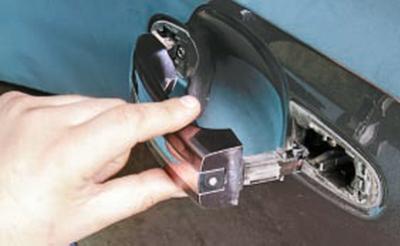
4. Slide the outer handle back and remove the handle, disengaging its leash from the lock lever and the front latch from the door panel.
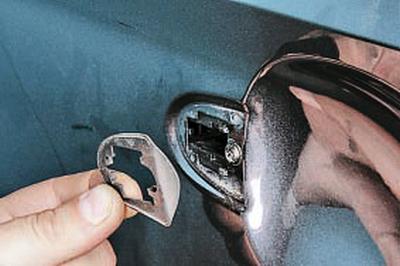
5. If the front…
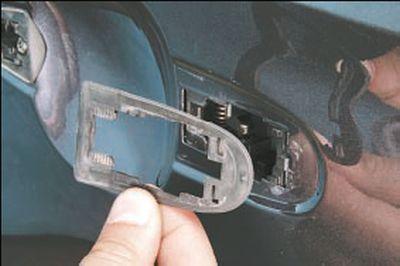
6….and the rear gasket of the outer handle has lost its elasticity, is severely deformed or torn, replace them.
7. Install the front door outside handle in the reverse order of removal.
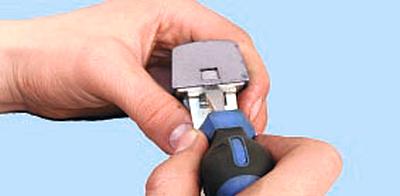
8. If it is necessary to repair the lock switch, use a screwdriver to pry up the locking clips on the switch trim at its end…

9….and on the sides…
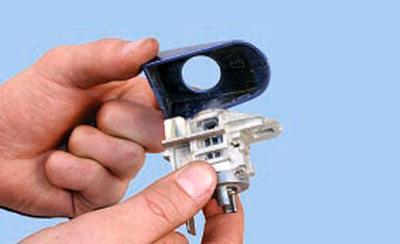
10….then remove the cover from the switch housing.
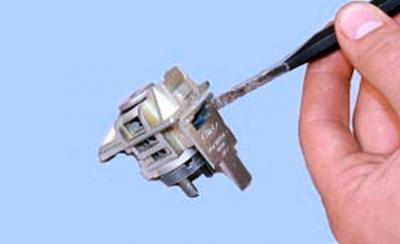
11. Using a sharp, thin chisel, bend back the punching points on the body that secure the locking plate…
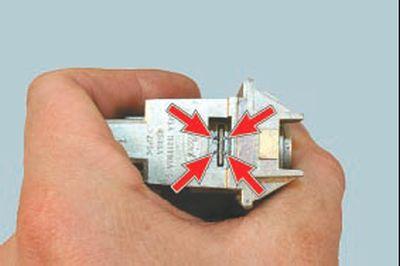
NOTE: These are the locations of the punching points on the housing to secure the locking plate.
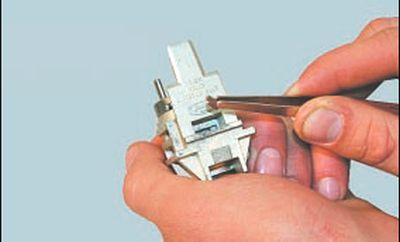
12….and remove the locking plate from the housing groove.
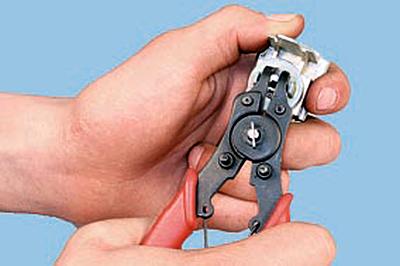
13. Remove the retaining ring from the switch cylinder tail…
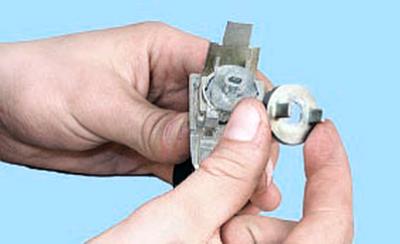
14….leash…
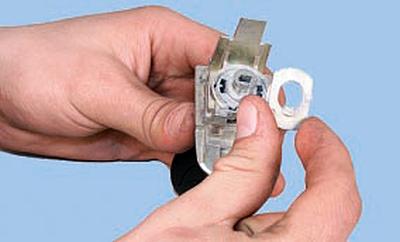
15….and a spacer washer.
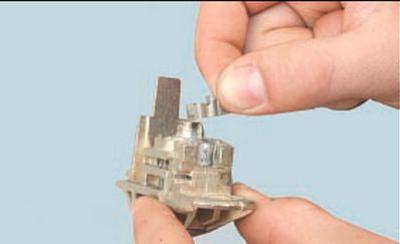
16. Remove the thrust plate from the switch housing…
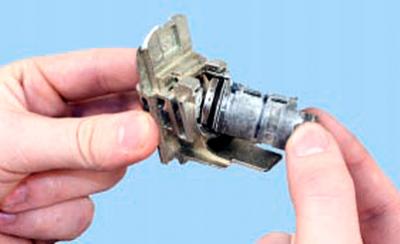
17….and remove the switch cylinder from the housing hole.
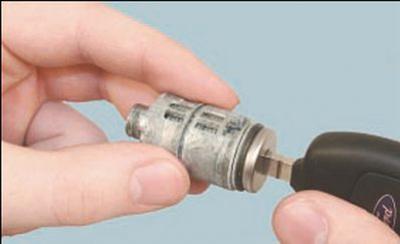
18. Insert the key into the cylinder cylinder…
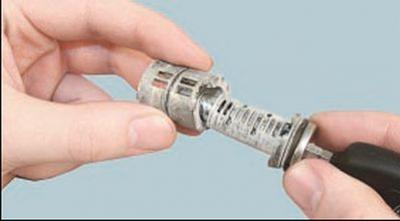
19….and remove the cylinder from the cylinder body.
20. Assemble the front door lock switch in the reverse order of disassembly. Before assembly, lubricate the switch cylinder with silicone grease. Do not forget to fix the locking plate in the housing by scoring the edges of its groove in four places.