Contents: Headlights (low beam) - models… ↳ Headlights (low beam) - models… ↳ Headlight (high beam) - models… ↳ Headlight (high beam) - models… ↳ Front side light - models produced… ↳ Front side light - models produced… ↳ Front Direction Indicator - Pre-1996… ↳ Front direction indicator - models… ↳ Side turn signal repeaters ↳ Front fog light - pre-1996 models ↳ Front fog light - models produced… ↳ Rear lamp unit ↳ License plate light ↳ High Level Stop Light ↳
1. Before disconnecting the bulb electrical connector, turn off all external lighting devices. Do not touch the glass bulb of the halogen bulb (headlights, front fog lights) with your fingers. If you accidentally touch the bulb with your fingers, wipe it with methyl alcohol.
Headlights (low beam) - models produced before 1996
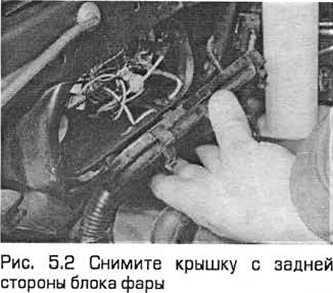
2. In the engine compartment, press the plastic clips and remove the cover from the rear of the headlight unit (see Fig. 5.2).
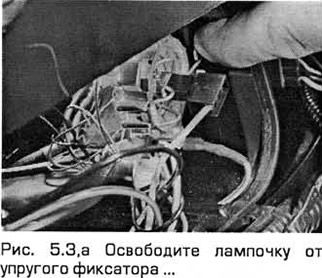
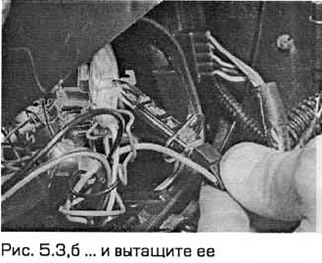
3. Release the bulb from the elastic retainer and pull it out. Then disconnect the wire (see Fig. 5.3,a,b).
4. Install the new bulb in the reverse order of removal. Adjust the headlight beam (see below).
Headlights (low beam) - models produced since 1997
Note: If the low beam bulb of the right headlight does not light, it is possible that the relay located in the fuse box in the engine compartment has come loose from the contacts of its socket. Therefore, before checking the bulb, first check whether the relay is securely installed.
5. Depending on the model and the side of the vehicle on which the headlight is installed, you may have to remove the headlight assembly to remove the rear cover (paragraph 7).
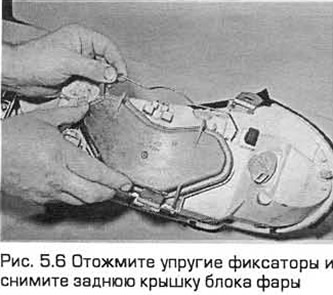
6. On the back side of the headlight unit, press the elastic latches of the cover and remove it (see Fig. 5.6).
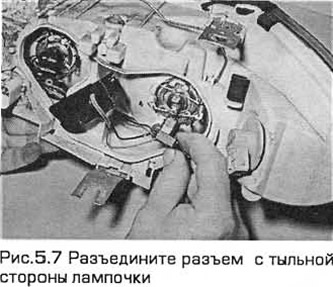
7. Disconnect the connector from the back of the bulb (see Fig. 5.7).
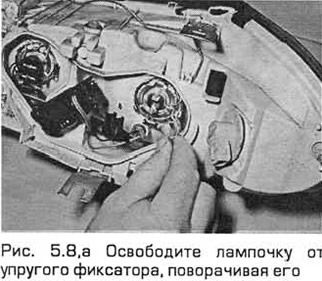
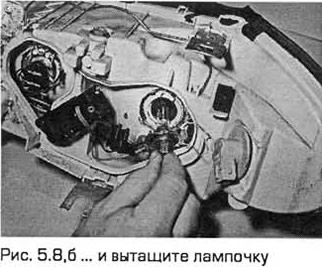
8. Release the bulb from the elastic retainer and pull it out. Remember how the retainer protrusions are installed in the slots on the back of the headlight unit (see Fig. 5.8,a,b).
9. Install the new bulb in the reverse order of removal, adjust the headlight beam (see below).
Headlight (high beam) - models produced before 1996
10. In the engine compartment, press the plastic clips and remove the cover from the rear of the headlight unit.
11. Turn the bulb holder counterclockwise and pull it out of the rear of the headlight unit (see Fig. 5.11).

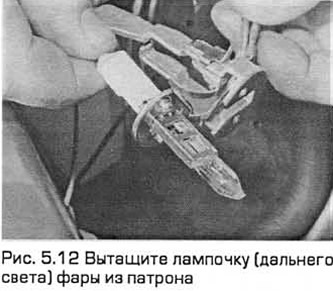
12. Remove the bulb and disconnect the wire (see Fig. 5.12).
13. Install the new bulb in the reverse order of removal. Adjust the headlight beam (see below).
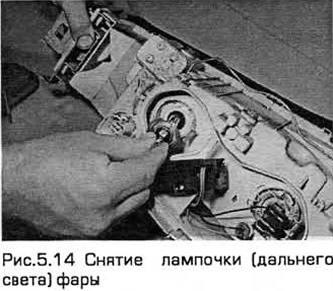
Headlight (high beam) - models produced since 1997
14. See points 5...9 (see Fig. 5.14).
Front side light - models produced before 1996
15. In the engine compartment, press the plastic clips and remove the cover from the rear of the headlight unit.
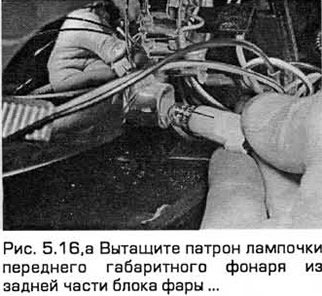
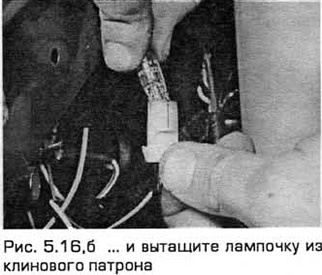
16. Remove the socket from the rear of the headlight unit and remove the bulb from the wedge socket (see Fig. 5.16,a,b).
17. Install the new bulb in the reverse order of removal.
Front side light - models produced since 1997
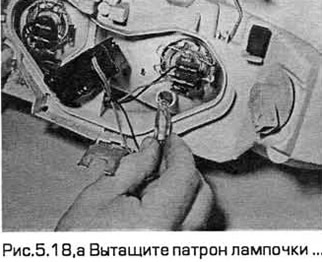
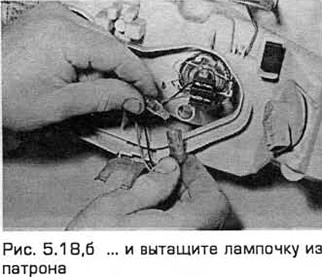
18. This procedure is the same as for pre-1996 models. However, in order to remove the rear cover of the unit, you may have to remove the unit as described in paragraph 7 (see Fig. 5.18,a,b).
Front Direction Indicator - Pre-1996 Models
19. Open the hood. Loosen (without completely unscrewing) the screw installed above the front turn signal (see Fig. 7.10).
20. Pull out the pointer assembly.
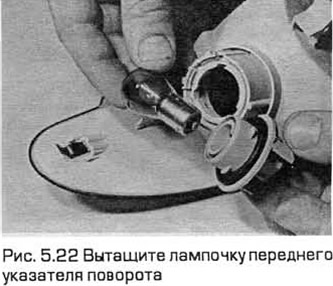
21. Turn the bulb holder counterclockwise and pull it out of the turn signal assembly.
22. Turn the bulb counterclockwise and remove it from the socket (see Fig. 5.22).
23. Install the bulb in the reverse order of removal. Before installing the unit, insert the elastic retainer into its hole.
Front direction indicator - models produced since 1997
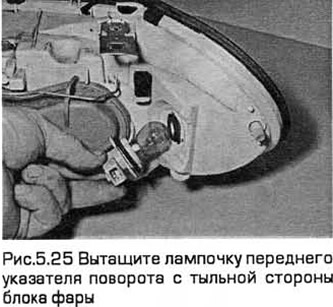
24. The indicator socket is mounted on the rear of the headlight unit. Depending on the model and the side of the vehicle on which the headlight is installed, the headlight unit may have to be removed (paragraph 7).
25. The procedure for replacing the light bulb is described in points 21, 22 (see Fig. 5.25).
26. Installation - in the reverse order of removal.
Side turn signal repeaters
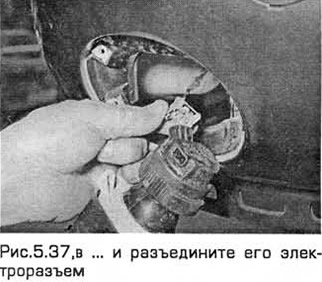
27. The repeater is fixed in place by a spring.
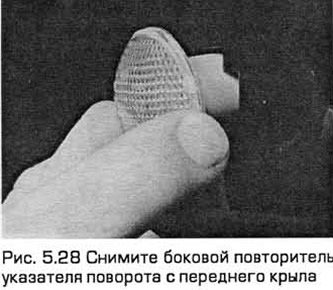
28. Depending on how the unit was previously installed, push it forward or backward and remove it from the wing (see Fig. 5.28).
29. Turn the bulb holder counterclockwise and remove it from the housing (see Fig. 5.29).

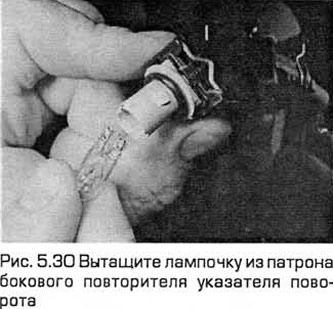
30. Remove the bulb from the wedge socket (see Fig. 5.30).
31. Install the bulb in the reverse order of removal.
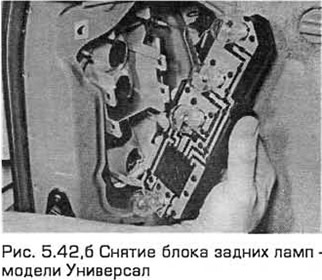
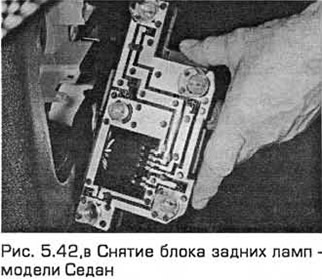
Front fog light - pre-1996 models
32. Unscrew the screws securing the unit to the front side and remove the unit.
33. Pull out the plastic clips and remove the rear cover of the unit.
34. Release the elastic clips and remove the bulb. Then disconnect the wiring connector.
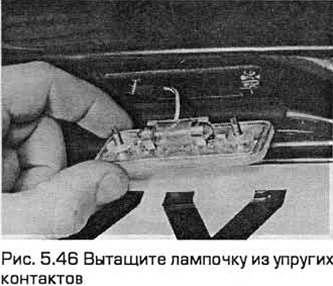
35. Install the bulb in the reverse order of removal.
Front fog light - models produced since 1997
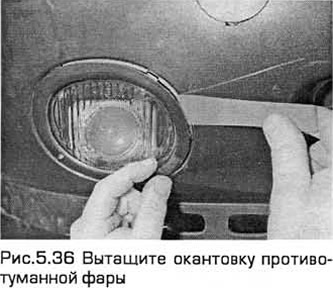
36. Use a flat-head screwdriver to remove the trim (see Fig. 5.36).
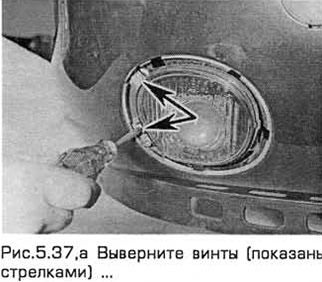
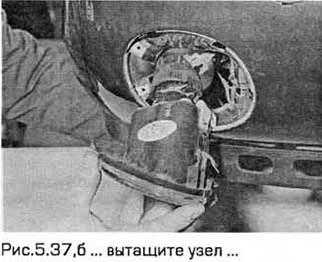
37. Remove the two Phillips head screws, press out the retainer and pull the unit out by pushing it forward. Disconnect the wiring connector on the rear side of the unit (see Fig. 5.37, a-c).
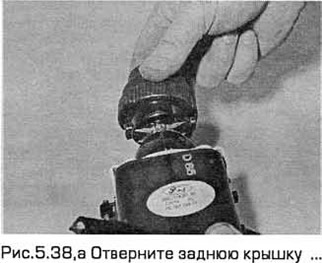
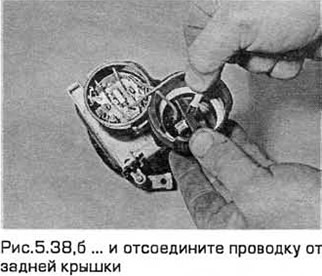
38. Unscrew the back cover and disconnect the wiring from the back cover (see Fig. 5.38, a, b).
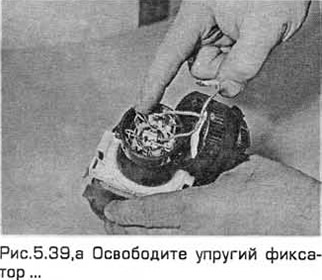
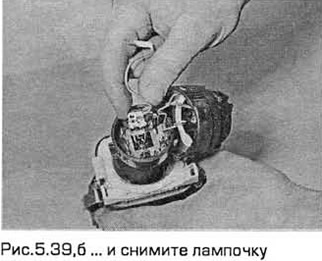
39. Release the elastic retainer and remove the bulb, remembering which side it is installed on (see Fig. 5.39, a, b).
40. Installation - in the reverse order of removal.
Rear lamp unit
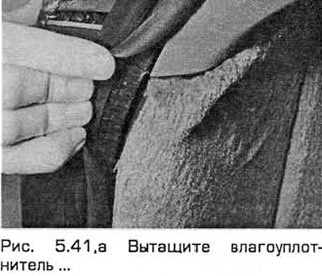
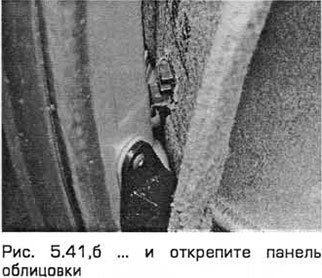
41. After opening the trunk lid or tailgate, bend back the trim to access the bulb socket located in the rear corner of the trunk. On station wagon models, pull out the moisture seal and unfasten the trim panel (see Fig. 5.41, a, b).
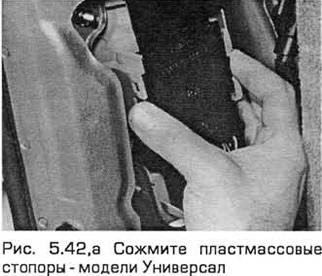
42. Squeeze the plastic stoppers and pull out the lamp unit (see Fig. 5.42, a-c).
43. Press the appropriate bulb and turn it to remove it from the socket (see Fig. 5.43).
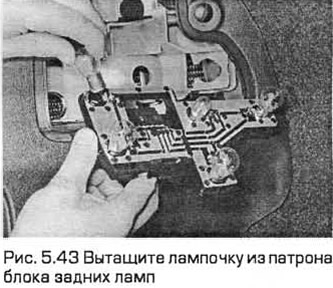
44. Install the bulb in the reverse order of removal. Insert the rear bulb assembly securely.
License plate light
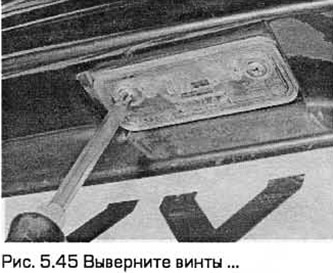
45. Remove the Phillips head screws securing the light fixture and remove it (see Fig. 5.45).
46. Pull the bulb out of the elastic contacts (see Fig. 5.46).
47. Install the bulb in the reverse order of removal. Make sure that the elastic contacts securely fix the bulb.
High Level Stop Light
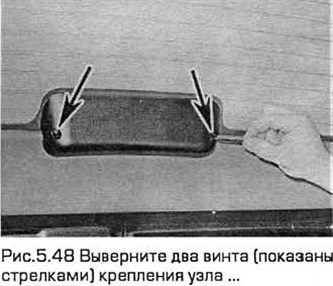
48. Open the tailgate (if necessary). Remove the two screws securing the unit (see Fig. 5.48).
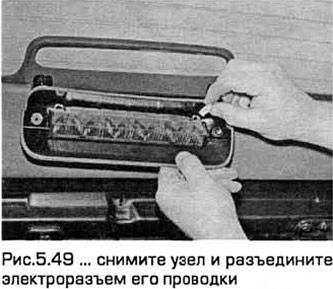
49. Remove the unit from the rear window and disconnect the electrical connector of its wiring (see Fig. 5.49).
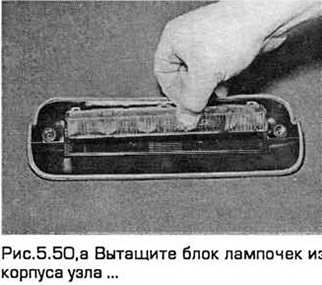
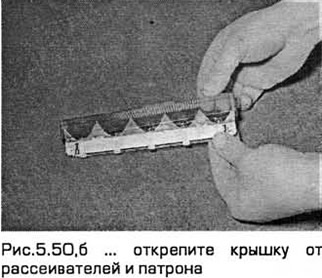
50. Pull the bulb block out of the unit housing, remembering how it is installed. Unfasten the red cover from the diffusers and socket (see Fig. 5.50, a, b).
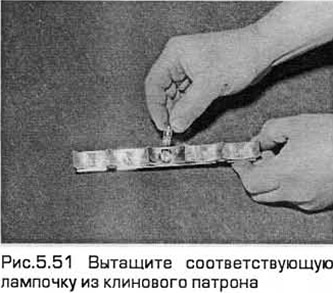
51. Remove the corresponding bulb from the wedge socket (see Fig. 5.51).
52. Installation - in the reverse order of removal.