You will need a 10 mm wrench.
To replace the rear light on the body, do the following.
1. Disconnect the wire from the negative terminal of the battery.
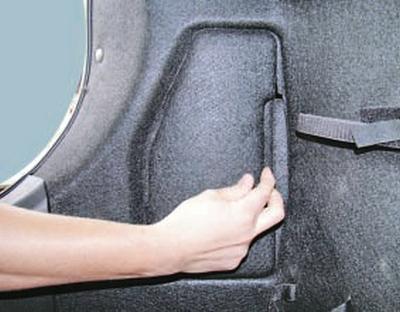
2. To gain access to the rear light mount on the body, press the hatch cover retainer in the trim of the left side of the luggage compartment..
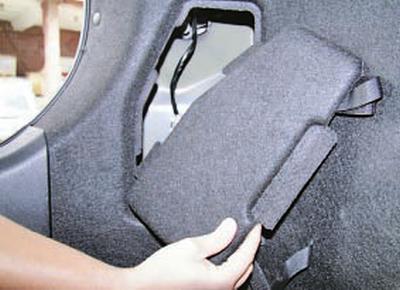
3….and remove the lid.
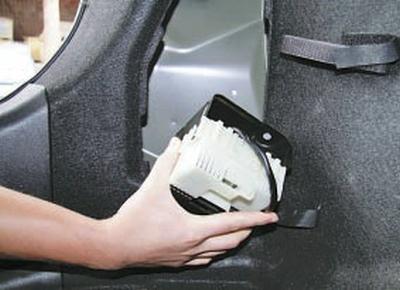
4. Remove the fuse box assembly (see Removing and installing mounting blocks) and move it to the side without disconnecting the wiring harness connectors.
NOTE: The mounting block must be removed to gain access to the left rear light mounting points on the body. There is no mounting block on the right side.
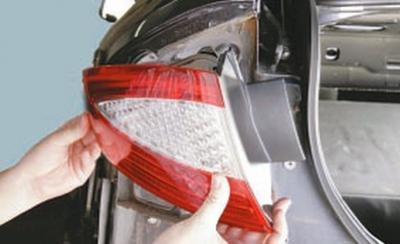
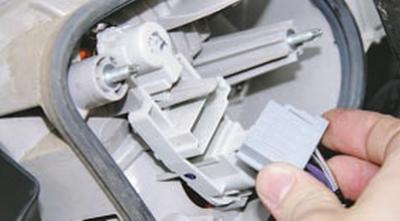
5. Through the hole in the side panel of the trunk, unscrew the three nuts securing the light and move it away from the body..
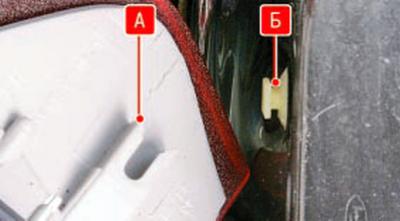
6….removing the retainer A on its left edge from engagement with the holder B on the body.
7. Disconnect the wiring harness connector from the rear light bulb board on the body by squeezing its clips and remove the light.
8. Install the taillight on the body and all removed parts in the reverse order of removal.
To replace the rear light on the trunk lid (tailgate), do the following.
1. Remove the trunk lid trim by unscrewing the trim fastening holders from the holes in the lid reinforcement.
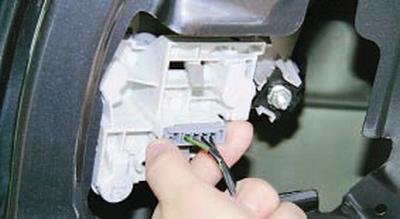
2. Squeeze the wiring harness connector clips…
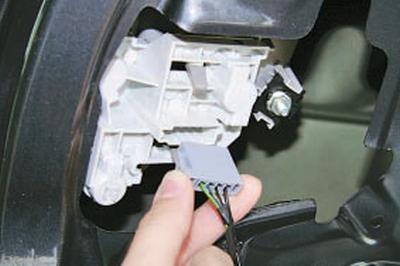
3….and disconnect the block from the light.
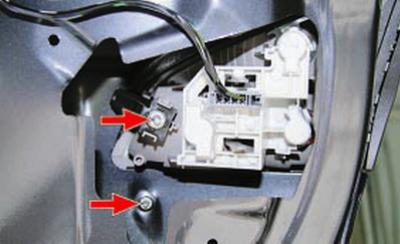
4. Unscrew the two nuts securing the light to the trunk lid…
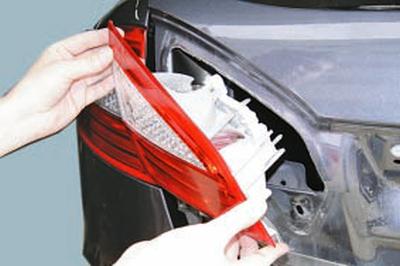
5….and remove the lamp, disengaging the fasteners on its edge from the opening in the cover.
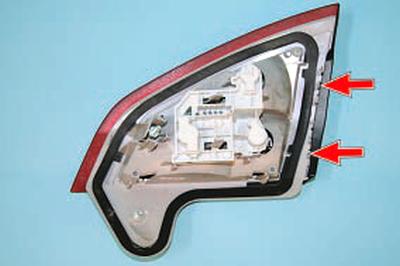
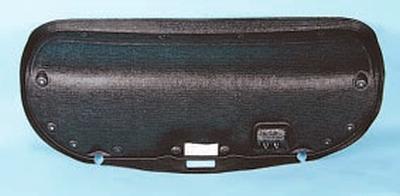
NOTE: This is how the rear light mounting clips are located.
6. Install the rear light on the trunk lid (tailgate) and all removed parts in the reverse order of removal.
The original text is provided on an online resource (FordBook)