Check the piston ring gaps for the remaining rings.
Install piston rings on pistons. If the piston is being installed with rings that were previously installed, they must be installed in their original places. When installing new piston rings, install them with the STD or TOP identification marks facing up on the piston.
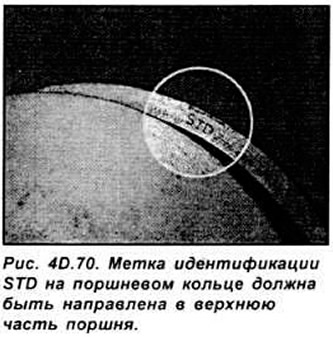
Caution: When installing the sealing rings, do not mix up the upper and middle sealing rings, as they usually have different profiles.
When installing piston rings, the first thing to be installed is the oil scraper piston ring, which usually consists of three separate parts.
On HCS and Endura-E engines, after installing the piston rings, position the piston ring locks as specified in the specifications.
On CVH and PTE engines, position the piston ring joints at 120°.
On Zetec and Zetec-E engines, arrange the piston ring joints, including the oil scraper ring elements, evenly around the piston at an angle of 120°.
The original can be found on this resource: fordbook