


HCS and Endura-E engines
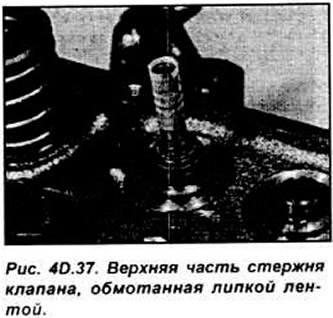
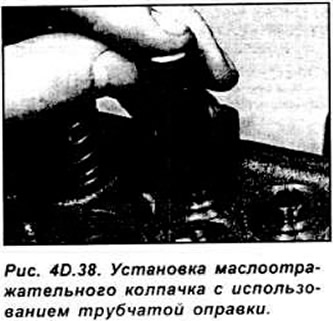
Insert the valve into its place and wipe off the engine oil from the top of the valve stem. Wrap the grooves for the crackers at the top of the valve with a piece of adhesive tape to protect the working edges of the valve stem seals from damage when installing them. Lubricate the valve stem seal with fresh engine oil and, using a tubular drift, install it on the valve guide. Remove the adhesive tape from the valve stem (see Fig. 4D.37, 40.38)
Install the spring and upper spring plate. While holding the valve closed, use the special tool to compress the valve spring and install the crackers. Slowly remove the valve spring compressor. Repeat the operation on the remaining valves.
Finally, tap the end of each valve stem with a plastic or brass hammer until the valve opens slightly and all the valve components fall into place.
CVH and PTE engines
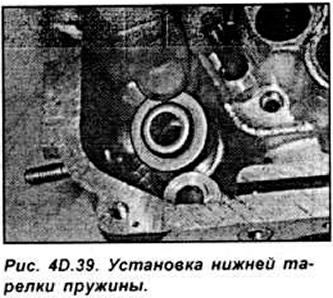
Install the lower spring plate into place (see Fig. 4D.39).
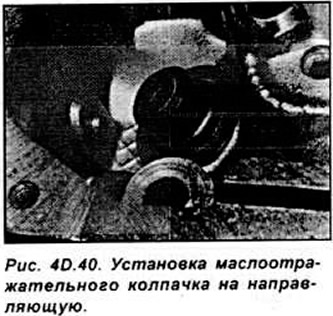
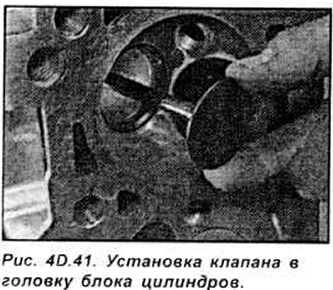
Observing the correct orientation, install the new valve stem seal (see Fig. 40.40). To protect the working edges of the valve stem seal when installing the valve, wrap the grooves of the valve stem under the crackers with insulating tape, lubricate the valve stem with engine oil and insert the valve (see Fig. 4D.41).
Remove the insulating tape from the valve stem grooves, then install the springs and upper spring retainer.
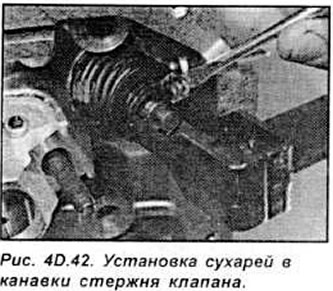
While maintaining the valve in the closed position, use a special tool to compress the valve spring and install the crackers in place. Slowly remove the spring compressor (see Fig. 40.42).
Install the remaining valves into the cylinder head. Tap each valve stem with a plastic or brass hammer to ensure all valve parts are seated in place.
Zetec and Zetec-E engines
Using molybdenum disulfide lubricant or clean motor oil, lubricate the valve stem and install the valve into the cylinder head. If previously removed valves are being installed, install each one in its proper place.
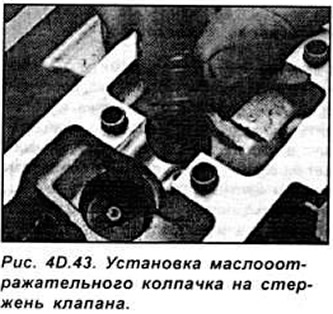
Install a new valve stem seal onto the top of the valve stem Install the lower spring retainer Installing the spring will lock the valve stem seal into place (see Fig. 4D.43).
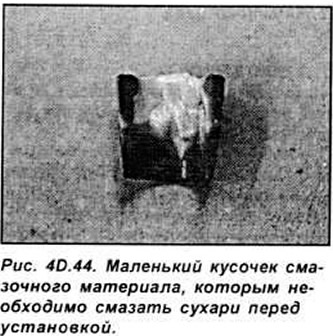
Install the valve spring and the upper spring plate. Using a special tool, compress the valve spring and install the crackers 8 in the valve stem groove. When installing the crackers, lubricate them with a drop of lubricant. Slowly release the spring compressor (see Fig. 4D.44).
After installing the valve, tap the valve stem with a plastic hammer to ensure that all valve parts are in place. Install the remaining valves. Install the hydraulic tappets.
[The original source of this article can be found at www.FordBook.ru]