Contents: Cleaning ↳ Examination ↳
Cleaning
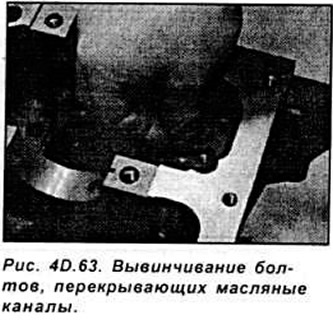
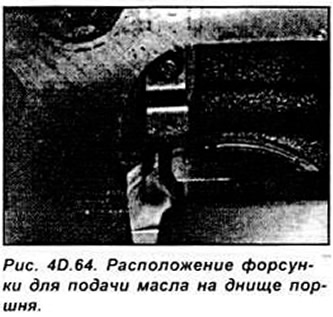
Before cleaning, remove all external components from the cylinder block and sensors. On HCS and Endura-E engines, ensure that the tappets and camshaft are removed from the engine. On CVH and PTE engines, remove the crankcase ventilation head located at the rear of the cylinder block and remove the crankshaft speed sensor from the front of the cylinder head. On Zetec and Zetec-E engines, unscrew the piston cooling oil supply nozzle and remove the oil passage plugs (see Fig. 4D.63, 4D.64).
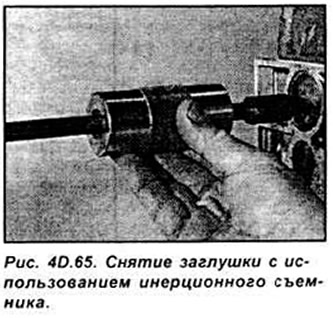
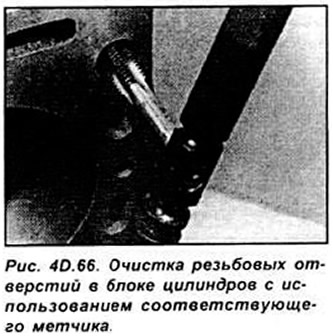
Remove all oil plugs from the engine. To remove a plug, drill a small hole in it, screw in a self-tapping screw and pull the plug out using the screw. When assembling the engine, it is necessary to install new oil plugs. If the oil passages or cavities are heavily contaminated, clean them using steam. Rinse all internal passages and cavities with warm water until the water comes out clean. Then dry the cavities. To speed up the drying process, you can use compressed air. Apply a thin layer of motor oil to the cleaned and dried surfaces. If the cylinder block is not heavily contaminated, it can be cleaned using a solution of hot soapy water and a stiff brush. Clean all holes that have threads using an appropriate tap (see Fig. 40.66).
After cleaning the cylinder block, install new oil line plugs.
On Zetec and Zetec-E engines, install new oil supply nozzles on the piston crowns.
Examination
Visually inspect the cylinder block for cracks and corrosion. Check the diameter of each cylinder for wear.
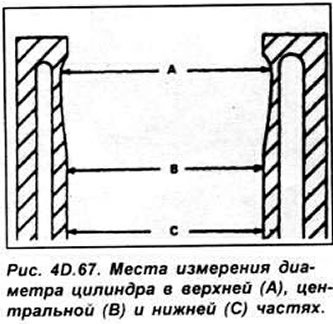
Measure the diameter of each cylinder at the top center and bottom parallel to the crankshaft axis. Then measure the diameter of each cylinder at the same locations perpendicular to the crankshaft axis (see Fig. 4D.67).
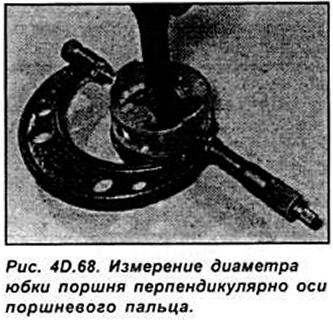
Measure the piston diameter at the bottom perpendicular to the piston pin axis (see Fig. 4D.68).
To determine the clearance between the piston and the cylinder, subtract the piston diameter from the cylinder diameter. You can also determine the clearance using a feeler gauge when installing the piston in the cylinder. Take measurements on the remaining cylinders and pistons. Worn pistons are subject to replacement. On some engines, pistons are replaced only in a set with connecting rods. If at least one of the cylinder diameters exceeds the permissible limits, the cylinders must be bored and larger pistons must be used.
If the cylinder and piston dimensions are as required, then it may be necessary to replace only the piston rings.
(This article is a copy from the website: «www.fordbook.ru»)