Replacing the front sealing ring
Remove the ground cable from the battery. Loosen the lower mounting bolts, unscrew the upper tension bolt of the generator. Tilt the generator toward the engine and remove the drive belt.
Raise the front of the vehicle and support it on stands.
Loosen the lower mounting bolts, unscrew the upper tension bolt of the generator, tilt the generator towards the engine and remove the drive belt.
Remove the auxiliary drive belt pulley from the crankshaft, timing belt cover, timing belt and crankshaft timing belt pulley, woodruff key and axle ring.
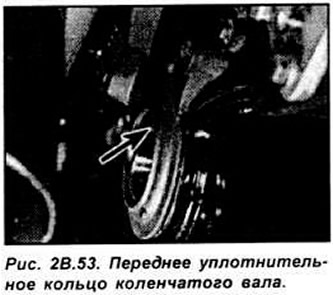
Using special tool Ford No.21-096, remove the front crankshaft seal ring (see Fig. 2B.53).
Clean the oil pump housing and crankshaft, then lubricate the lips of the new seal ring and the front of the crankshaft with clean engine oil. Install the new seal ring using Ford Special Tool No.21-093A or with the adapter sleeve and accessory drive belt pulley mounting bolt. Check that the crankshaft is at TDC of the number one cylinder on the compression stroke, and install the woodruff key, axle ring and toothed pulley. Install the toothed belt and adjust its tension, then install the toothed belt cover and crankshaft accessory drive belt pulley.
Install and adjust the tension of the auxiliary drive belt.
Lower the vehicle and connect the battery.
Replacing the rear sealing ring
The rear sealing ring can be replaced with the engine removed from the vehicle or after the gearbox has been removed.
Remove the flywheel.
Using Ford Special Tool #21-151 or a suitable tool, remove the rear O-ring from its seat. If the seal is located away from the rear face of the engine, the O-ring can be removed as described below.
Clean the seal seat, rear of the crankshaft, and flywheel mating surfaces. Depending on the tools available, one of two methods can be used to install the seal ring. If Ford Special Tool #21-095 is available, lubricate the seal lips and mating surface on the crankshaft with clean engine oil. Install the seal ring in the special tool, and install it in the seat using the two flywheel mounting bolts.
Otherwise, remove the sealing ring cover by first removing the oil pan and unscrewing the cover.
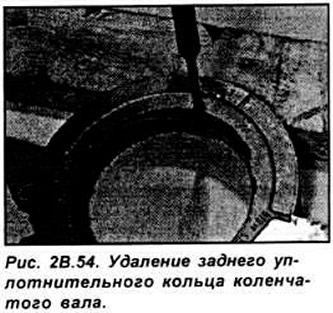
Using a screwdriver blade, remove the old sealing ring from the cover (see Fig. 2B.54).
Clean the mating surfaces of the seal cover, crankcase and oil pan. Insert a new sealing ring into the cover. New gaskets must be used when installing the cover and oil pan.
Lubricate the mating surface on the crankshaft and the sealing lips with clean engine oil. Install a new gasket on the rear of the crankcase, and install the seal cover and gasket. Screw the seal cover on with the bolts, tightening them to the specified torque.
Install the oil pan. Install the flywheel. Install the clutch. Install the gearbox.