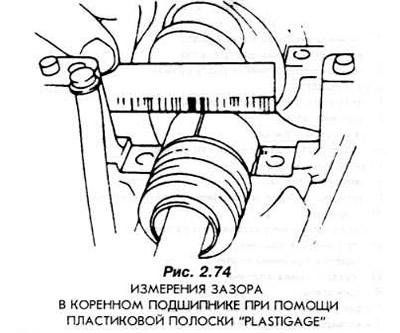
Check the crankshaft for visible signs of wear. The surface roughness of the bearing journals may not exceed 1.5 Rt. The diameters of the main and connecting rod journals must be measured with a micrometer, and bearing clearances - with strips "Plastigege" (pic. 2.74). The main and connecting rod journals must be in the same selection group of diameters. Even if only one neck has a diameter that differs from the required one. it is necessary to grind all the necks of the shaft to the nearest repair dimensions.
The middle bearing absorbs longitudinal forces. This means that in this bearing the crankshaft is mounted axially.
The largest axial shaft clearances for various engines can be:
- in the engine 1.1 - 0.08-0.29 mm
- in the 1.4i / 1.6i engine - 0.09-0.30 mm
- in diesel engine 1.8 - 0.09-0.37 mm
The crankshaft has several repair sizes. If, as a result of the inspection carried out, it turns out that it is necessary to grind the shaft journals, this work should be entrusted to specialists from the maintenance workshop.

Visitor comments