Engine with new distributor and/or cylinder head. Turn the distributor housing so. so that the bolts of its fastening are in the center of the holes. tighten the bolts. Turn the crankshaft pulley by hand until the marks are aligned (fig 7.37) and attach a stroboscope.
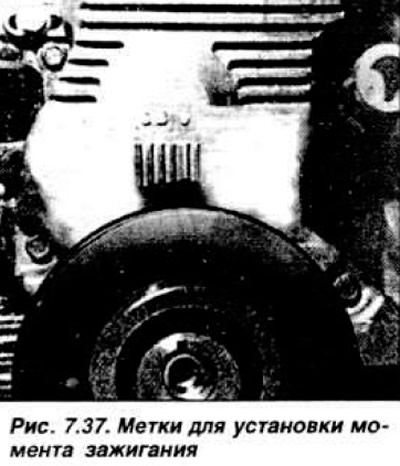
Start the engine, at idle, disconnect the tube from the vacuum regulator and plug its hole Direct the stroboscope and, turning the distributor housing, set the required ignition timing (UOP). Tighten the distributor mounting bolts and check the ignition setting again. Mark the distributor housing and/or cylinder head for correct ignition setting during subsequent repairs. The ignition timing can also be set using a test lamp, although this method is less accurate than using a stroboscope. Connect a test lamp between the low voltage wire and «weight». Disconnect the high voltage wire from the ignition coil. Make a mark on the crankshaft pulley against the mark with the inscription «10» on the lid (pic. 7.37). Turn on the ignition. Rotate the distributor body against the direction of rotation of the rotor until the control lamp lights up. As soon as the lamp lights up, tighten the distributor mounting bolts.
NOTE: Since May 1983, two types of crankshaft pulleys can be installed - cast iron and steel. On the steel pulley, marks for setting the ignition timing are applied at the factory - from 4°to 12°to TDC.
Visitor comments